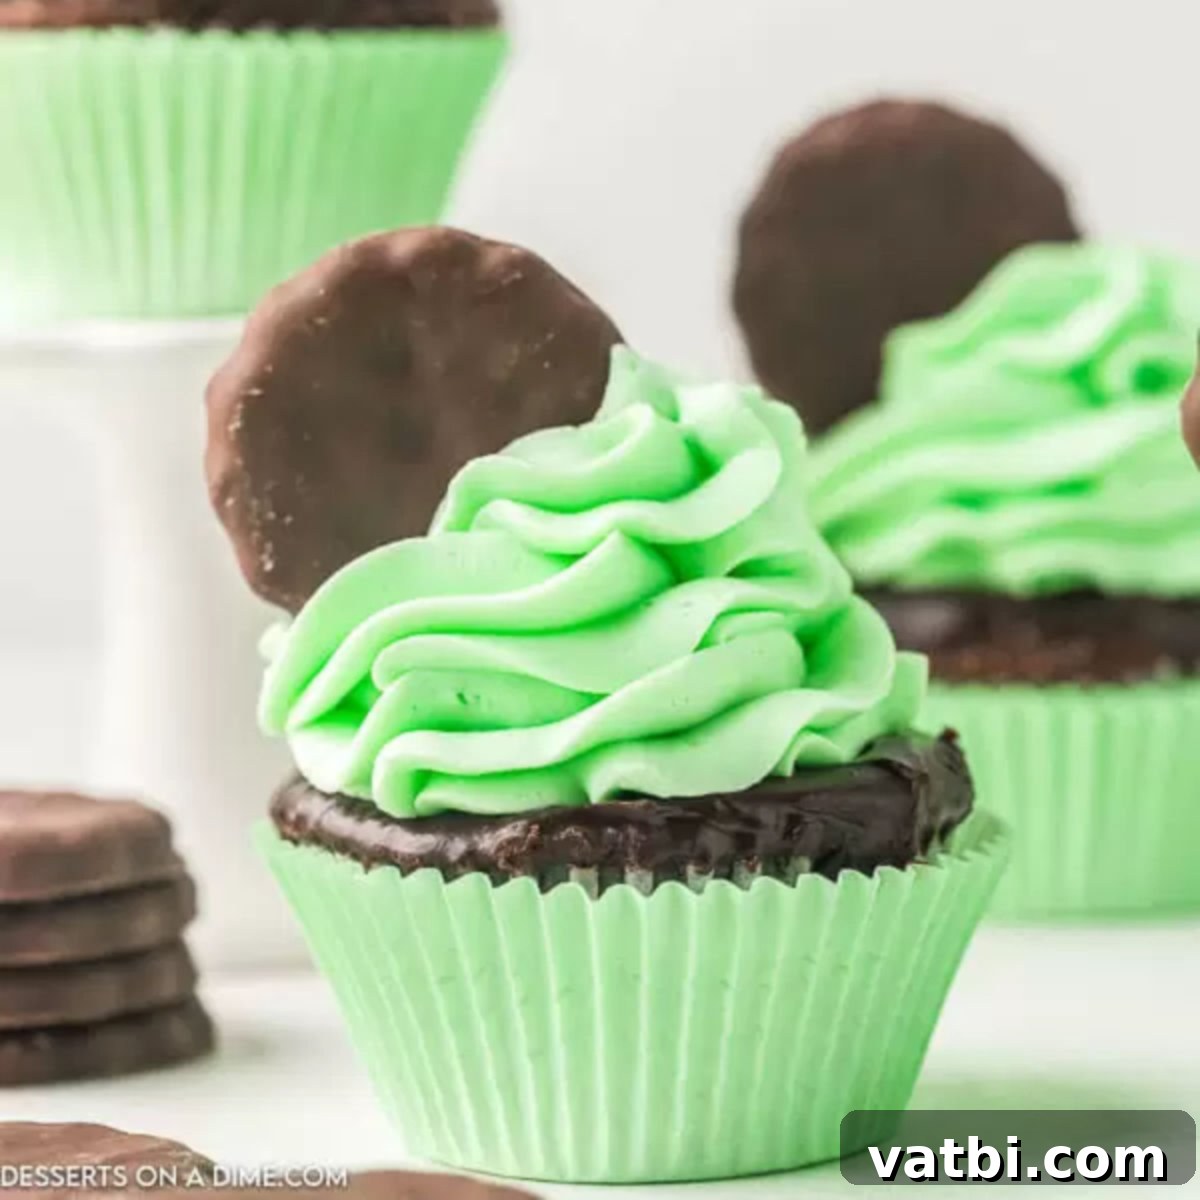
Decadent Thin Mint Cupcakes: The Ultimate Recipe for Mint Chocolate Lovers
Prepare to delight your taste buds with these absolutely irresistible Thin Mint Cupcakes! Combining the refreshing coolness of mint with the deep richness of chocolate, these cupcakes offer a truly decadent and unforgettable dessert experience. Topped with vibrant green icing and a classic Thin Mint cookie, they’re not just delicious but also visually stunning, making them look like they came straight from a gourmet bakery. Whether you’re a long-time fan of the iconic Girl Scout cookie or simply adore the mint-chocolate pairing, this recipe is guaranteed to become a new favorite in your collection.
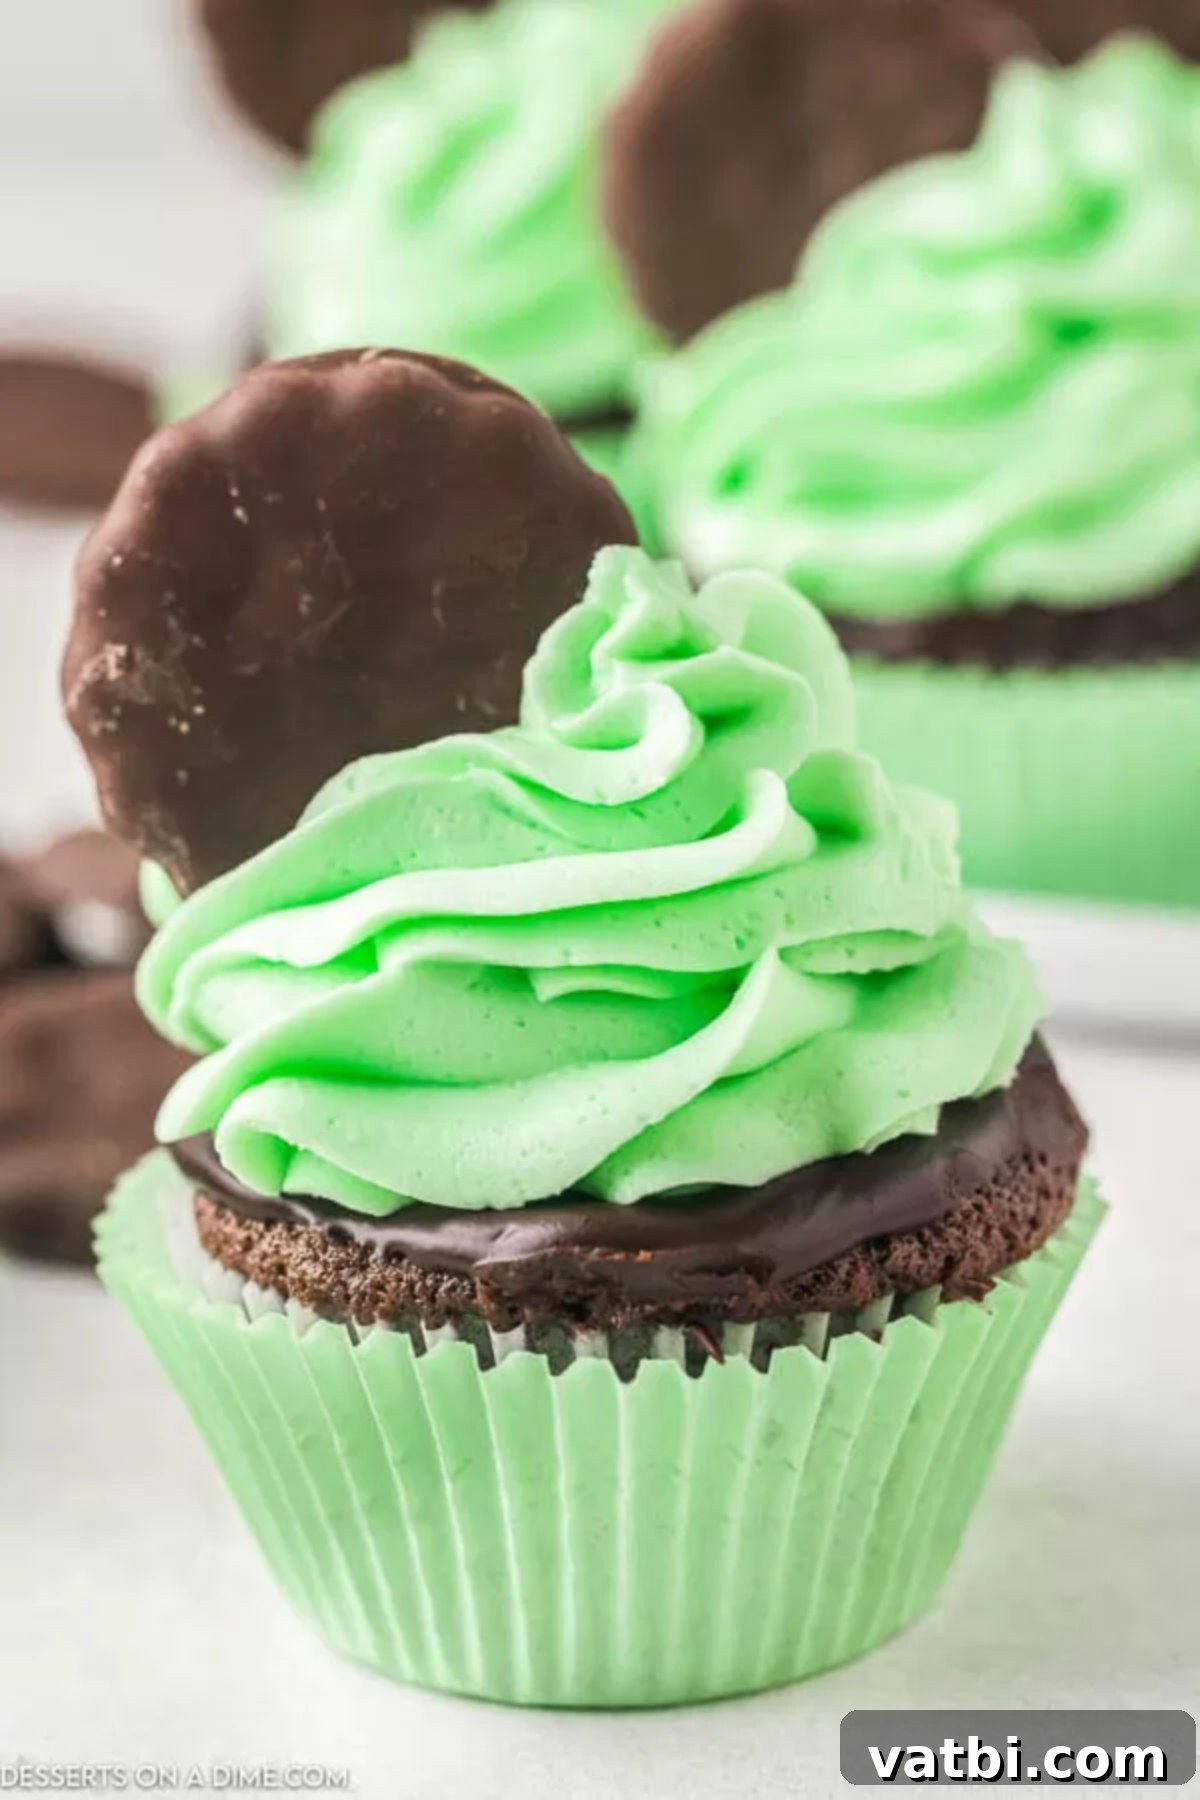
Do you find yourself eagerly awaiting Girl Scout cookie season just for those beloved Thin Mint Cookies? If so, then get ready to be incredibly excited about this new recipe for Thin Mint Cupcakes! This delightful dessert captures all the quintessential flavor of your favorite cookie in a moist, fluffy cupcake form. As someone who appreciates both ease and exceptional taste, I’m always on the lookout for truly delicious cupcake recipes, and this one certainly delivers.
While these mint chocolate cupcakes are perfect for enjoying any time of year, their vibrant green frosting makes them an especially festive treat for occasions like St. Patrick’s Day. They’re a guaranteed crowd-pleaser that everyone adores! If you’re passionate about the wonderful combination of mint and chocolate, you’ll also love exploring our other delicious recipes such as the Andes Mint Cookies Recipe, a refreshing Mint Chocolate Chip Ice Cream Cake, classic Mint Chocolate Chip Cookies, and the creamy Grasshopper Pie. For brownie enthusiasts, our Mint Chocolate Brownies are another must-try!
What’s in this post: Thin Mint Cupcakes
- Why We Love This Recipe
- Essential Ingredients
- Baking Thin Mint Cupcakes: Step-by-Step
- Crafting the Perfect Mint Frosting
- Decorating Your Cupcakes Like a Pro
- Pro Baking Tips for Thin Mint Cupcakes
- Frequently Asked Questions
- More Easy Cupcake Recipes
- Thin Mint Cupcakes Recipe
Why We Love This Recipe
Each bite of these mint chocolate cupcakes delivers an incredible explosion of flavor that will truly impress. You’ll be absolutely captivated by the rich chocolate ganache, the cool and refreshing mint icing, and the incredibly moist, luscious chocolate cake base. This recipe is designed for maximum flavor impact and minimum fuss. With our easy-to-follow, step-by-step instructions, even novice bakers can achieve bakery-quality results. The combination of textures—from the smooth ganache to the creamy frosting and tender cake—creates a multi-dimensional dessert that’s both elegant and comforting. It’s the perfect treat to bring to a party, celebrate a special occasion, or simply enjoy with a cup of coffee. The balance of mint and chocolate is simply divine, making these cupcakes a true showstopper.
Essential Ingredients
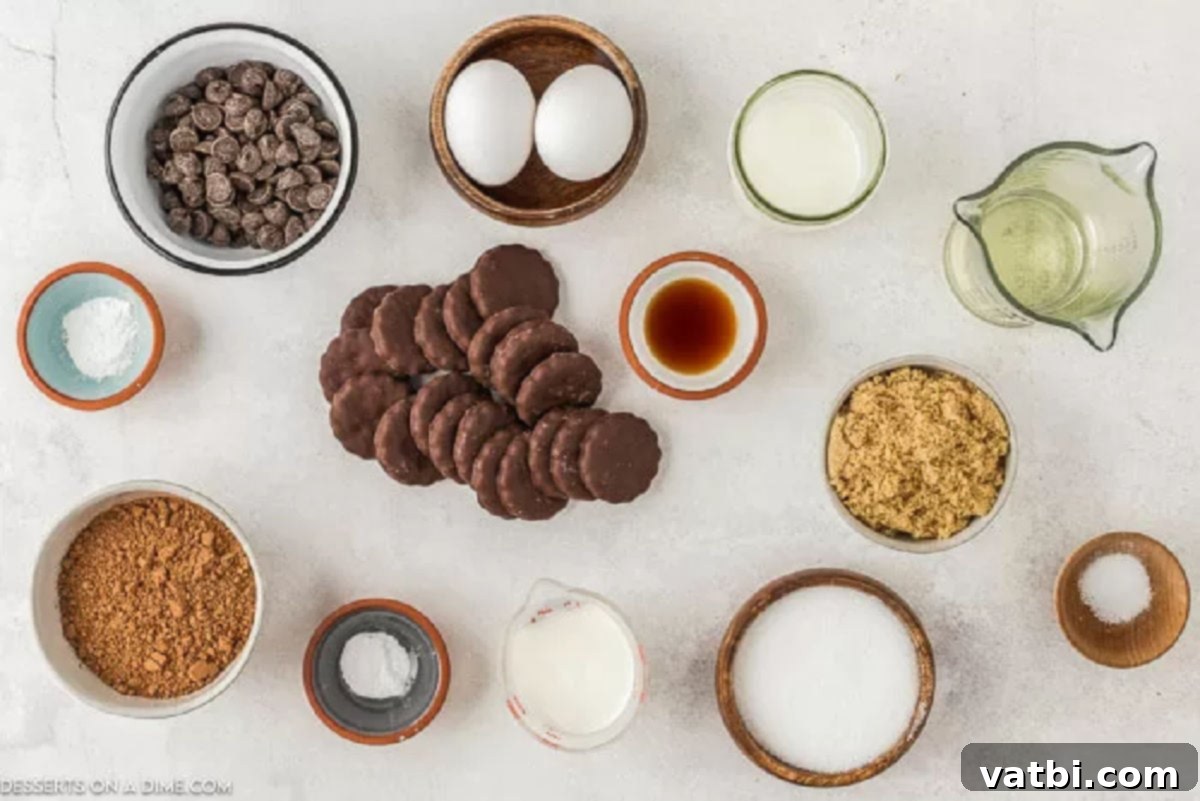
For the Rich Chocolate Cupcakes
- Large Eggs: It’s crucial to use eggs at room temperature. This helps them emulsify better with other ingredients, resulting in a smoother, more uniform batter and a perfectly baked, tender cupcake.
- Unsweetened Cocoa Powder: I highly recommend using a high-quality unsweetened cocoa powder, such as Hershey’s. Avoid Dutch-processed cocoa unless specified, as it reacts differently with baking soda and can affect the rise and flavor.
- Baking Soda: This leavening agent works with the acidic components in the batter (like cocoa powder or buttermilk) to create a light and airy texture. If you happen to run out, check out our guide on the Best Baking Soda Substitutes.
- Milk: For the richest texture and most tender crumb, whole milk is your best bet. If you’re looking for an extra boost of moisture and tang, you can substitute with ½ cup of buttermilk.
- All-Purpose Flour: Proper measurement of flour is key to cupcake success. Spoon the flour lightly into your measuring cup, then level it off with a knife. This method is far more accurate than scooping directly from the bag, which can compact the flour and lead to dry, dense cupcakes.
- Brown Sugar: I prefer light brown sugar for its subtle caramel notes and moisture, but dark brown sugar can also be used if you prefer a deeper molasses flavor. It contributes to the cupcakes’ moistness and rich taste.
- Vegetable Oil: Provides moisture and ensures a tender crumb, keeping the cupcakes from drying out.
- Vanilla Extract: Pure vanilla extract enhances the overall chocolate flavor, adding depth and warmth.
- Baking Powder: Another leavening agent, baking powder works independently of acidic ingredients to give the cupcakes an extra lift.
- Salt: A pinch of salt balances the sweetness and brings out the full flavor of the chocolate.
For the Silky Chocolate Ganache
- Chocolate Chips: The quality of your chocolate chips truly makes a difference here. Use a good quality brand for a superior taste and a smoother, more luxurious ganache. You will definitely taste the difference!
- Heavy Whipping Cream: This is essential for creating a rich, glossy, and perfectly pourable ganache. I strongly advise against substituting heavy cream with lighter creams, as it will alter the texture and consistency significantly.
For the Refreshing Mint Icing
- Butter: For the best flavor and texture in your frosting, real butter is indispensable. I prefer to use unsalted butter so I can control the amount of salt in the recipe. Ensure it’s softened to room temperature for smooth beating.
- Vanilla Extract: Pure vanilla extract adds a lovely underlying flavor that complements both the mint and chocolate.
- Mint or Peppermint Extract: You can choose between mint or peppermint extract based on your preference for intensity. Mint extract tends to be milder, while peppermint is more assertive. Add it gradually, tasting as you go, as the potency can vary widely between brands.
- Green Food Coloring: Gel food coloring is my choice for achieving a vibrant, consistent green hue without thinning out the frosting too much. It’s perfect for that festive Thin Mint look!
- Powdered Sugar: Also known as confectioners’ sugar, this provides the bulk and sweetness of the frosting. Sift it for the smoothest, lump-free icing.
You can find the precise measurements for all of these essential ingredients in the complete recipe card at the bottom of this post. Gather everything before you begin for a seamless baking experience!
Baking Thin Mint Cupcakes: Step-by-Step
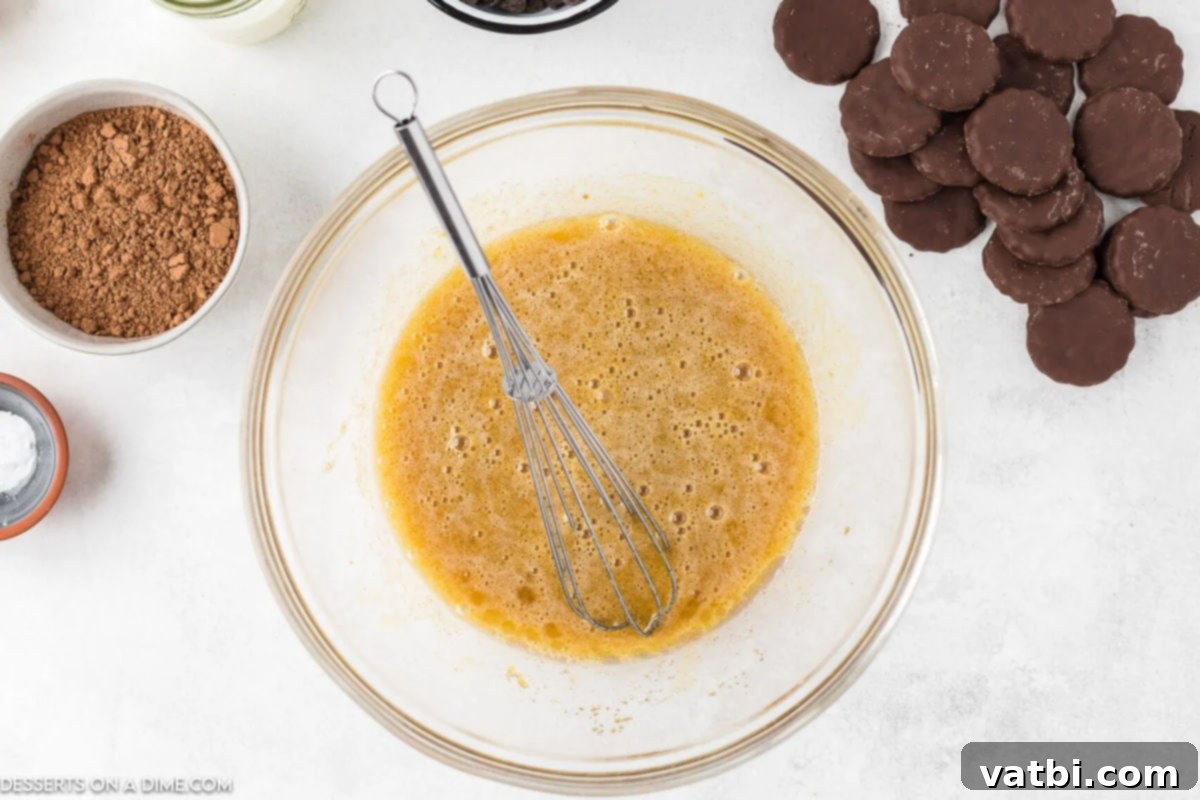
Step 1: Prepare the Wet Ingredients. Begin by preheating your oven to 350°F (175°C) and lining a 12-cup muffin pan with paper or silicone cupcake liners. In a large mixing bowl, combine the granulated sugar, brown sugar, large room temperature eggs, vanilla extract, and vegetable oil. Whisk these ingredients together thoroughly until they are light, fluffy, and well combined. This initial step creates the foundational moisture and sweetness for your cupcakes.
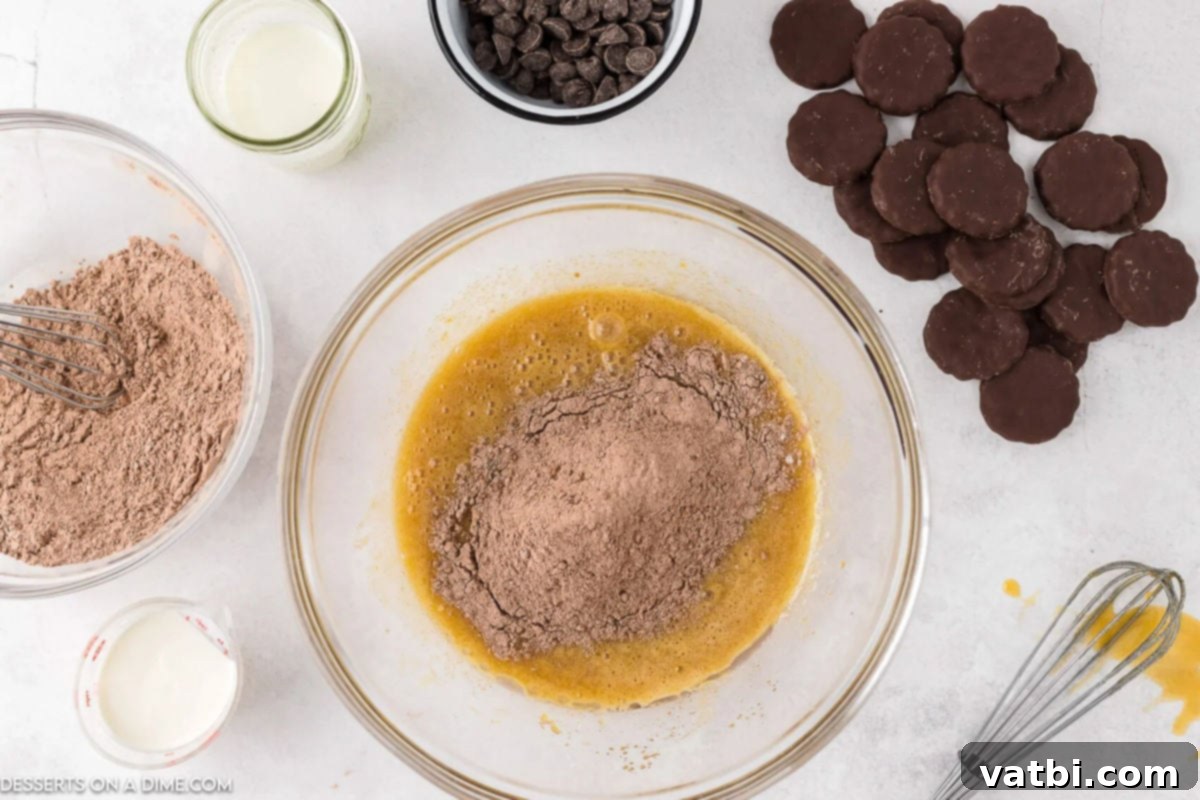
Step 2: Scrape and Combine. After whisking, take a moment to scrape down the sides of the bowl with a spatula. This ensures that all ingredients are fully incorporated and prevents any dry spots in your batter. Give it another quick whisk to make sure everything is evenly mixed and smooth.
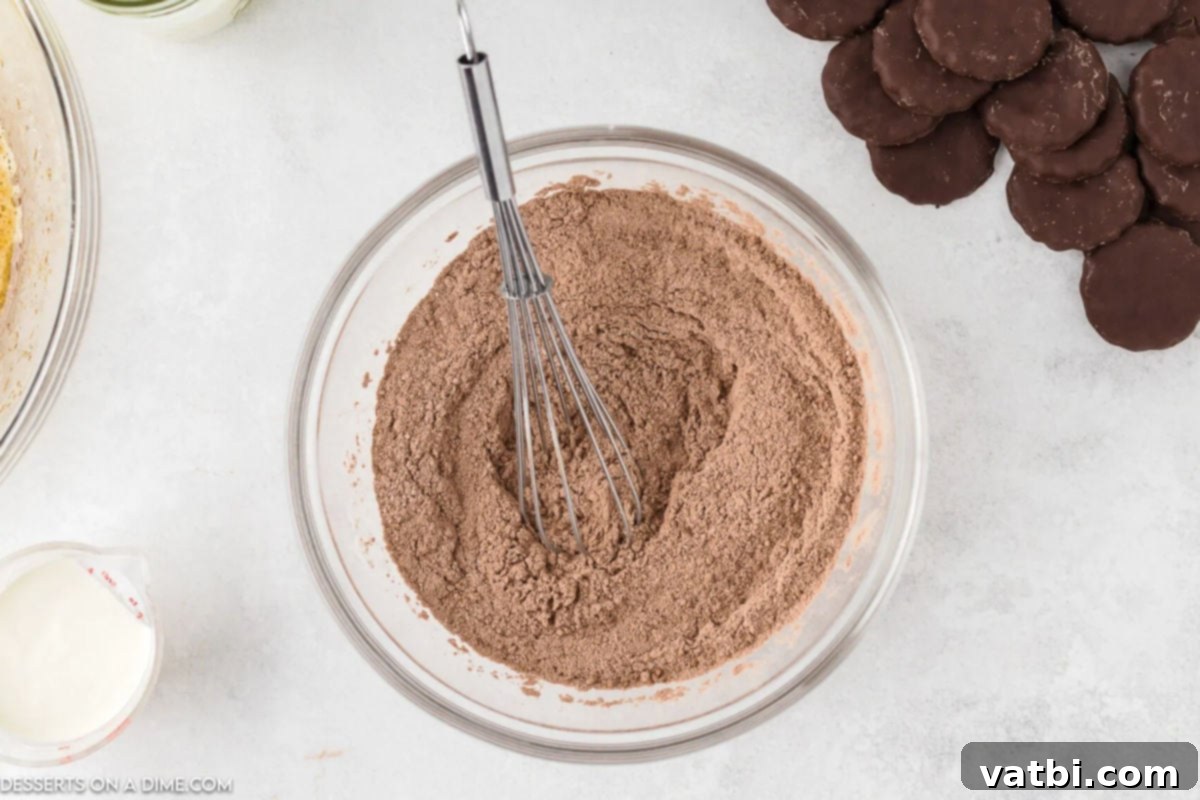
Step 3: Prepare the Dry Ingredients. In a separate, medium-sized mixing bowl, combine all your dry ingredients: the accurately measured all-purpose flour, unsweetened cocoa powder, baking soda, baking powder, and salt. Whisk these together until they are thoroughly combined and no lumps remain. This ensures an even distribution of leavening agents throughout the batter.
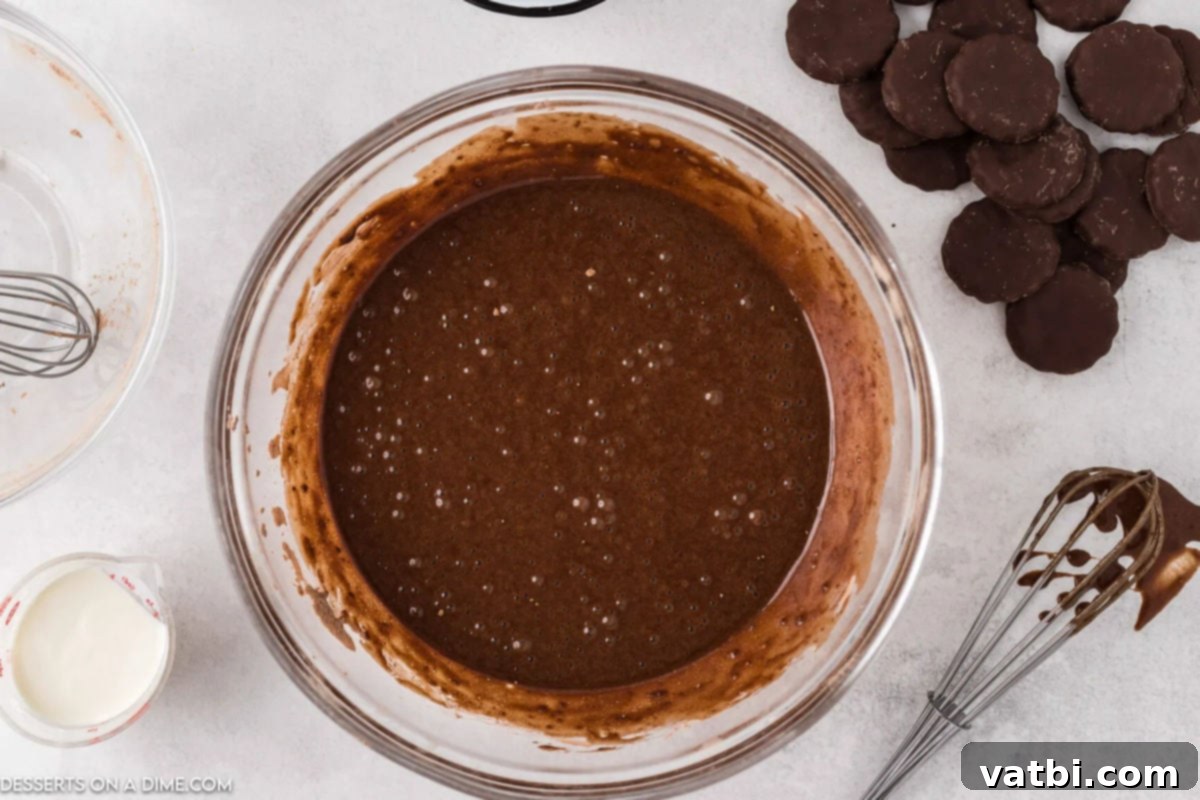
Step 4: Combine Wet and Dry Ingredients. Gradually add about half of the dry ingredient mixture into your wet ingredients, stirring gently until just combined. Next, pour in the milk and continue to stir until smooth. Finally, add the remaining dry ingredients. The key here is to mix until *just* combined. Overmixing will develop the gluten in the flour too much, resulting in dense, tough cupcakes instead of light and fluffy ones.
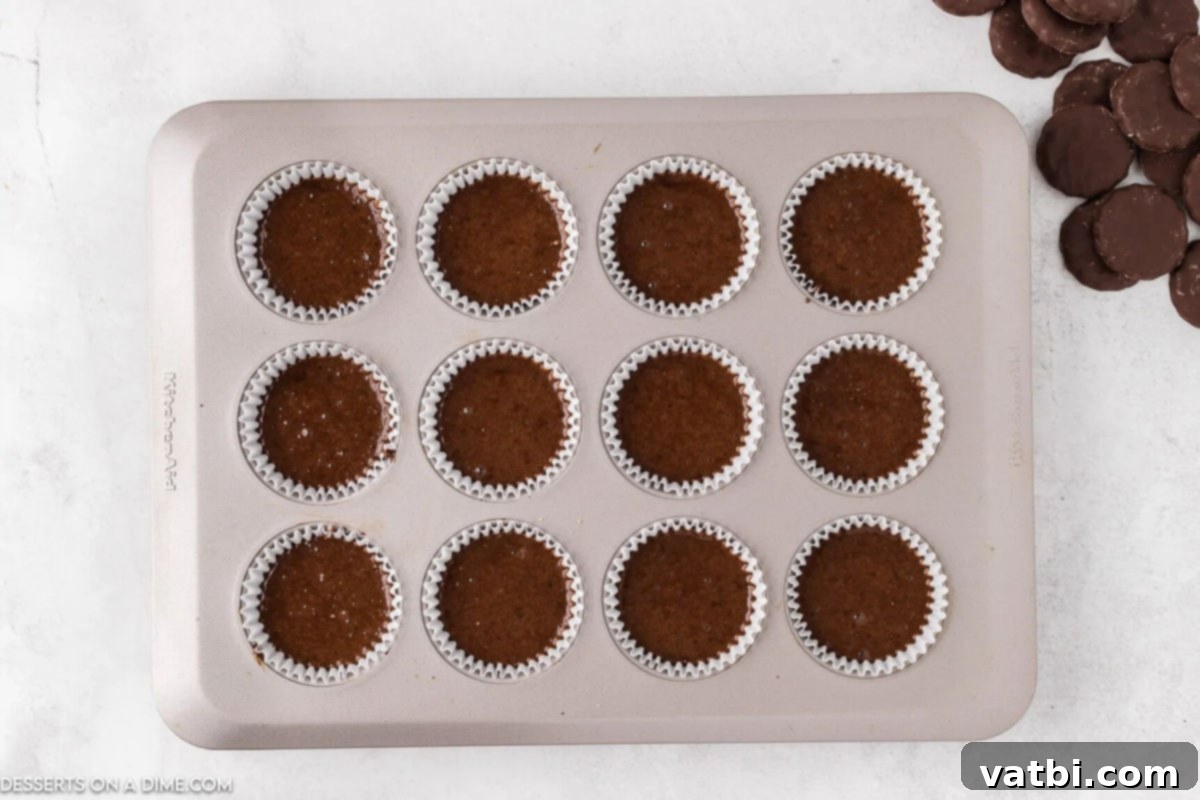
Step 5: Fill the Muffin Tins. Using a cookie scoop is highly recommended for consistently sized cupcakes, which ensures even baking. If you don’t have one, a spoon works just fine. Fill each lined muffin cup about two-thirds full. Avoid overfilling, as this can cause the cupcakes to spill over during baking and create uneven tops.
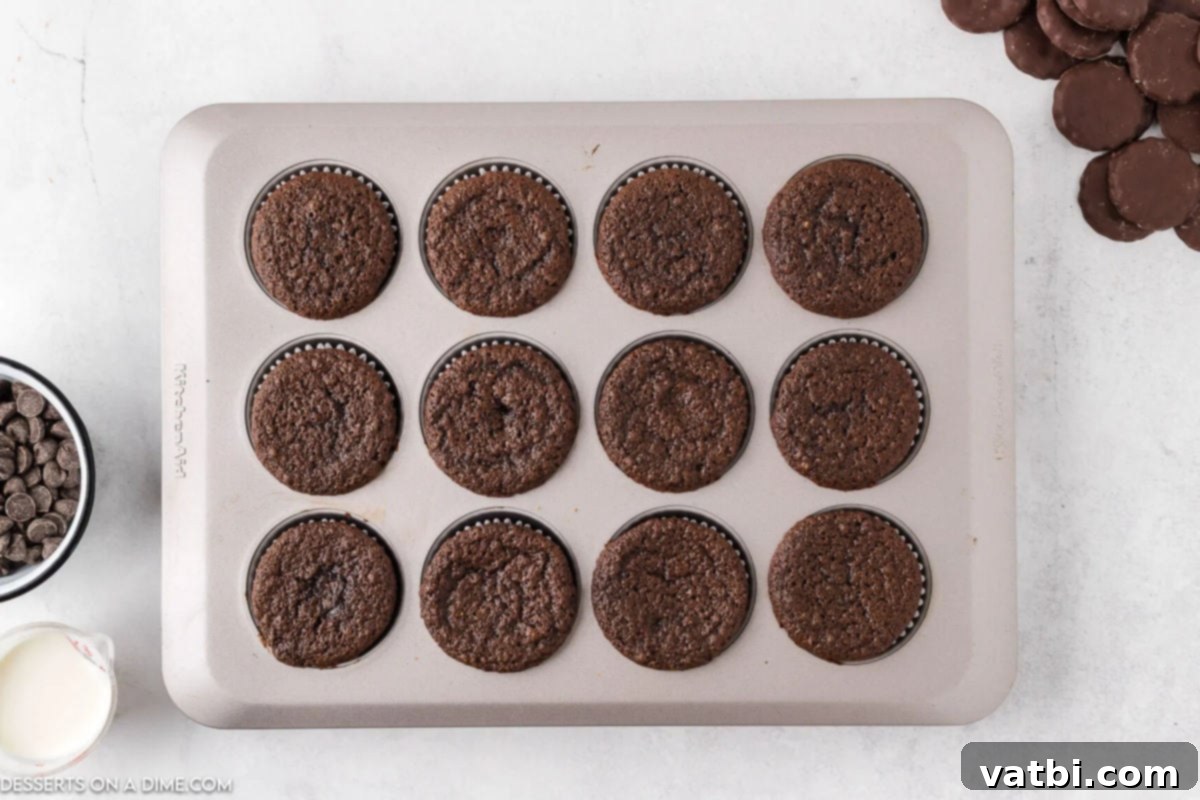
Step 6: Bake and Cool. Bake the cupcakes for 15-20 minutes, or until a wooden toothpick inserted into the center comes out clean. Baking times can vary depending on your oven, so keep an eye on them. Once baked, remove them from the oven and let them cool in the muffin pan for a few minutes before transferring them to cooling racks. Allow them to cool completely before attempting to frost them; warm cupcakes will melt your ganache and frosting.
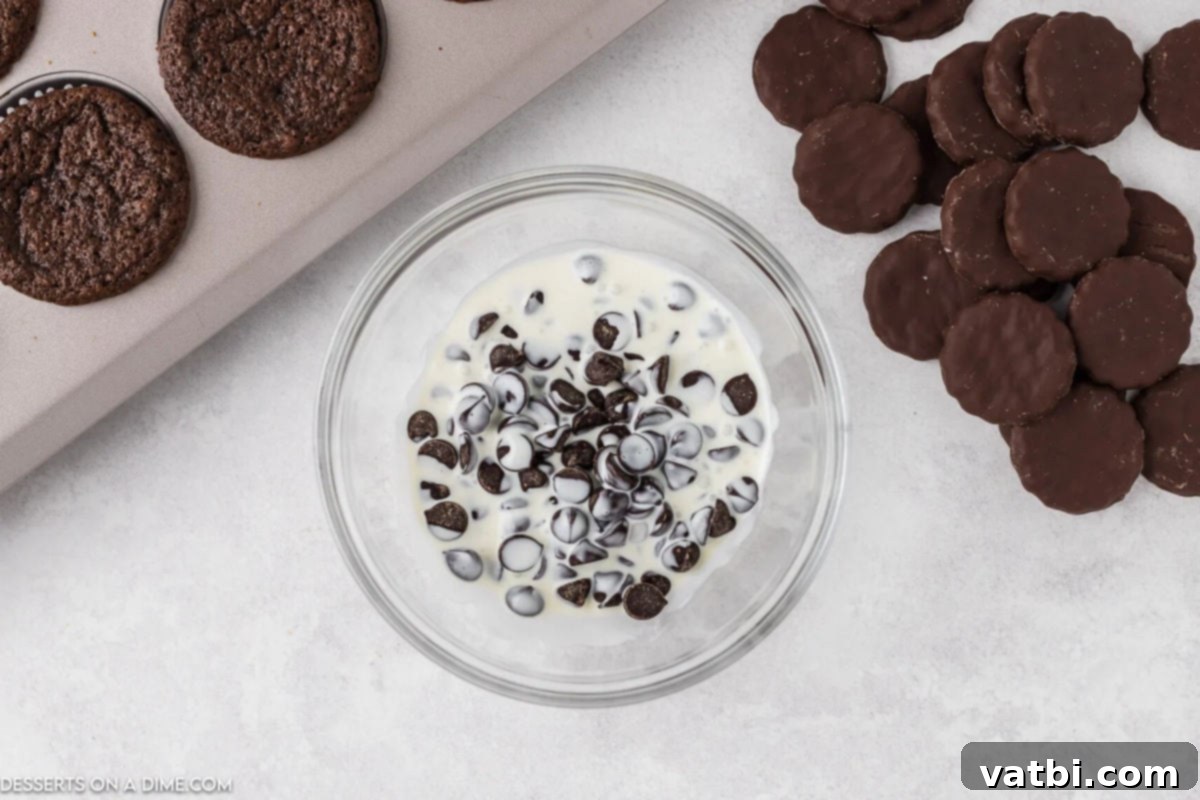
Step 7: Prepare the Chocolate Ganache. While your cupcakes are baking and cooling, use this time efficiently to prepare the luscious chocolate ganache. In a small, microwave-safe bowl, combine your quality chocolate chips and heavy whipping cream. This simple duo will transform into a rich, glossy topping.
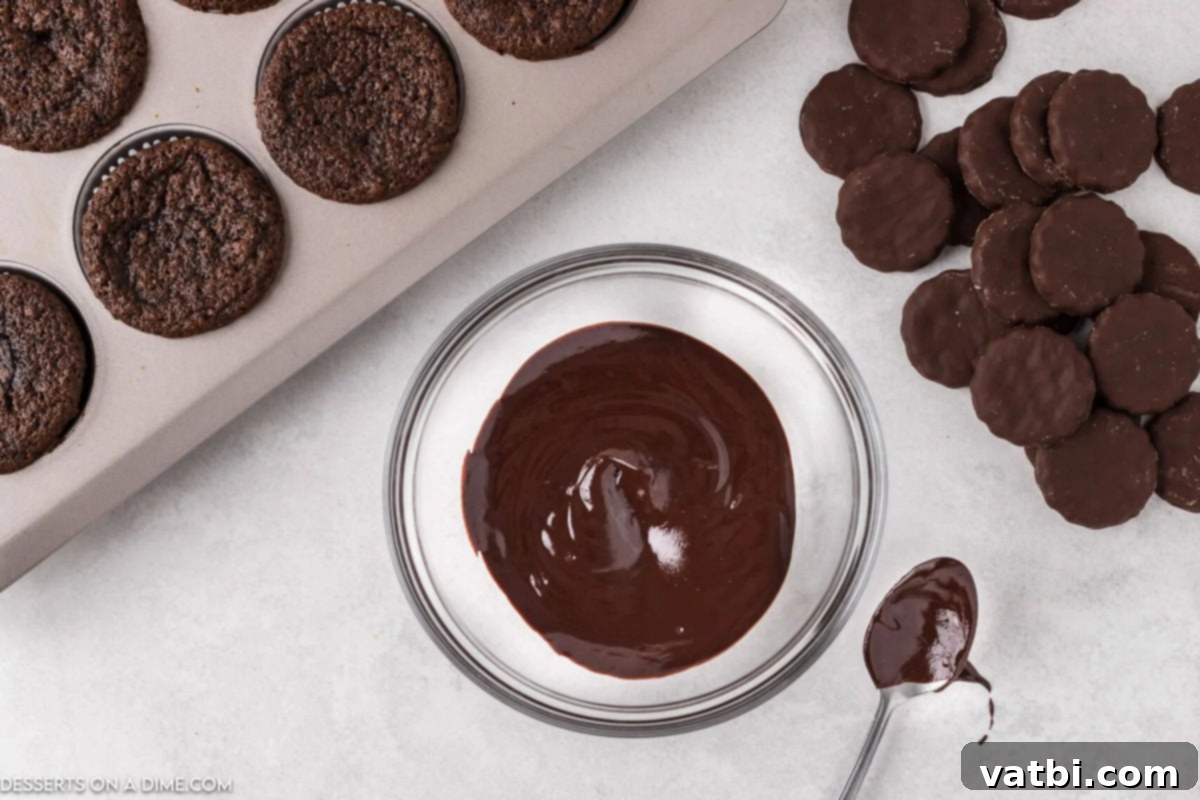
Step 8: Melt and Smooth the Ganache. Microwave the chocolate and cream mixture in 40-second intervals. After each interval, remove the bowl and stir vigorously. Continue this process until the chocolate chips are fully melted and the mixture is completely smooth and shiny. Be careful not to overheat the chocolate, as it can seize. Once smooth, set aside to cool slightly; it should still be warm enough to dip, but not hot enough to melt your cupcakes.
Crafting the Perfect Mint Frosting
This vibrant mint frosting is the crowning glory of your Thin Mint Cupcakes, adding that essential burst of cool, refreshing flavor. Follow these steps for a perfectly smooth and flavorful buttercream:
- Step 1: Cream the Butter. In the bowl of a stand mixer fitted with the paddle attachment (or using a hand mixer), beat the softened butter on medium speed until it is light, fluffy, and smooth. This typically takes about 2-3 minutes. Proper creaming ensures a light texture in your finished frosting.
- Step 2: Add Extracts. Once the butter is creamy, add the pure vanilla extract and your chosen mint or peppermint extract. Beat again until well combined. Remember to add the mint extract gradually – start with a small amount and taste. The intensity of mint extract can vary significantly between brands, so it’s always better to add a little at a time until you reach your desired minty flavor.
- Step 3: Incorporate Powdered Sugar and Color. Slowly begin to add the powdered sugar, one cup at a time, beating on low speed until fully incorporated before adding more. Once all the sugar is in, increase the speed to medium-high and beat until the frosting is light and fluffy. If you find the frosting is too thick, add milk (about a tablespoon at a time) until you achieve your desired consistency. Finally, add a few drops of green food coloring, mixing until you reach the perfect festive green hue.
Decorating Your Cupcakes Like a Pro
Now for the fun part – transforming your baked goods into bakery-worthy Thin Mint Cupcakes! This two-step decorating process adds layers of flavor and visual appeal.
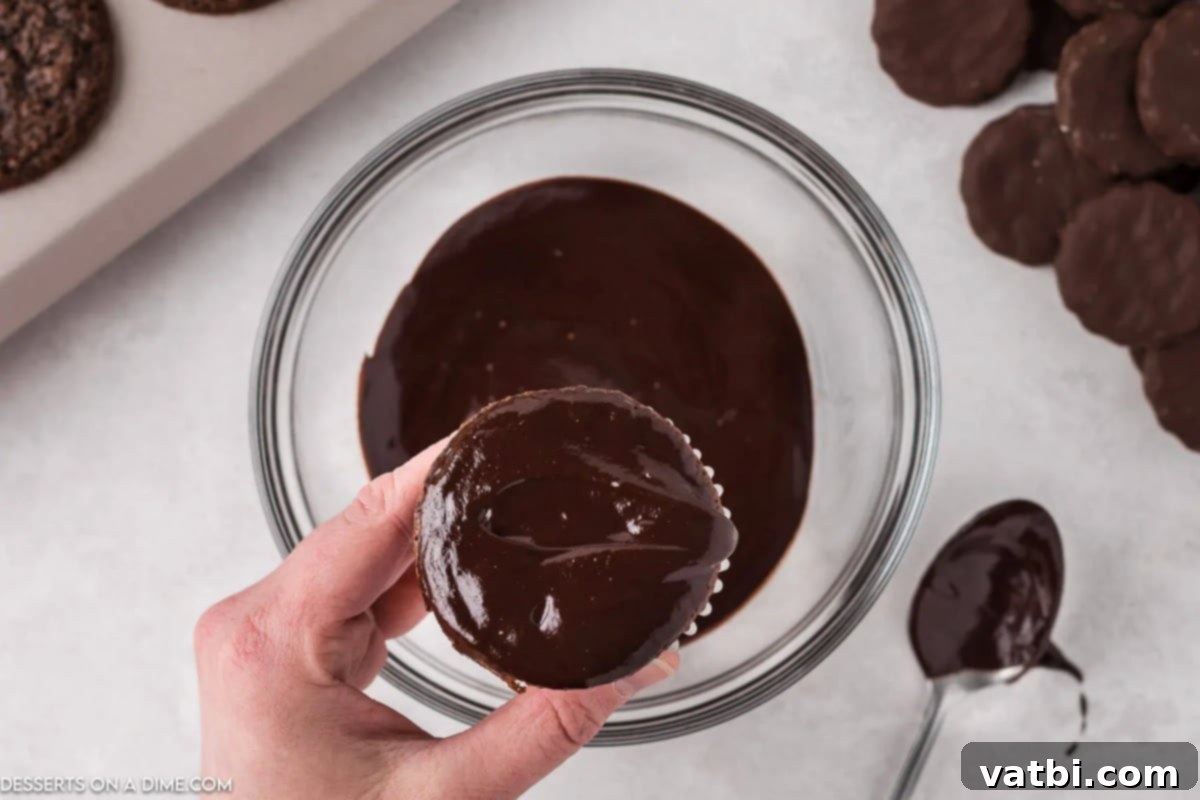
Step 1: The Ganache Dip. Once your chocolate ganache has cooled slightly (it should still be liquid but not hot) and your cupcakes are completely cooled, it’s time to dip. Gently hold a cooled cupcake upside down and dip the top into the warm chocolate ganache. Ensure a thin, even layer coats the top surface.
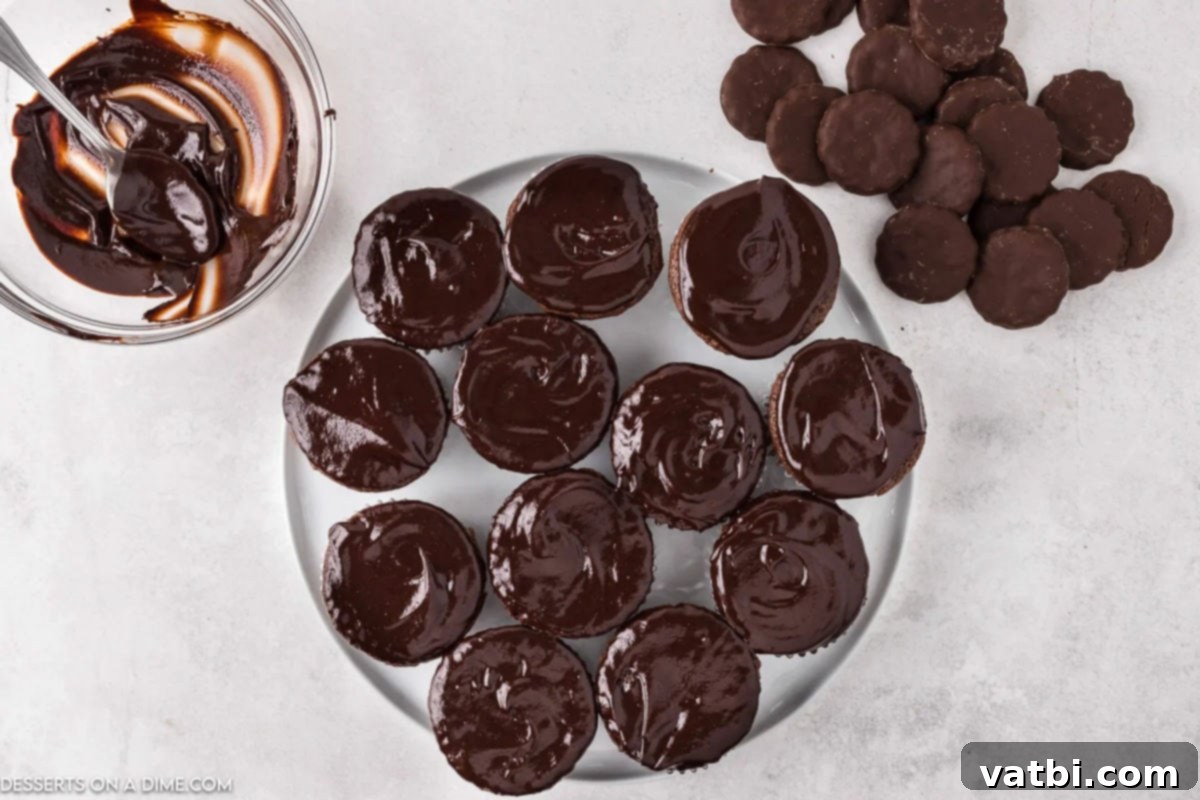
Step 2: Set the Ganache. Immediately after dipping, quickly turn the cupcake right side up. Place it on a wire rack to allow the ganache to set and firm up. This creates a beautiful, shiny chocolate shell that locks in moisture and adds a delightful textural contrast.
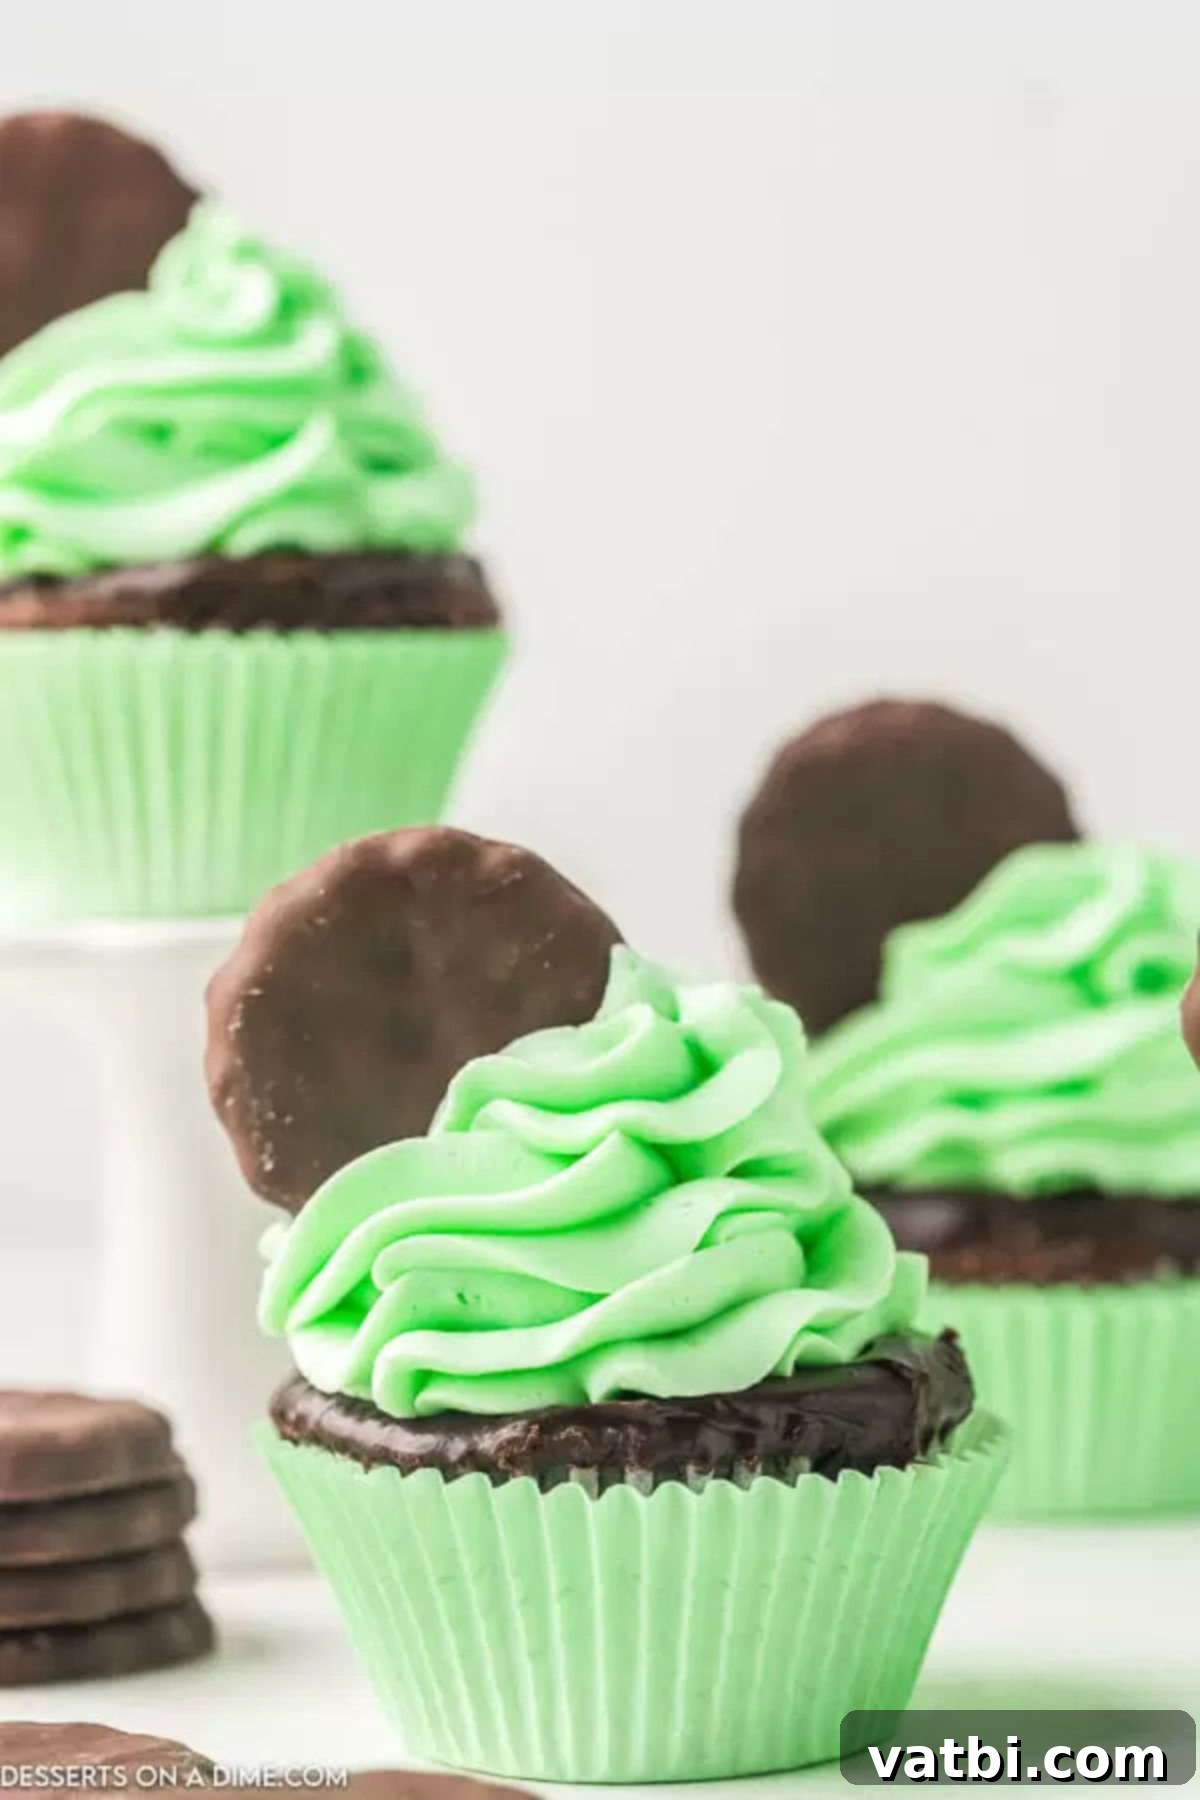
- Step 3: Frost with Minty Goodness. Once the ganache is set (it should no longer be sticky), transfer your mint frosting into a piping bag. I find Wilton disposable piping bags incredibly convenient for easy cleanup. If you don’t have one, a sturdy Ziploc bag with a corner snipped off works perfectly in a pinch. Pipe a generous swirl of mint frosting onto each ganache-topped cupcake. Get creative with your piping technique to make them look extra special!
- Step 4: Garnish and Serve. This final step is optional but highly recommended for that authentic Thin Mint experience and bakery-worthy presentation. Carefully place a whole Thin Mint cookie on top of each frosted cupcake. For an extra touch of minty chocolate crunch, you can even crush up a few extra cookies and sprinkle the crumbs over the top of the frosting. These cupcakes are now ready to impress and be devoured!
Pro Baking Tips for Thin Mint Cupcakes
Achieving perfect Thin Mint Cupcakes is simple when you follow these expert tips. These small details can make a big difference in the final taste and texture of your delicious treats:
- Room Temperature Ingredients are Key: This is a golden rule in baking! Whether it’s the eggs and milk for your cupcake batter or the butter for your icing, ensure all dairy and egg ingredients are at room temperature. This allows them to combine more smoothly and evenly, resulting in a consistent batter or a perfectly smooth, lump-free frosting.
- Measure Flour Accurately: Precision in measuring flour prevents dry, dense cupcakes. Instead of scooping flour directly from the bag (which compacts it), gently spoon the flour into your measuring cup until it’s overflowing, then level it off with the straight edge of a knife. This method ensures you’re using the correct amount.
- Check Your Leavening Agents: Baking soda and baking powder are crucial for your cupcakes’ rise. Always check the expiration dates on your leavening agents. Expired products lose their potency, leading to flat, heavy cupcakes.
- Do Not Overmix the Batter: Once you’ve added the dry ingredients to the wet, mix only until the ingredients are just combined and no streaks of flour remain. Overmixing develops the gluten, making your cupcakes tough and chewy rather than light and tender. A few small lumps in the batter are perfectly fine.
- Cool Cupcakes Completely: It’s tempting to frost warm cupcakes, but resist the urge! Warm cupcakes will cause your chocolate ganache to melt and your mint buttercream frosting to slide right off. Ensure the cupcakes are completely cool to the touch before starting the dipping and frosting process.
- Achieving the Perfect Green Color: When adding green food coloring to your mint frosting, start with a tiny drop and gradually add more until you reach your desired shade. Remember that gel food coloring is more concentrated than liquid, so a little goes a long way.
- Frosting Variations: While our mint buttercream is fantastic, you can experiment with other frosting options. For a richer, tangier alternative, consider using a Homemade Cream Cheese Frosting Recipe. You could also tint a simple vanilla buttercream green for a less intense mint flavor.
- Garnish creatively: Beyond whole Thin Mint cookies, try crushing them into crumbs for a sprinkle, or use chocolate shavings, mini chocolate chips, or even a drizzle of extra ganache for varied textures and presentation.
Frequently Asked Questions
To maintain their freshness, cover the Thin Mint Cupcakes tightly or place them in an airtight cupcake holder. Due to the cream cheese frosting and ganache, it’s best to refrigerate the cupcakes. When you’re ready to serve, allow them to come to room temperature for about 15-30 minutes for the best flavor and texture, especially for the frosting and cake crumb.
When stored properly in an airtight container in the refrigerator, these Thin Mint Cupcakes will stay fresh and delicious for 3-4 days. For optimal taste and texture, it’s best to enjoy them within this timeframe. Unfrosted chocolate cupcakes can be stored at room temperature in an airtight container for up to 2 days, but once frosted with ganache and buttercream, refrigeration is necessary.
Absolutely! You can bake the chocolate cupcakes a day in advance and store them in an airtight container at room temperature. The ganache can also be made ahead of time and gently reheated in the microwave, stirring until smooth, before dipping. The mint frosting is best made fresh on the day of assembly for the lightest, fluffiest texture, but it can be prepared a day in advance and stored in the fridge, then re-whipped before piping.
Yes, you can freeze these cupcakes! For best results, freeze the unfrosted cupcakes. Once completely cooled, place them in an airtight freezer-safe container or wrap them individually in plastic wrap, then place them in a freezer bag. They can be frozen for up to 2-3 months. Thaw them in the refrigerator overnight or at room temperature for a few hours before frosting and serving. Freezing frosted cupcakes is possible, but the texture of the frosting might change slightly upon thawing.
If your ganache is too thick after melting, you can add a tiny bit more heavy cream (about a teaspoon at a time) and stir until it reaches the desired consistency. If it’s too thin, let it sit at room temperature for a bit longer to firm up, or you can refrigerate it for 10-15 minute intervals, stirring in between, until it thickens. Be careful not to let it get too firm, or it will be hard to dip.
More Easy Cupcake Recipes to Try
If you’ve fallen in love with making these Thin Mint Cupcakes, you’ll be thrilled to discover more simple yet spectacular cupcake recipes from our collection. Expand your baking repertoire with these other delightful treats:
- Cherry Limeade Cupcake Recipe: A sweet and tangy burst of flavor that’s perfect for summer.
- Orange Soda Cupcakes: Fun, fizzy, and incredibly moist cupcakes with a delightful citrus twist.
- Strawberry Lemonade Cupcake Recipe: The perfect balance of sweet strawberries and zesty lemon in a tender cupcake.
- Red Velvet Cupcakes Recipe: A classic favorite, rich in color and flavor, typically topped with luscious cream cheese frosting.
- Orange Creamsicle Cupcakes: Nostalgic flavors of a creamsicle in a fluffy cupcake form.
- Guinness Cupcakes: Rich and robust, these stout-infused cupcakes are a sophisticated treat.
We encourage you to try this Thin Mint Cupcake recipe and experience its amazing taste for yourself! Once you do, please take a moment to leave a star recipe rating and share your thoughts. Your feedback helps us and other bakers enjoy these delicious creations even more.
Pin
Thin Mint Cupcakes
Ingredients
- Cupcake Ingredients:
- 2 eggs
- 1/2 cup granulated sugar
- 1/2 cup brown sugar
- 1/3 cup vegetable oil
- 2 teaspoons vanilla extract
- 3/4 cup flour
- 1/2 cup unsweetened cocoa powder
- 1/2 teaspoon baking soda
- 3/4 teaspoon baking powder
- 1/4 teaspoon salt
- 1/2 cup milk
- Chocolate Ganache Ingredients:
- 2/3 cup chocolate chips
- 2-3 tablespoons heavy whipping cream
- For mint icing
- 3/4 cup butter softened
- 1 teaspoon vanilla extract
- 1 mint or peppermint extract add this gradually as the intensity of mint extract varies from brand to brand
- 2-3 cups powdered sugar
- green food dye
Instructions
-
Cupcakes:
-
Preheat oven to 350°F and line pan with silicone or paper cupcake liners.
-
In a large bowl, whisk sugar, eggs, brown sugar, vanilla extract and oil together.
-
In a different bowl combine all of the dry ingredients – flour, cocoa powder, baking soda, baking powder and salt.
-
Pour half of these dry ingredients into the liquid mixture. Stir well.
-
Add in the milk and gently stir again. Add in the rest of the dry ingredients, being careful not to over mix.
-
Fill the cupcake liners half full and bake for 15-20 minutes or until toothpick inserted in the center comes out clean. Allow to cool completely.
-
Chocolate Ganache:
-
To make the ganache, add the chocolate chips and whipping cream together in a small bowl and microwave for 40 seconds. Remove from the microwave and stir. Continue to microwave until smooth.
-
For the mint icing
-
Beat butter until smooth.
-
Add vanilla and mint extract and beat again.
-
Slowly add in powdered sugar until you reach your desired consistency (add milk if it becomes too thick).
-
Frost Cupcakes:
-
Dip the cooled cupcakes into the ganache and turn right side up to allow ganache to set on top.
Recipe Notes
Nutrition Facts
Pin This Now to Remember It Later
Pin Recipe
