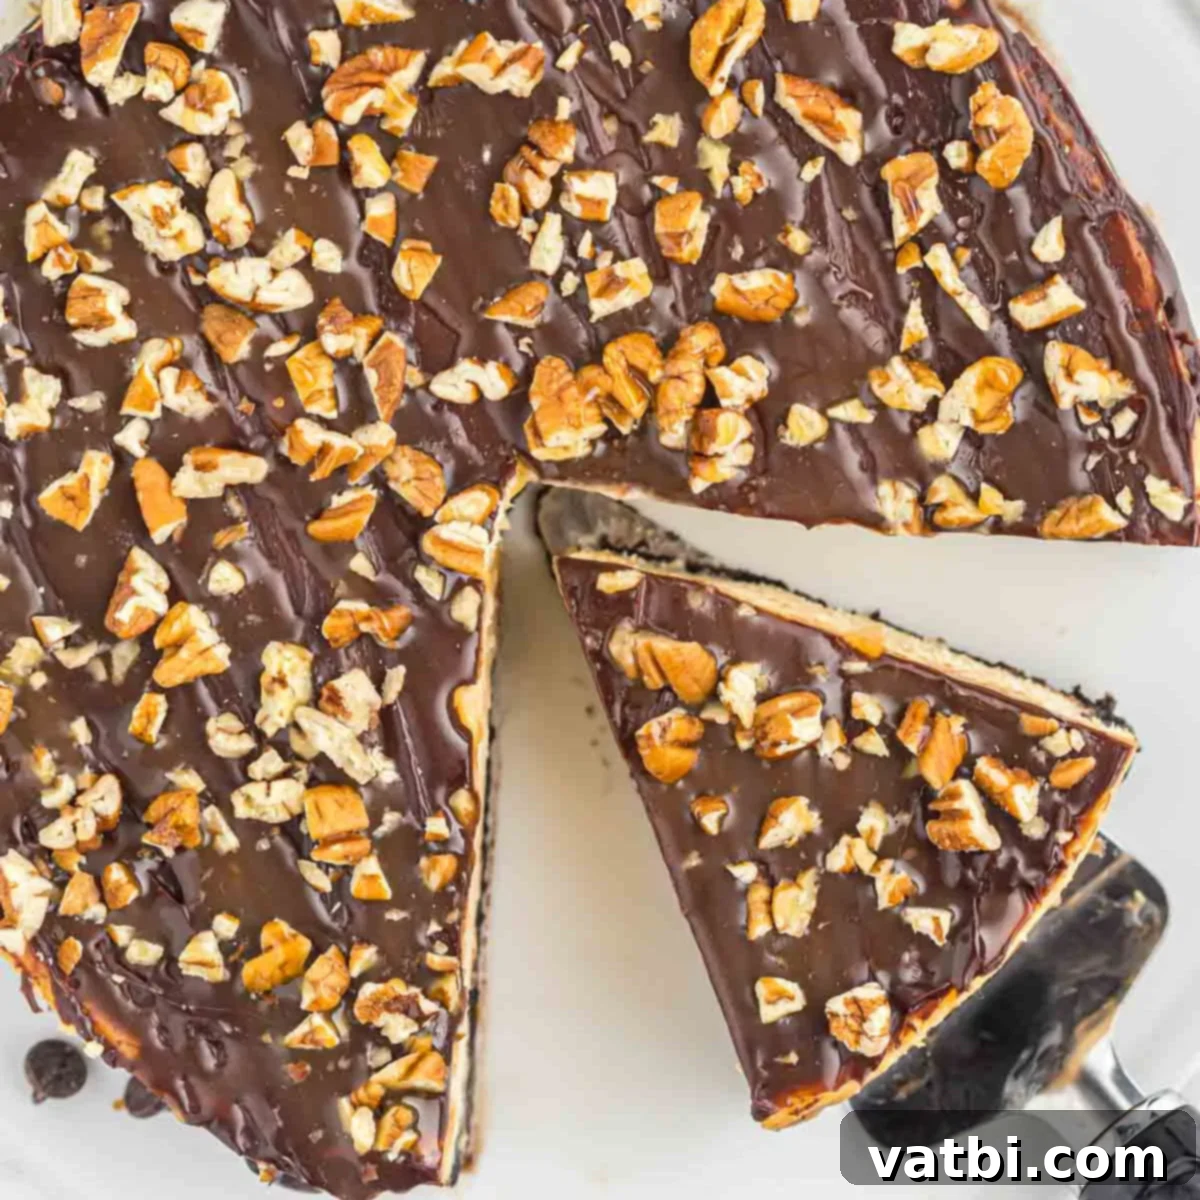
Decadent Turtle Cheesecake with Oreo Crust, Caramel, Chocolate & Pecans
Indulge in the ultimate dessert experience with this incredibly rich and creamy **Turtle Cheesecake**. Featuring a luscious cheesecake filling generously topped with crunchy pecans, gooey caramel, and decadent chocolate, all resting on a delightful Oreo cookie crust, this recipe is guaranteed to be a showstopper at any gathering. Forget complicated desserts; our easy-to-follow steps ensure a perfect, velvety cheesecake every time, making it a favorite for both seasoned bakers and beginners alike. This dessert captures the essence of classic turtle candies in a sophisticated and satisfying cheesecake format.
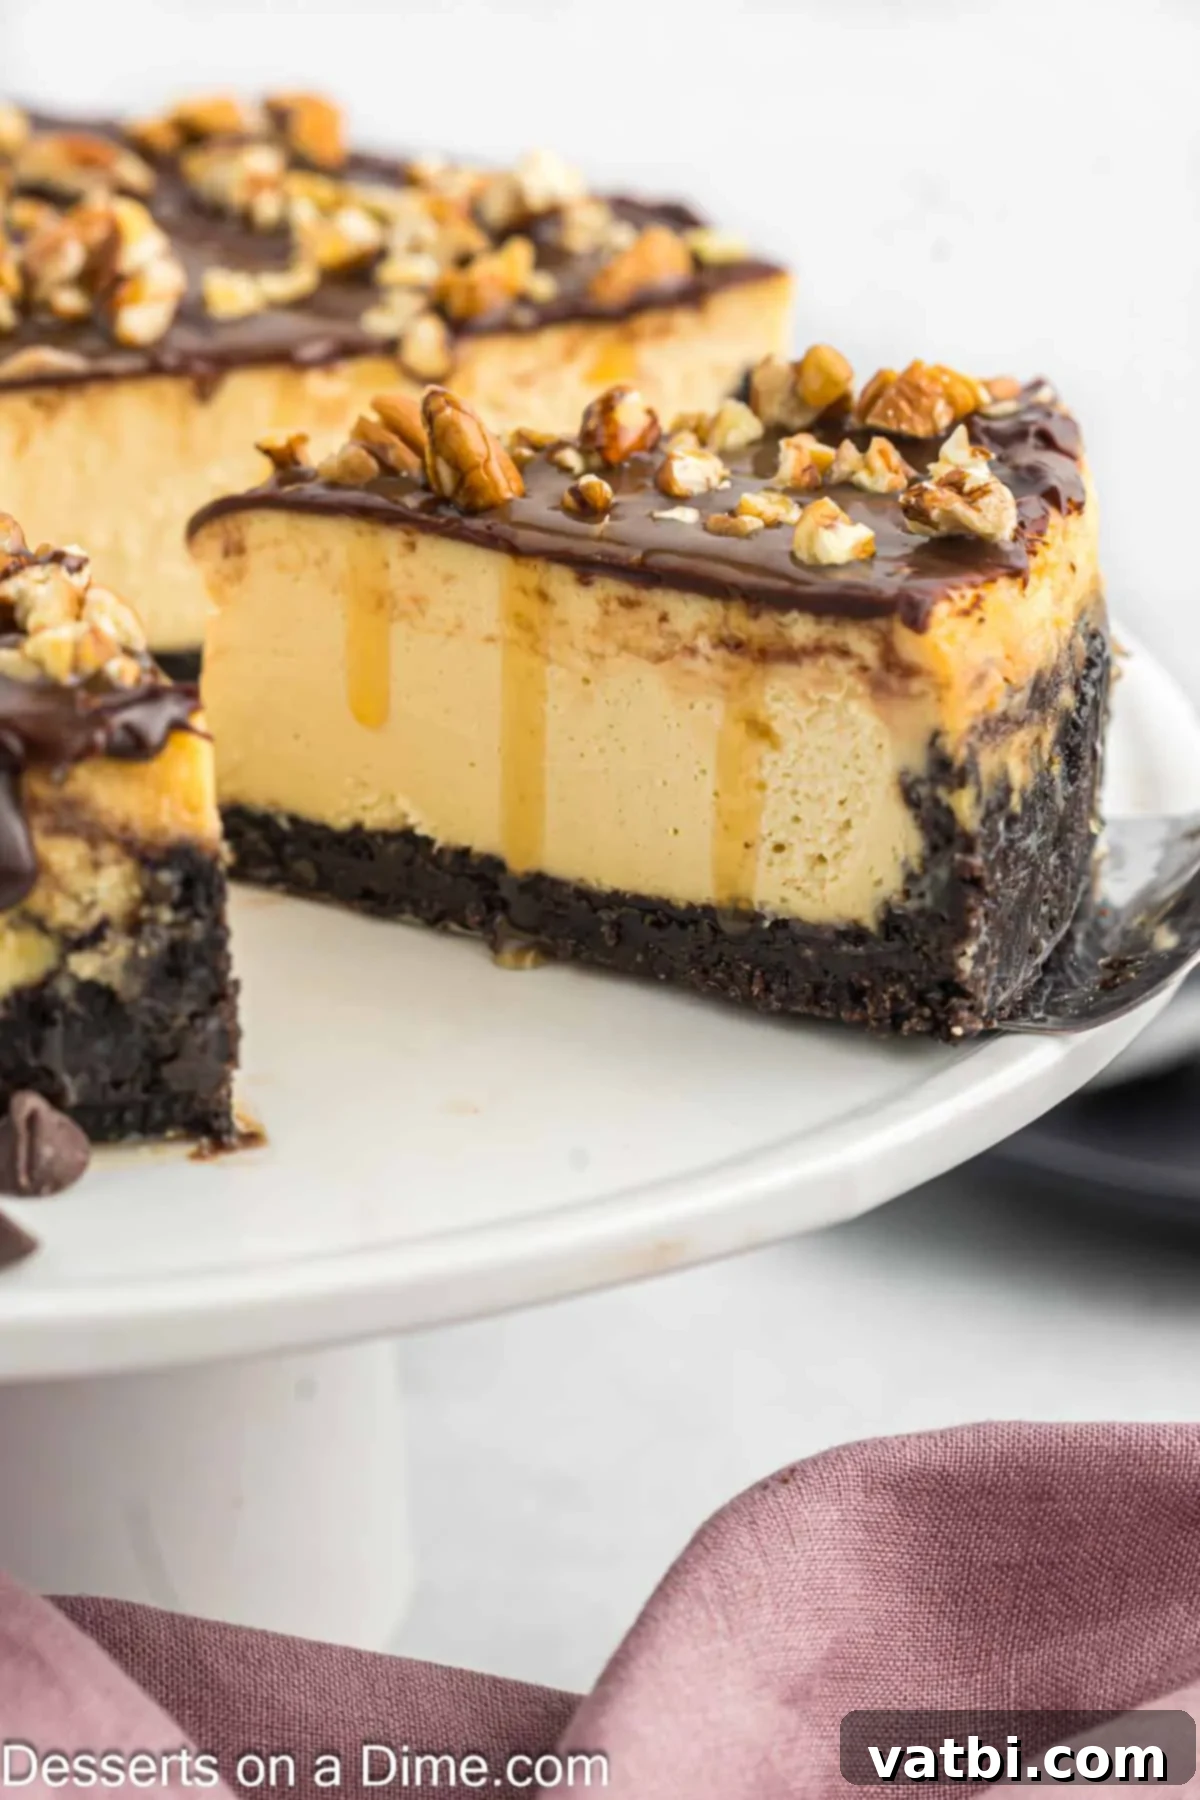
If you’re a devoted fan of the classic Chocolate Turtles candy, prepare to fall head over heels for this extraordinary **homemade Turtle Cheesecake recipe**. It masterfully combines all the beloved flavors of that iconic confection – the buttery pecans, the sweet, chewy caramel, and the smooth, rich chocolate – into a creamy, dreamy cheesecake that’s truly irresistible. My family absolutely adores cheesecakes, and I’ve honed my skills with various recipes, from our charming Mini Oreo Cheesecake and the comforting Butter Pecan Cheesecake to the elegant Cheesecake Brulee. The best part is, these recipes are easy enough that I can whip them up anytime, even with a busy schedule. This particular **easy Turtle Cheesecake** is a fantastic way to elevate your dessert game without spending hours in the kitchen, delivering maximum flavor with minimal fuss.
Table of contents
- Why You’ll Adore This Turtle Cheesecake
- Essential Ingredients for Your Turtle Cheesecake
- Variations and Smart Substitutions
- Step-by-Step Guide to Baking Your Cheesecake
- Storage Tips for Freshness
- Pro Baking Tips for a Perfect Cheesecake
- Frequently Asked Questions About Cheesecake
- More Irresistible Cheesecake Recipes
Why You’ll Adore This Turtle Cheesecake
This new and improved **Turtle Cheesecake recipe** is truly a masterpiece that promises to become a permanent fixture in your dessert rotation. Every single bite delivers a delightful symphony of textures and flavors: the velvety smooth, tangy cheesecake filling, the deep, rich notes of melted chocolate, the sweet, gooey embrace of buttery caramel, and the satisfying crunch of perfectly toasted pecans. It’s an indulgent experience that will leave you craving more, a harmonious blend that is both comforting and exciting.
What makes this specific **homemade Turtle Cheesecake** truly special is its impeccable balance. It’s sweet without being cloying, rich without being overly heavy, and incredibly satisfying from the first forkful to the last. The simple yet effective Oreo cookie crust provides a fantastic chocolatey foundation, perfectly complementing the creamy filling and acting as a sturdy base for all those decadent toppings. This isn’t just a dessert; it’s a celebration of flavors and textures. Whether you’re celebrating a special occasion, hosting a memorable dinner party, or simply treating your loved ones (or yourself!) to something extraordinary, this **caramel chocolate pecan cheesecake** promises to be a spectacular and memorable addition to your dessert repertoire. Plus, it’s surprisingly straightforward to make, making it accessible for home bakers looking to create a show-stopping dessert without unnecessary fuss or complexity.
Essential Ingredients for Your Turtle Cheesecake
Crafting the perfect **Decadent Turtle Cheesecake** begins with selecting the right ingredients. Each component plays a vital role in achieving that signature rich flavor, luxurious texture, and overall deliciousness we all love. Here’s a detailed look at what you’ll need, along with a few notes on why these choices are important for the best results:
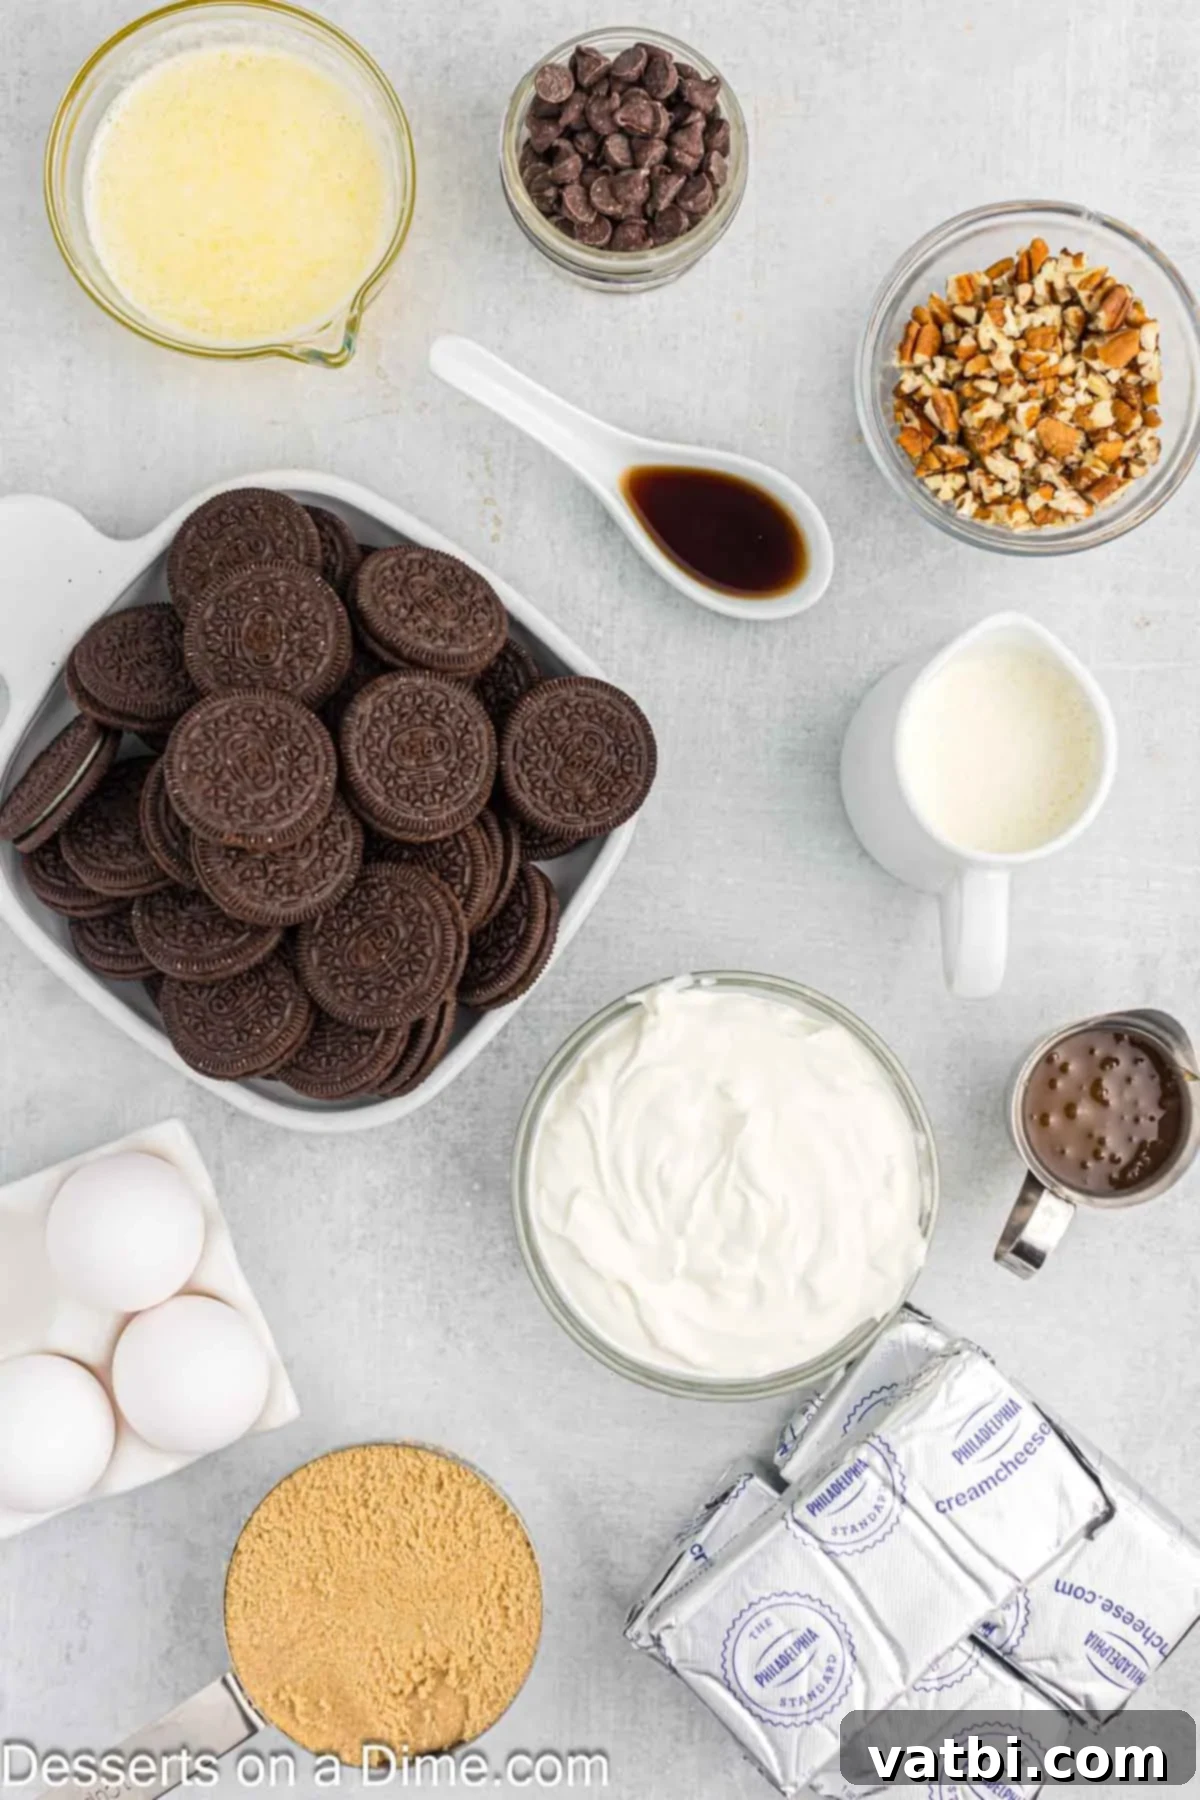
For the Crust:
- Oreo Cookies: These iconic chocolate sandwich cookies are the backbone of our **Oreo crust cheesecake**. Using the entire cookie, including the cream filling, creates a rich, dark, and perfectly crumbly base that offers a delightful textural and flavor contrast to the creamy filling. For those seeking an alternative, homemade Chocolate Wafer Cookies can provide a similar deep chocolate flavor.
- Butter (melted): The unsung hero of any cookie crust! Melted butter acts as the binding agent, adhering the cookie crumbs together to form a sturdy, flavorful, and perfectly firm base. Unsalted butter is generally recommended for baking to give you full control over the dessert’s saltiness.
For the Cheesecake Filling:
- Cream Cheese: The quintessential ingredient for any cheesecake. Always opt for full-fat, brick-style cream cheese for the best possible flavor and the creamiest, most stable texture. It’s absolutely crucial that your cream cheese is softened to room temperature before mixing; this prevents lumps and ensures a smooth, uniform batter.
- Light Brown Sugar: Adds a delicate sweetness with a subtle hint of molasses, which beautifully complements the caramel and chocolate notes found in the topping.
- Vanilla Extract: A non-negotiable flavor enhancer. Pure vanilla extract deepens and harmonizes all the other flavors, adding a warm, inviting aromatic depth to the cheesecake.
- Sour Cream: A secret weapon in cheesecake baking! Sour cream introduces a subtle tanginess that expertly balances the sweetness of the dessert. More importantly, it contributes significantly to the cheesecake’s characteristic smooth, velvety, and irresistibly rich texture. Like the cream cheese, ensure your sour cream is at room temperature.
- Large Eggs (room temperature): These provide structure and act as the binding agent for the cheesecake, helping it to set properly. Using room temperature eggs is vital as it prevents the batter from curdling and ensures a perfectly smooth, emulsified mixture, greatly reducing the risk of cracks during baking.
- Heavy Cream: Incorporating heavy cream into the filling adds an extra layer of richness and helps achieve that incredibly luxurious, melt-in-your-mouth consistency that makes a cheesecake truly spectacular.
For the Topping:
- Heavy Cream: Used to create the smooth, pourable chocolate ganache drizzle.
- Semi-Sweet Chocolate Chips: These provide the classic rich, chocolatey element of the “turtle” topping. Semi-sweet chocolate offers a balanced sweetness that prevents the topping from being overly sugary, allowing the other flavors to shine.
- Caramel Sauce: The defining gooey, buttery, and utterly delicious component of the turtle profile. You can opt for a high-quality store-bought caramel sauce for convenience or elevate your dessert further by making your own for an extra special touch.
- Pecan Halves (chopped): Deliver the essential nutty crunch and earthy flavor that perfectly rounds out a genuine turtle dessert. Chopping them ensures an even distribution and a pleasant texture in every single bite.
You can find the entire ingredients list with precise measurements in the comprehensive recipe card located at the bottom of this page. This **easy Turtle Cheesecake** recipe is designed to make gathering ingredients and the baking process as enjoyable and straightforward as possible, leading to a truly rewarding culinary creation.
Variations and Smart Substitutions
While the classic **Turtle Cheesecake** is undeniably a masterpiece of flavor and texture, there are countless ways to customize this recipe to perfectly suit your personal taste preferences or to utilize ingredients you already have on hand. Don’t hesitate to get creative and make this dessert uniquely yours!
- Homemade Caramel Sauce: For an unparalleled depth of flavor, consider elevating your cheesecake by making your own Easy Homemade Caramel Sauce. The rich, buttery, and complex taste of homemade caramel is simply unmatched and adds a truly gourmet touch to your already decadent dessert. It’s surprisingly simple to prepare and well worth the small extra effort.
- Garnish with Whipped Cream: For an even more luxurious presentation and an added layer of creamy goodness, top each slice of your **caramel chocolate pecan cheesecake** with a generous dollop of Homemade Whipped Cream. The light, airy texture and subtle sweetness of whipped cream provide a beautiful contrast to the dense cheesecake and rich toppings. A tiny sprinkle of flaky sea salt over the caramel can also dramatically enhance and balance the sweetness, adding a sophisticated touch.
- Crust Alternatives: While the iconic Oreo crust offers a fantastic chocolatey base, you have plenty of options to substitute other types of cookies or crackers for a different flavor profile and texture:
- Vanilla Wafers: For a milder, more buttery, and classic cheesecake crust.
- Biscoff Cookies: These will infuse your crust with a warm, spiced, and distinctive caramel-like flavor, adding another layer of complexity.
- Graham Crackers: A universally loved classic cheesecake crust, offering a subtly sweet and slightly nutty foundation with a pleasing crunch.
- Shortbread Cookies: For a rich, intensely buttery, and wonderfully delicate crust that practically melts in your mouth.
- Pretzel Crust: For a truly unique sweet and salty twist, crush pretzels finely and mix them with melted butter and a small amount of sugar. This creates an exciting flavor dimension.
- Nutty Swaps: If pecans aren’t your favorite, or if you simply want to experiment, feel free to substitute them with other nuts. Walnuts, almonds, cashews, or even a mix of different nuts can provide varied textures and flavors. Lightly toasting any nuts before sprinkling them on top will significantly enhance their aroma and crunch, bringing out their natural oils.
- Chocolate Choices: Don’t limit yourself to semi-sweet! Experiment with different types of chocolate chips for the topping drizzle. Dark chocolate chips will add a more intense, slightly bitter, and less sweet chocolate flavor, providing a deeper contrast. Milk chocolate chips, on the other hand, will make the topping sweeter and creamier. For a striking visual and flavor contrast, you could even drizzle with melted white chocolate.
- Flavor Boosters: A minuscule pinch of flaky sea salt sprinkled directly over the finished caramel and chocolate topping can work wonders, enhancing all the individual flavors by providing a delightful counterpoint to the sweetness. For an adult-friendly version, a splash of coffee liqueur, rum, or bourbon added to the cheesecake batter (reduce vanilla slightly to compensate) can introduce a sophisticated depth of flavor.
Step-by-Step Guide to Baking Your Cheesecake
Creating this magnificent **Decadent Turtle Cheesecake** is a truly rewarding process that, when followed carefully, will result in a perfect, crack-free, and utterly delicious dessert. Remember, patience is a virtue, especially during the chilling phases! Let’s get baking!
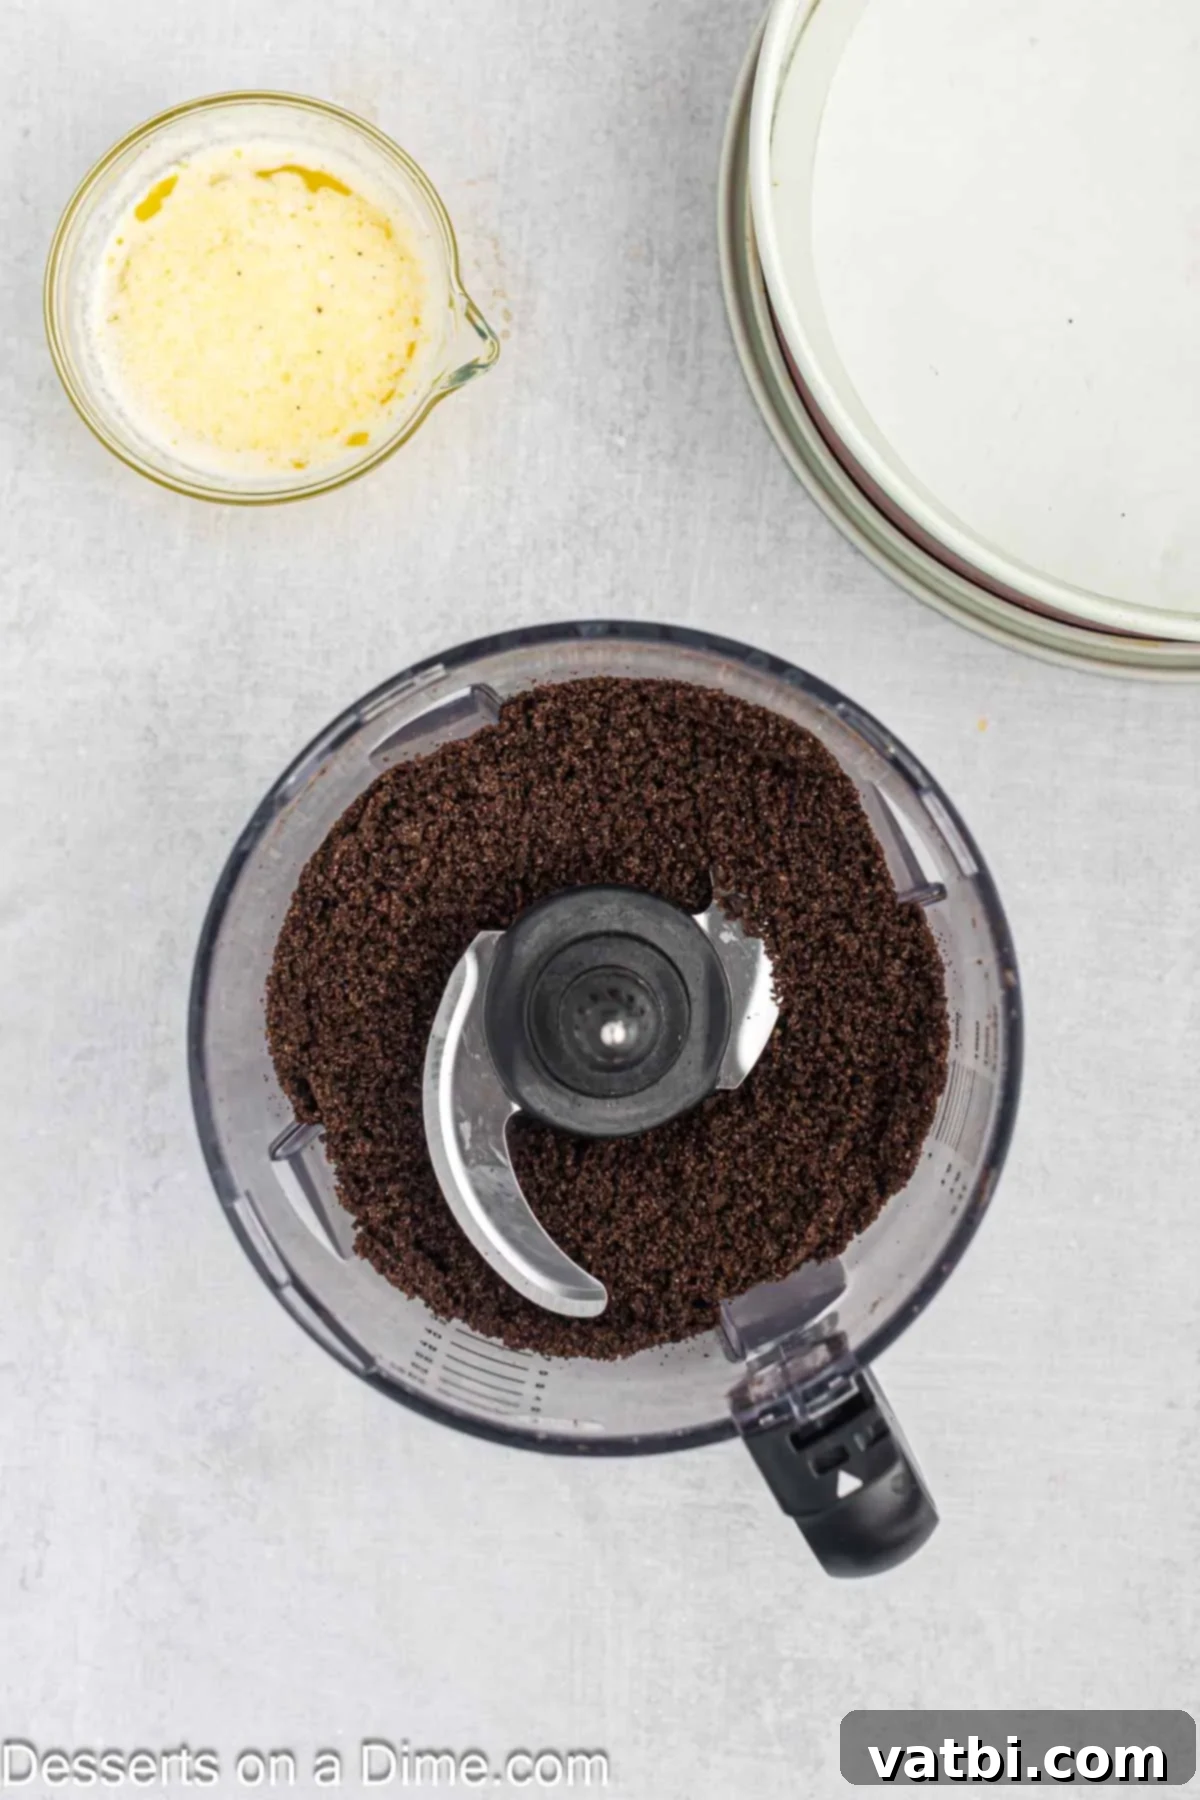
Step 1: Prepare the Oreo Crust. Begin by placing the entire Oreo cookies (yes, including the delicious cream filling!) into a food processor or a high-speed blender. Process them thoroughly until they form fine, even crumbs. The finer and more uniform the crumbs are, the more compact and stable your crust will be, ensuring it holds its shape beautifully. This is a crucial first step for building your perfect Oreo crust cheesecake.
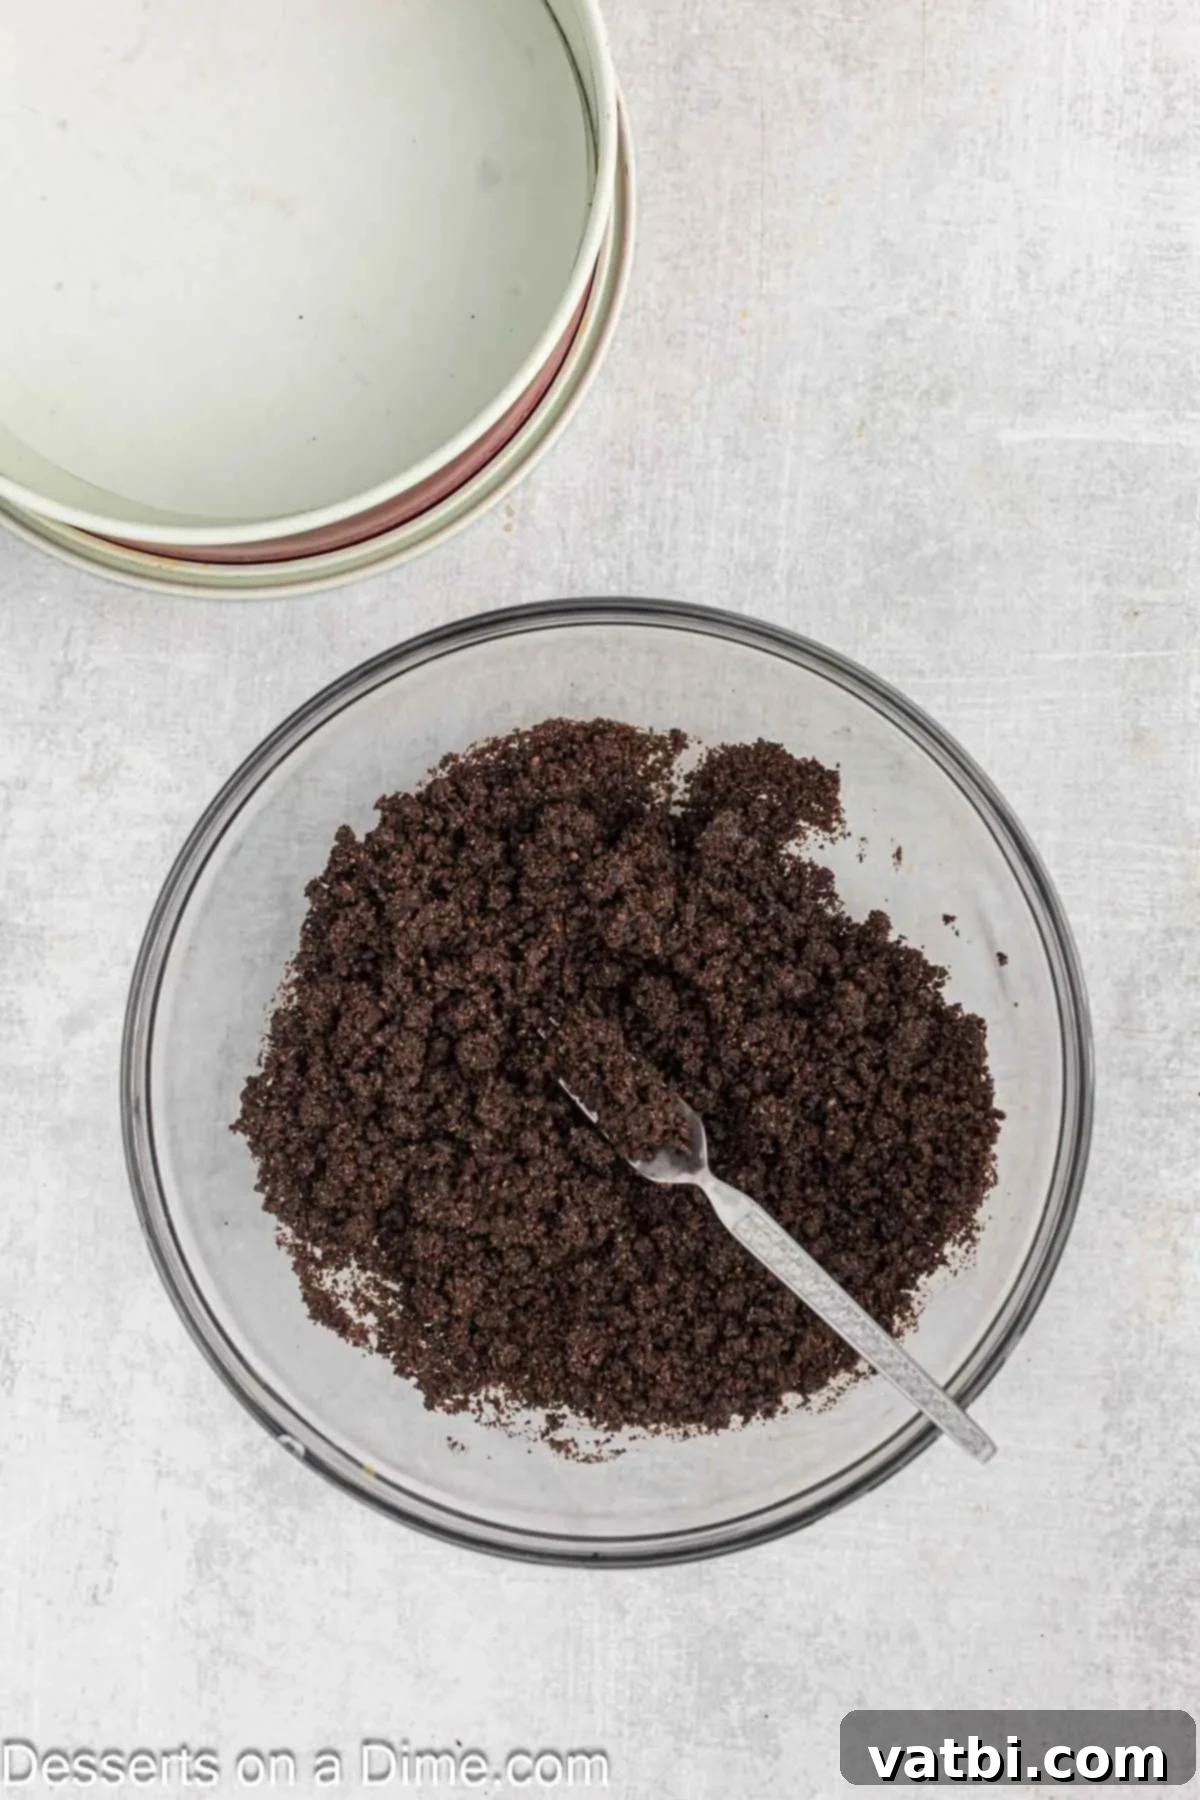
Step 2: Form the Crust. Once you have your fine Oreo crumbs, transfer them to a medium-sized mixing bowl. Pour in the melted butter and stir thoroughly until all the crumbs are fully moistened and resemble wet sand. This ensures the crust will bind together and hold its shape. Press the mixture firmly and evenly into the bottom of a 9-inch springform pan, extending it approximately halfway up the sides of the pan. Use the back of a spoon or the flat bottom of a drinking glass to compact it tightly and create a smooth, even layer. Place the pan with the crust in the refrigerator to chill while you prepare the cheesecake filling. This crucial chilling step helps the butter solidify, creating a firm and resilient crust that won’t crumble when sliced.
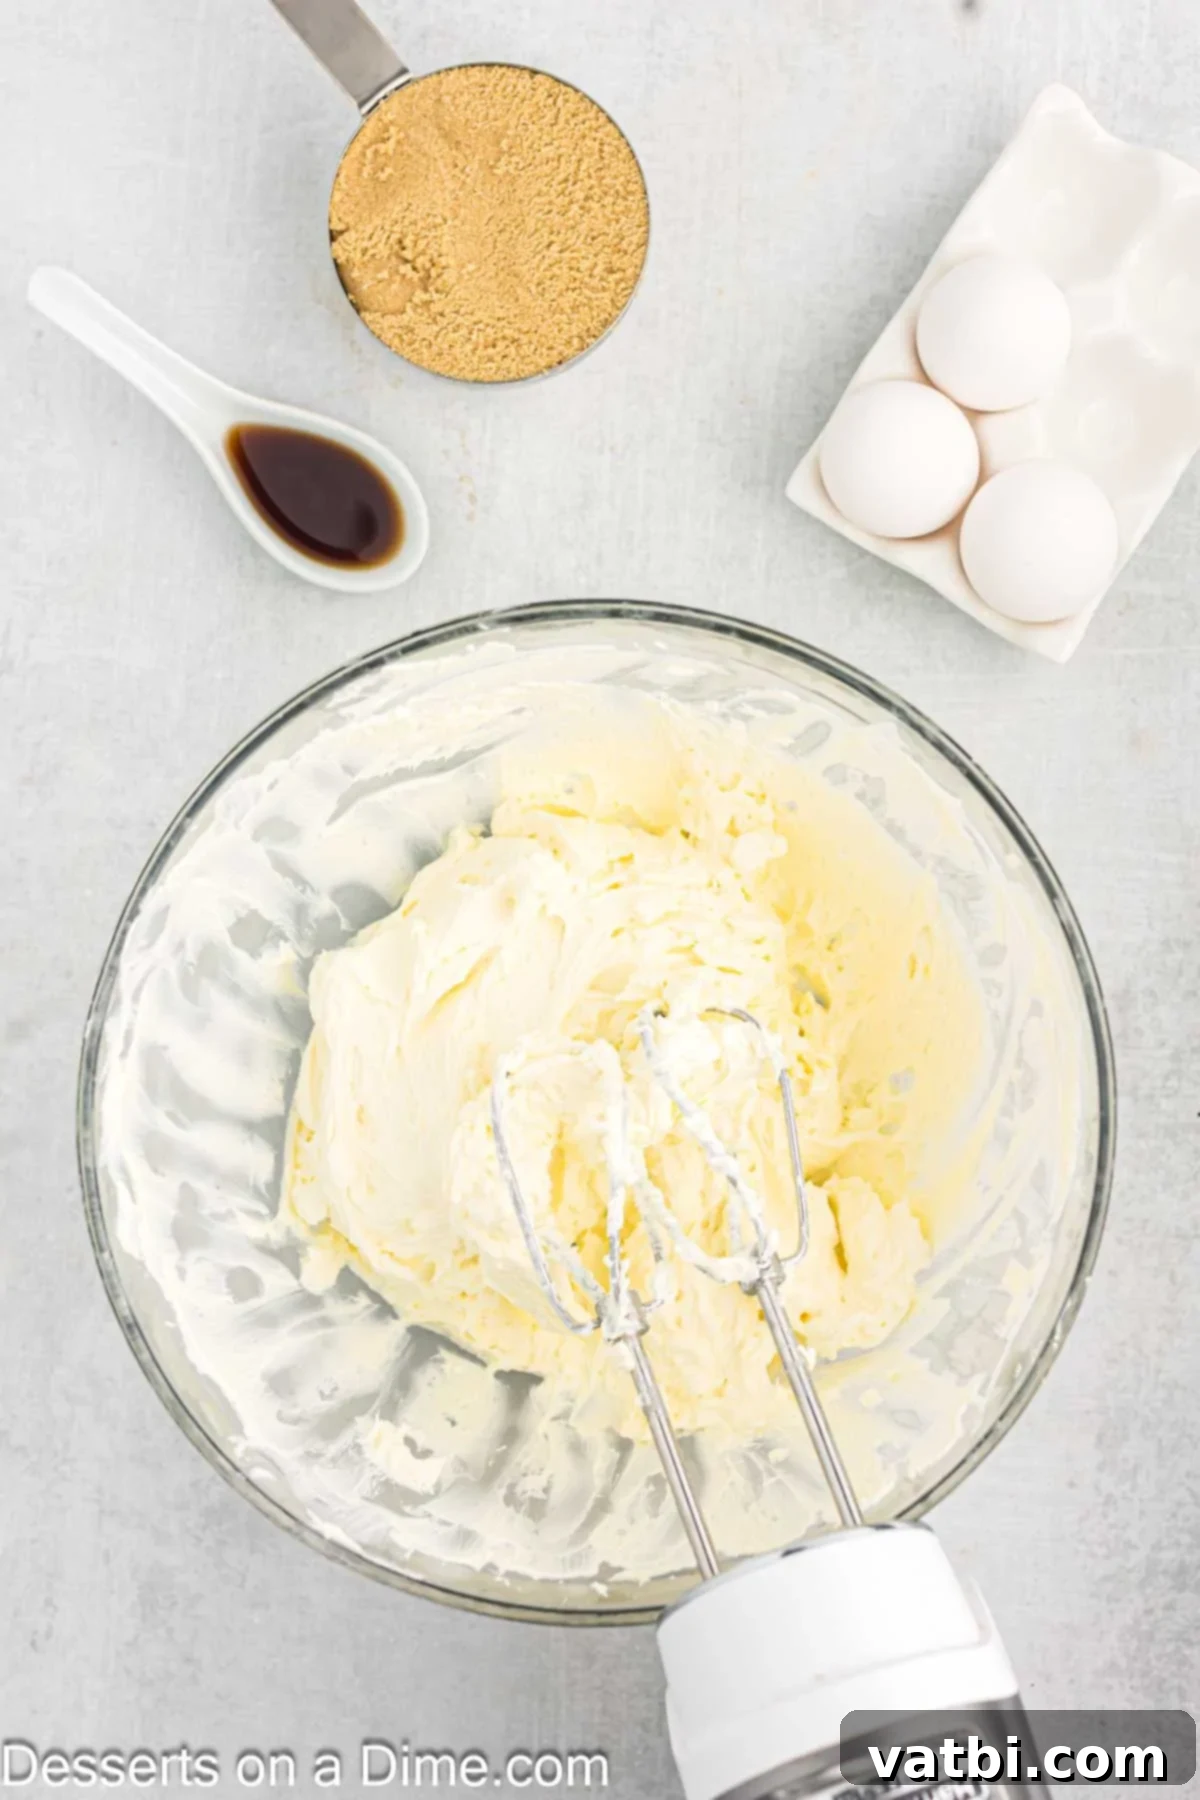
Step 3: Prepare the Cream Cheese Base. Get out a separate large mixing bowl. Add the softened cream cheese and beat it with either a handheld electric mixer or a stand mixer fitted with the paddle attachment. Beat on medium speed until the cream cheese is completely soft, smooth, and creamy, with absolutely no lumps remaining. This step is absolutely essential for achieving that signature velvety smooth cheesecake filling, so take your time.
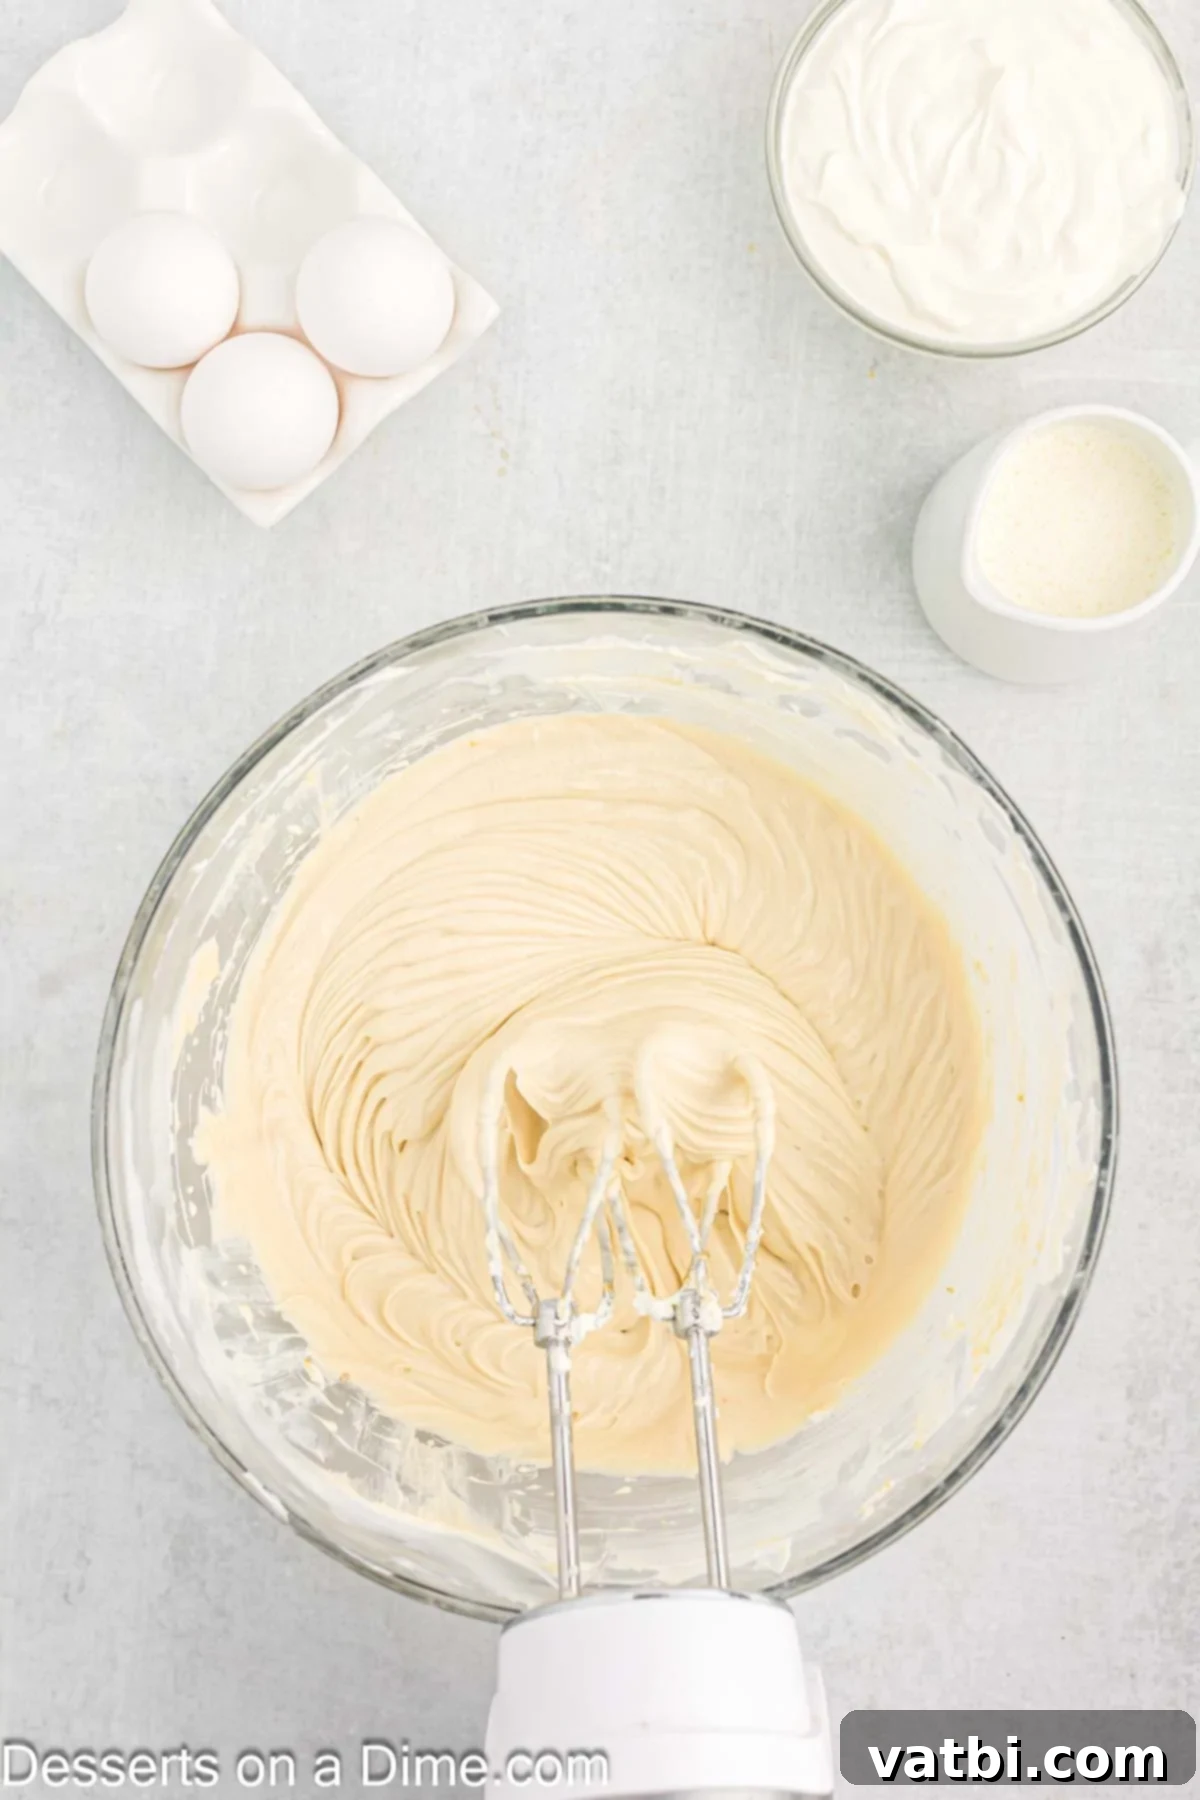
Step 4: Incorporate Sugar and Vanilla. Now, add the light brown sugar and vanilla extract to the creamy cream cheese mixture. Beat on low-medium speed for 1-2 minutes, just until the ingredients are combined. As you mix, remember to scrape down the sides of the bowl with a rubber spatula as needed to ensure everything is thoroughly incorporated and the mixture remains smooth and homogenous. Be careful not to overmix at this stage.
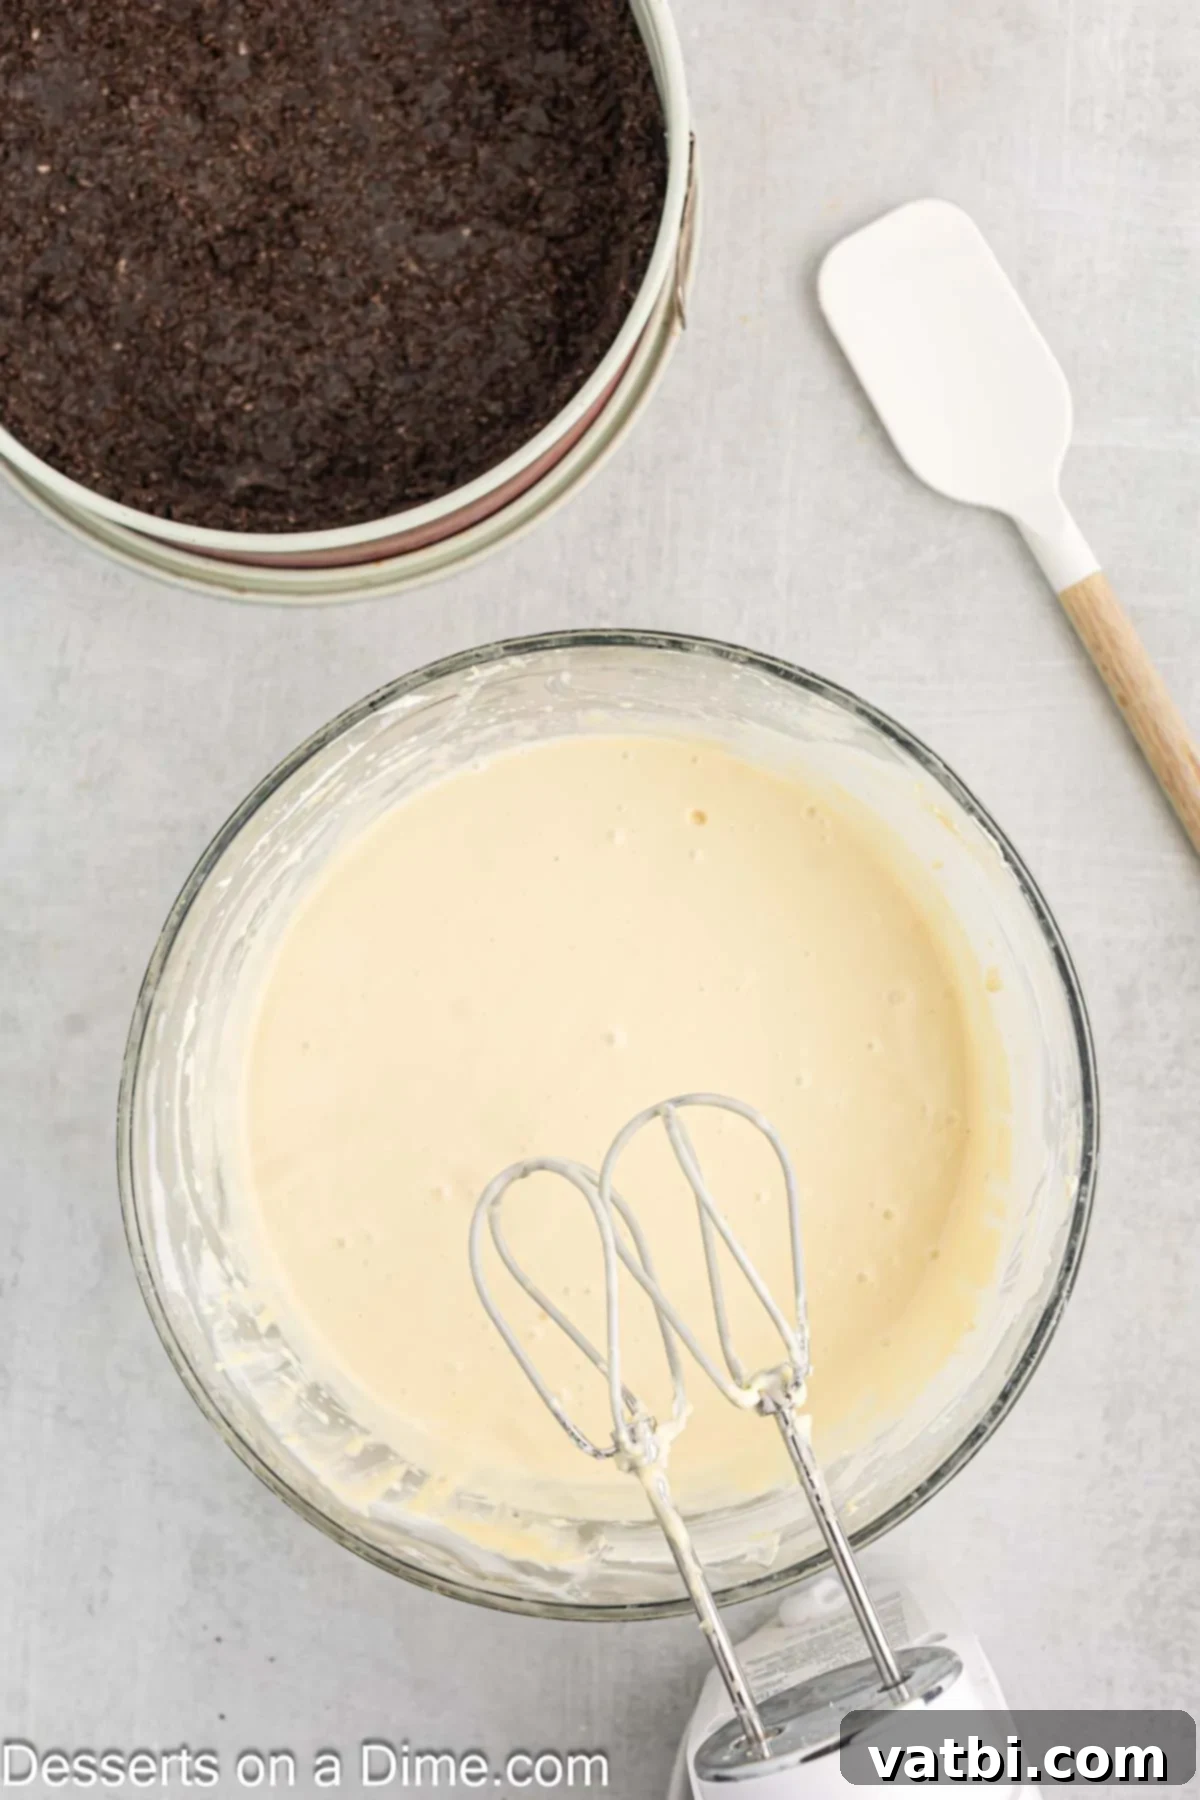
Step 5: Add Eggs and Creams. Reduce the mixer speed to its lowest setting. Slowly add the large eggs, one at a time, mixing only until each egg is fully incorporated into the batter before adding the next. This step is critical: **do not overmix**, as excessive air introduced into the batter can expand during baking and then collapse upon cooling, often leading to unsightly cracks in your cheesecake. With the mixer still on low speed, gently mix in the sour cream and heavy cream until both are thoroughly combined and the batter is smooth. Give the bowl a final scrape down with your spatula to ensure everything is perfectly blended.
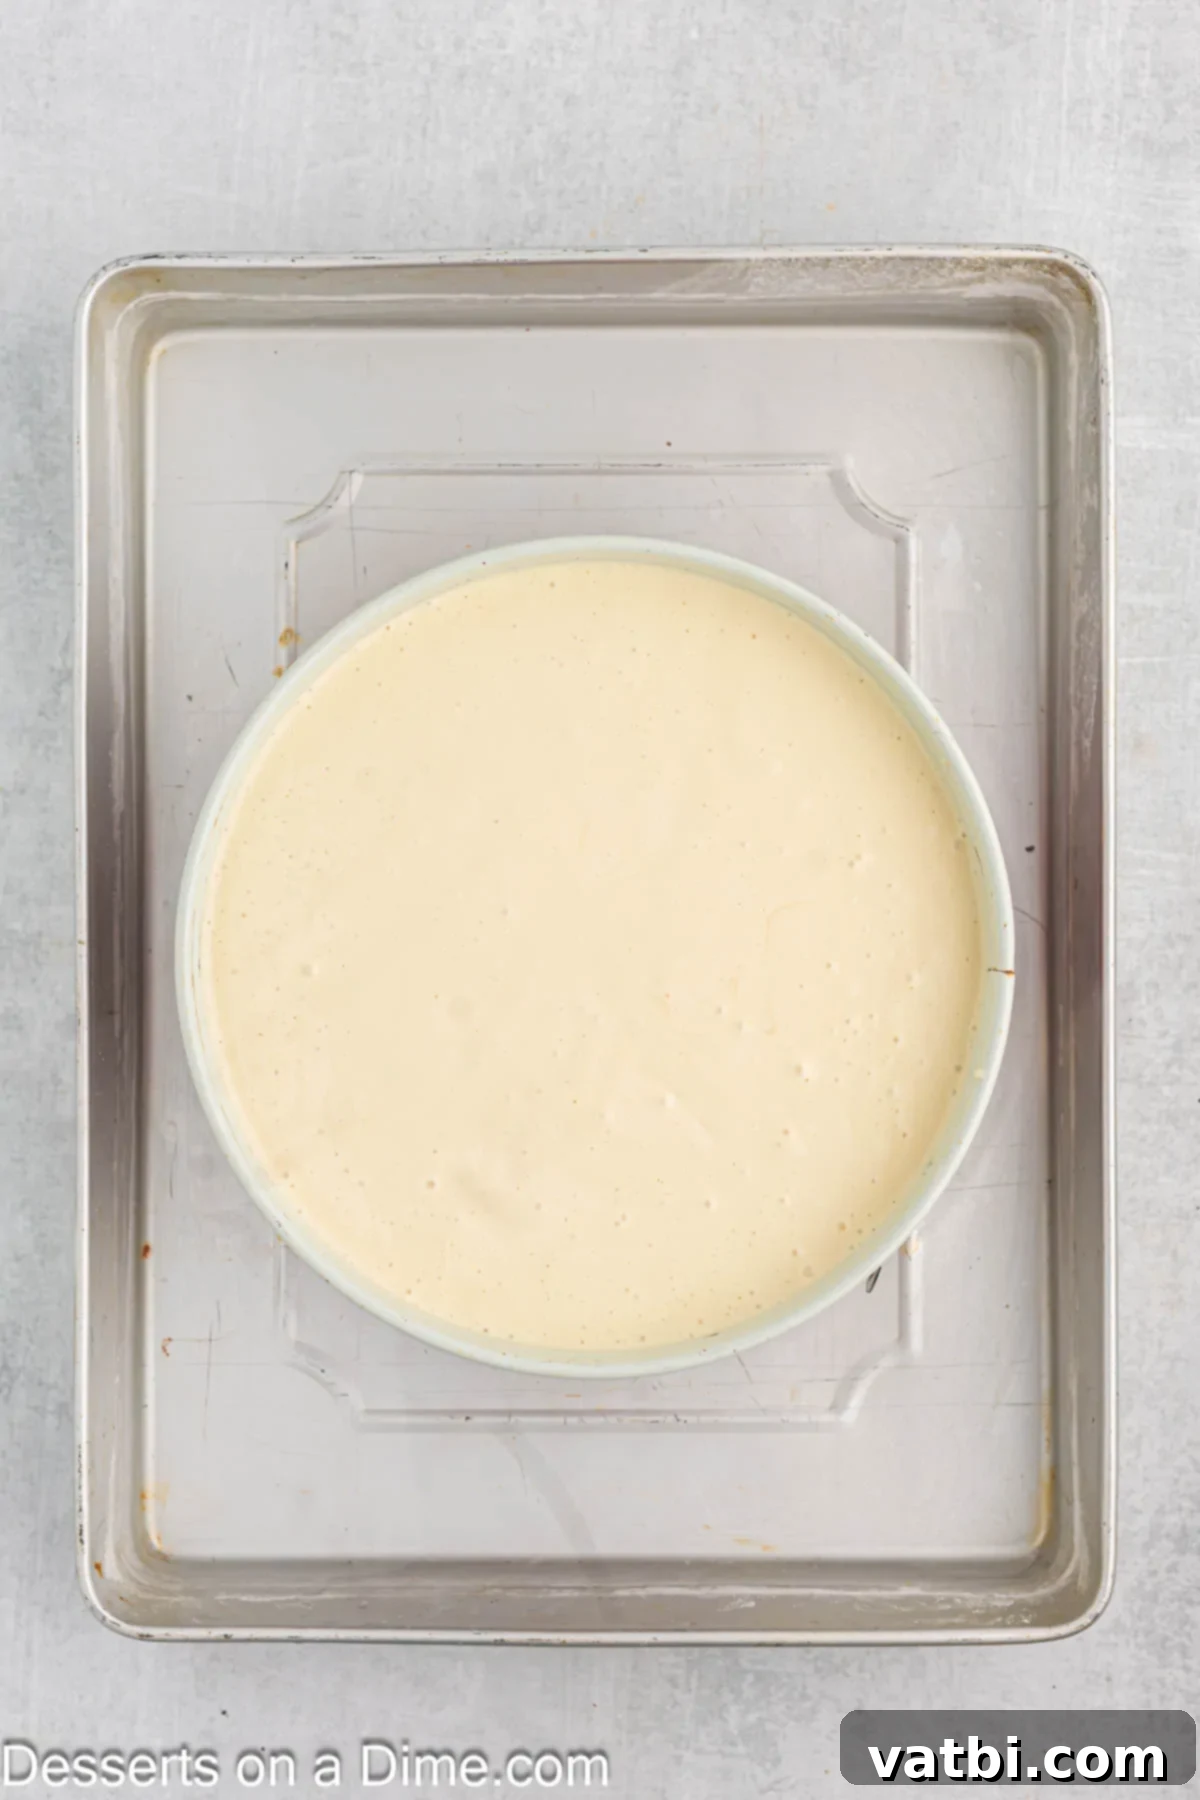
Step 6: Bake with a Water Bath. Carefully pour the smooth cream cheese mixture into your chilled Oreo crust in the springform pan. Gently tap the pan on the counter a few times to release any large air bubbles that might be trapped. Now, prepare your **water bath**: place the springform pan into a larger roasting pan. Pour boiling water into the larger pan until it goes approximately halfway up the sides of the cheesecake pan. This **water bath** is incredibly important as it creates a moist, even heat environment, which is crucial for gentle, even baking and to prevent your cheesecake from drying out and cracking. Bake for 60-70 minutes, or until the edges are set and the center still has a slight jiggle (about 2-3 inches in diameter) when gently nudged. Turn the oven off, crack the oven door open slightly, and let the cheesecake sit in the cooling oven for an additional 45 minutes. This slow cooling process is vital for preventing cracks. Remove from the oven, carefully lift the cheesecake out of the water bath, and let it cool completely on a wire rack at room temperature for approximately 1 hour.
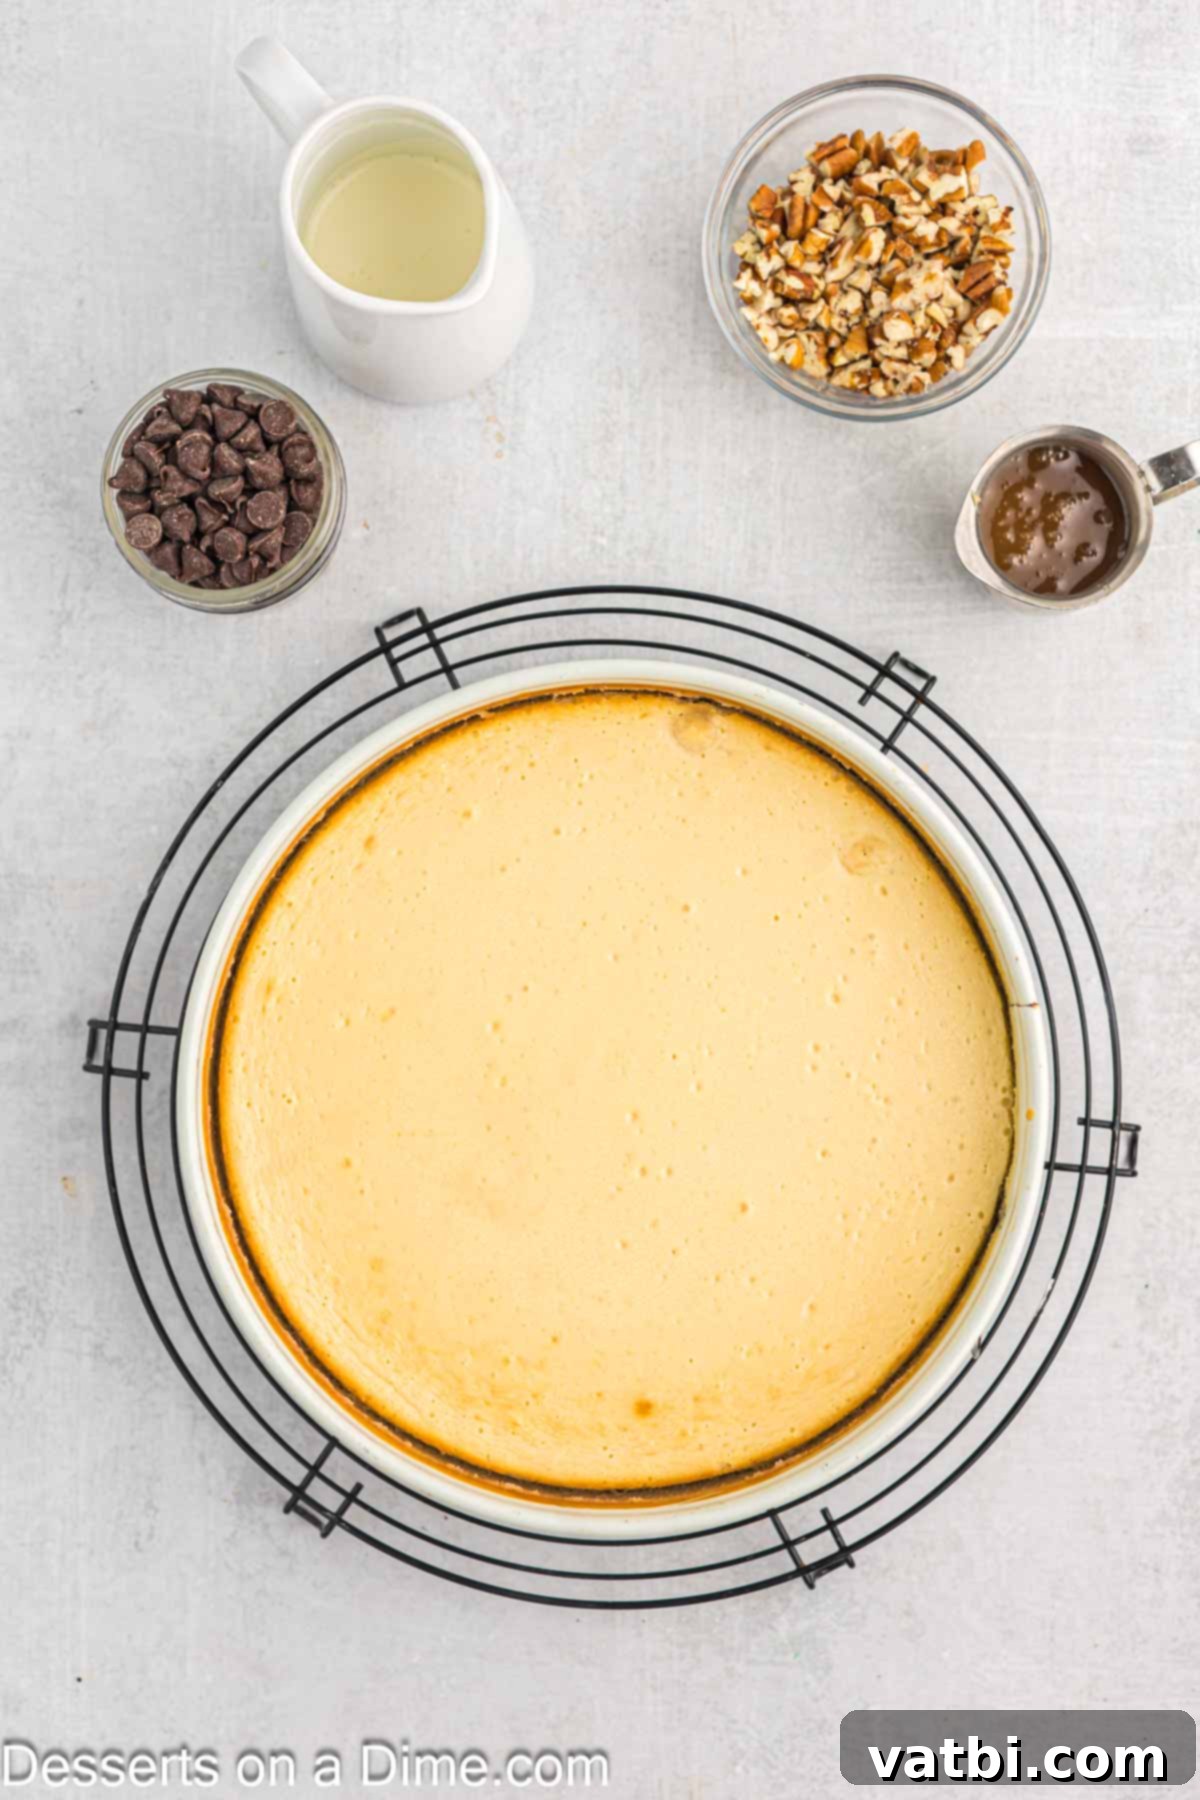
Step 7: Chill Thoroughly. Once your cheesecake has cooled to room temperature, transfer it to the refrigerator. It needs to chill for at least 4 hours, or ideally, overnight. This prolonged chilling period is absolutely vital for the cheesecake to fully set, firm up, and for all the incredible flavors to meld beautifully. Proper chilling ensures a firm, sliceable texture and prevents the cheesecake from collapsing. When you’re ready to serve, run a thin, sharp knife around the sides of the springform pan before releasing the ring. This helps to prevent the cheesecake from sticking and creates a clean, pristine edge.
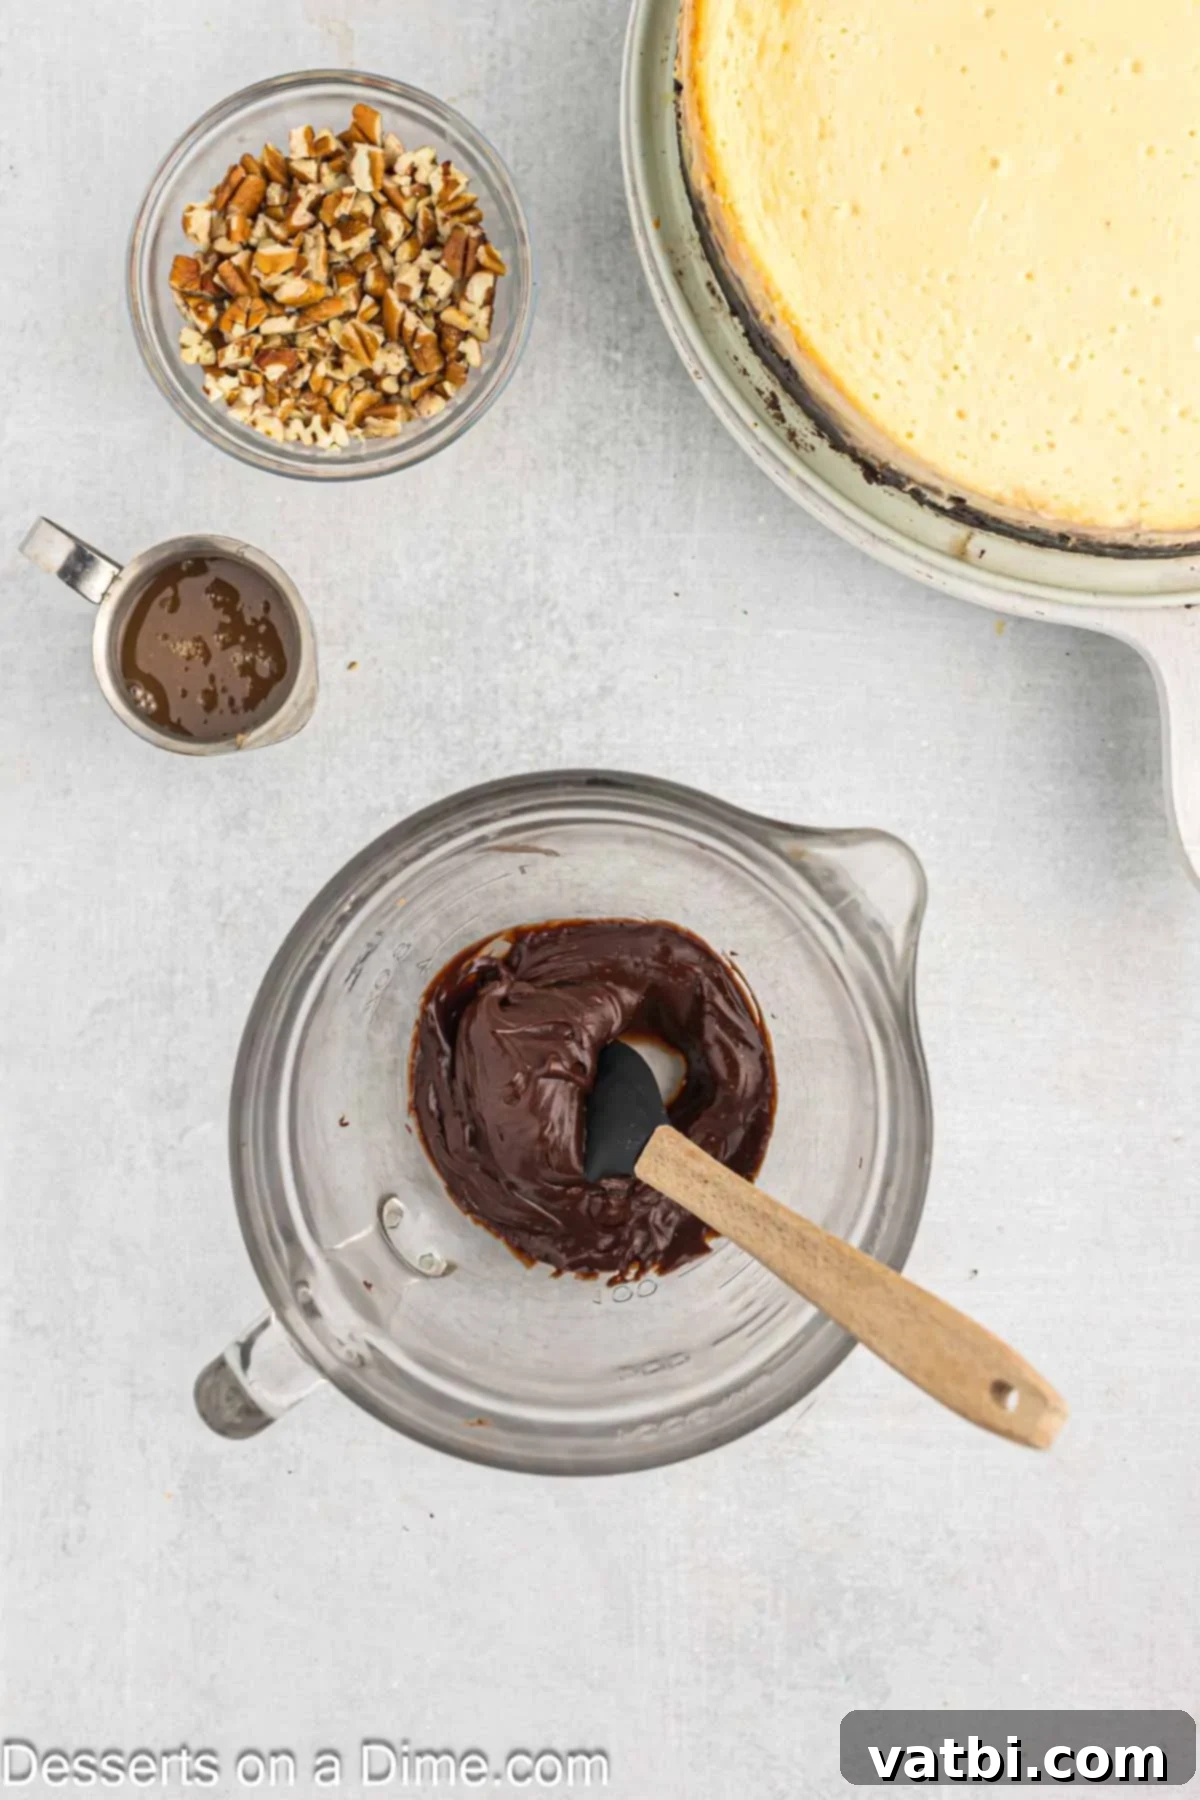
Step 8: Prepare the Chocolate Drizzle. For the rich chocolate topping, place the heavy cream in a microwave-safe bowl. Heat it in the microwave for approximately 20-30 seconds, or until it is warmed through but not boiling. Immediately add the semi-sweet chocolate chips to the warm cream. Let the mixture sit undisturbed for a few minutes (about 5 minutes) to allow the chocolate to fully melt from the residual heat. Then, stir thoroughly until it’s completely combined and smooth, creating a luscious, pourable chocolate ganache. This step can be done while the cheesecake is chilling or just before serving.
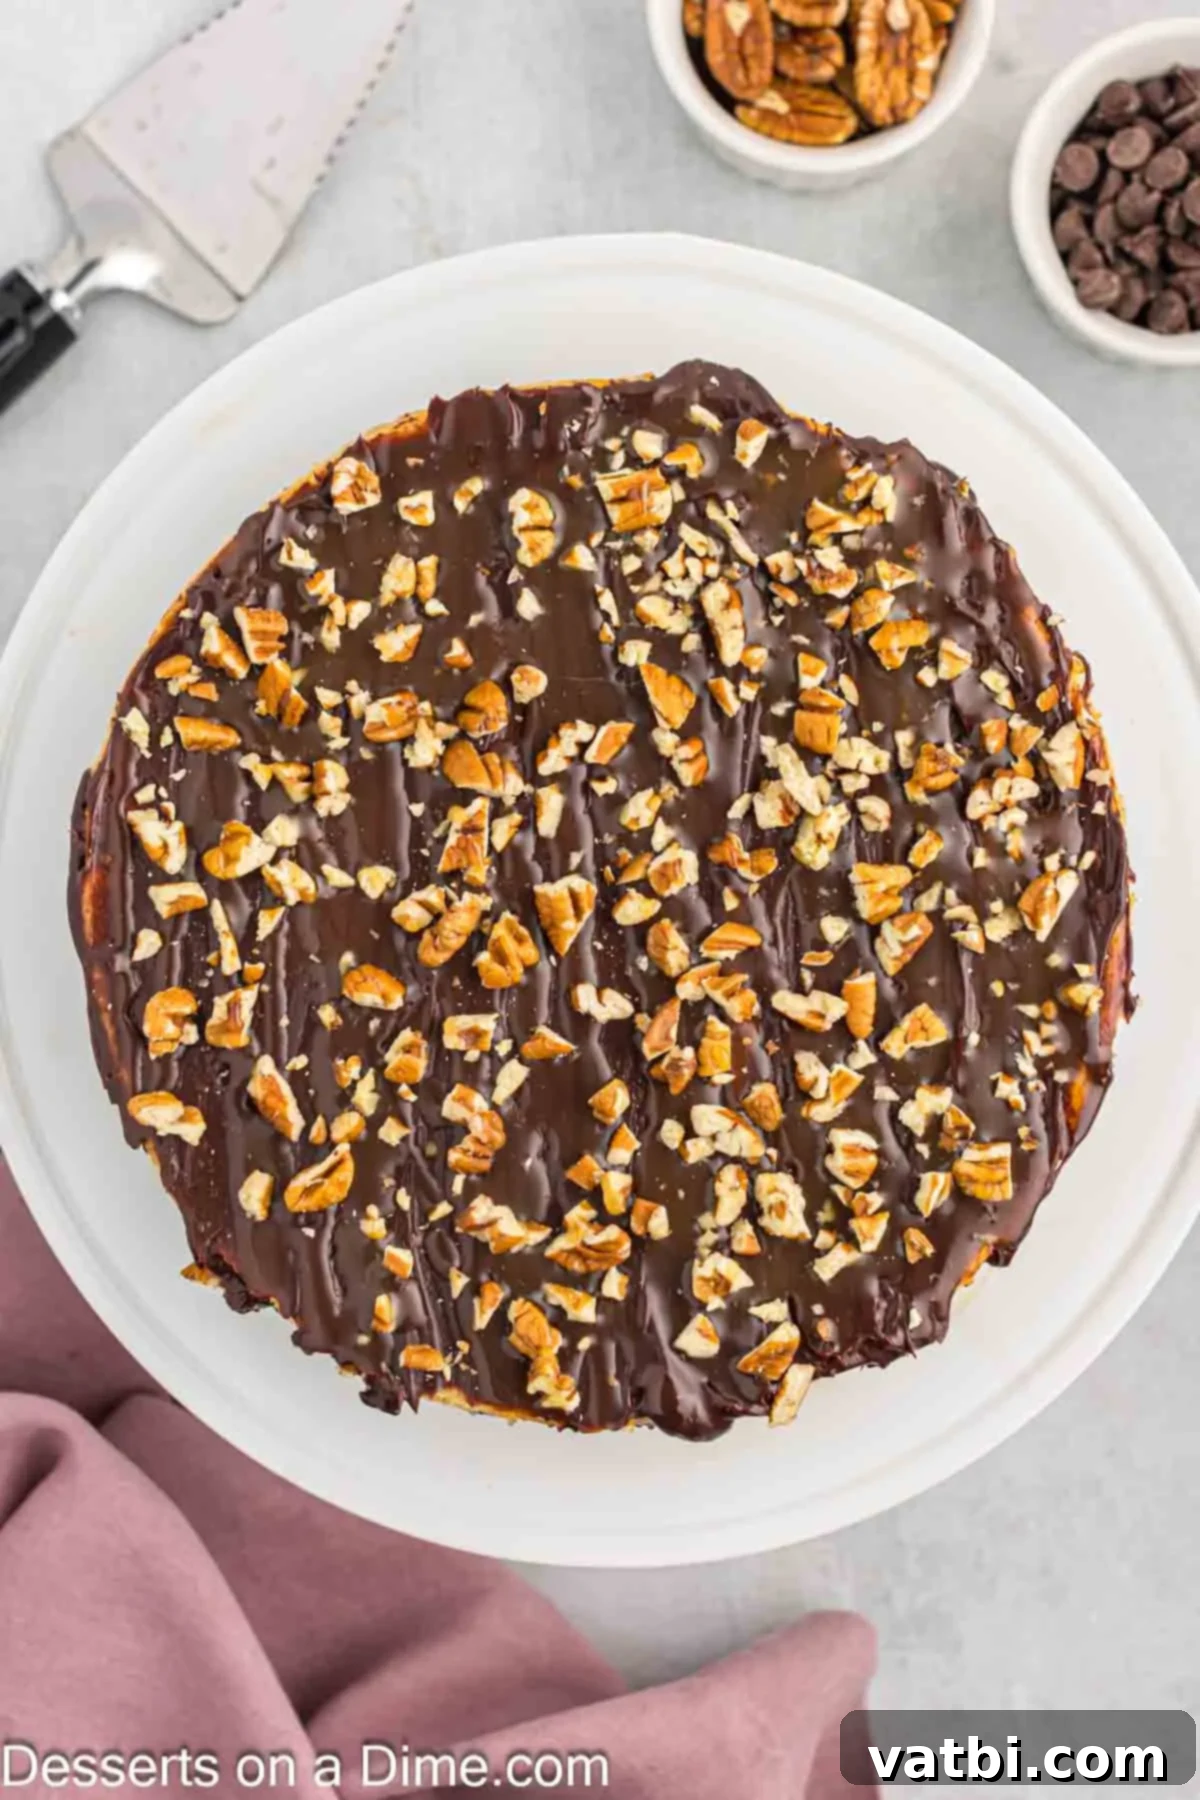
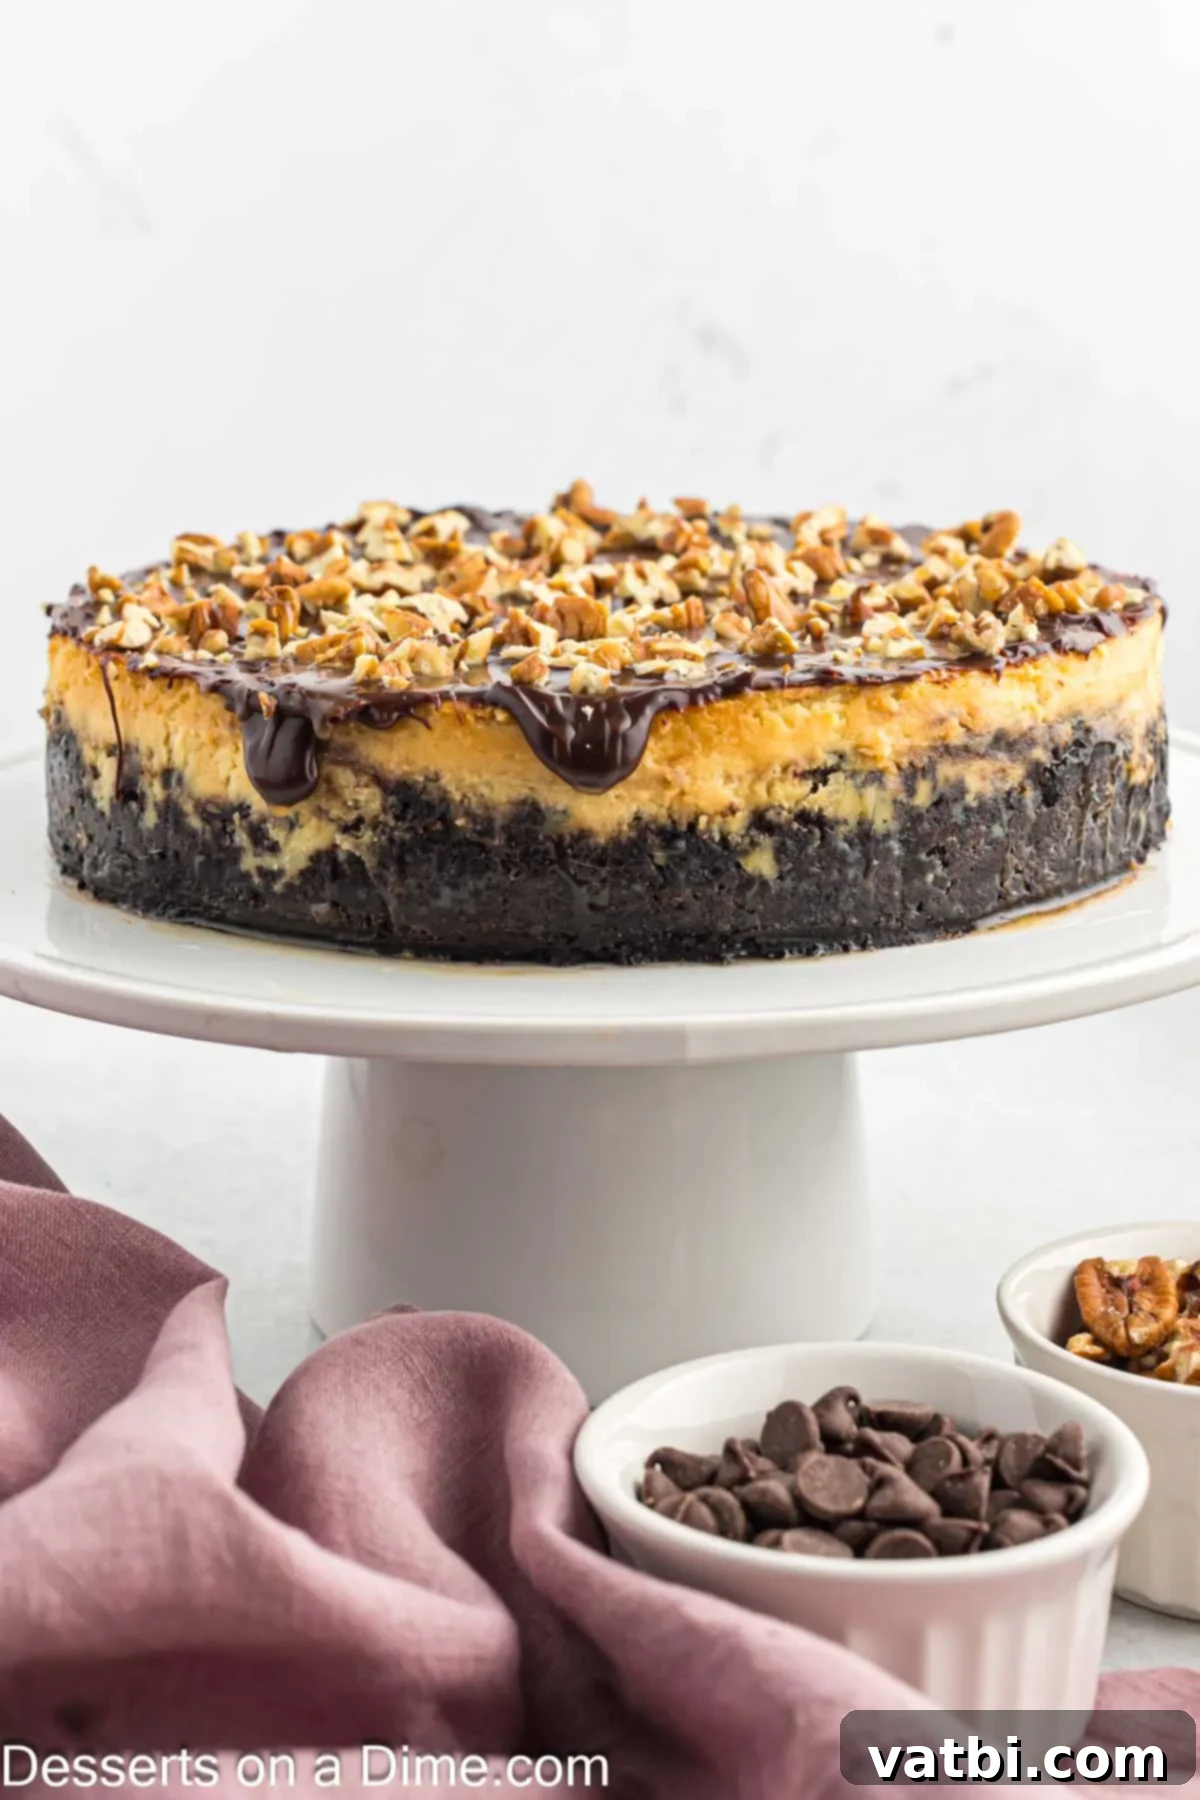
Step 9: Drizzle with Chocolate and Caramel. Once your **easy Turtle Cheesecake** is perfectly chilled and ready to impress, carefully transfer it to a beautiful serving plate or cake stand. Just before serving, generously drizzle the top of the cheesecake with the warm, silky melted chocolate ganache you just prepared. Follow this with an equally generous drizzle of rich caramel sauce, allowing both to cascade attractively down the sides of the cheesecake if desired. This makes it a true **caramel chocolate pecan cheesecake** masterpiece, ready for its final flourish.
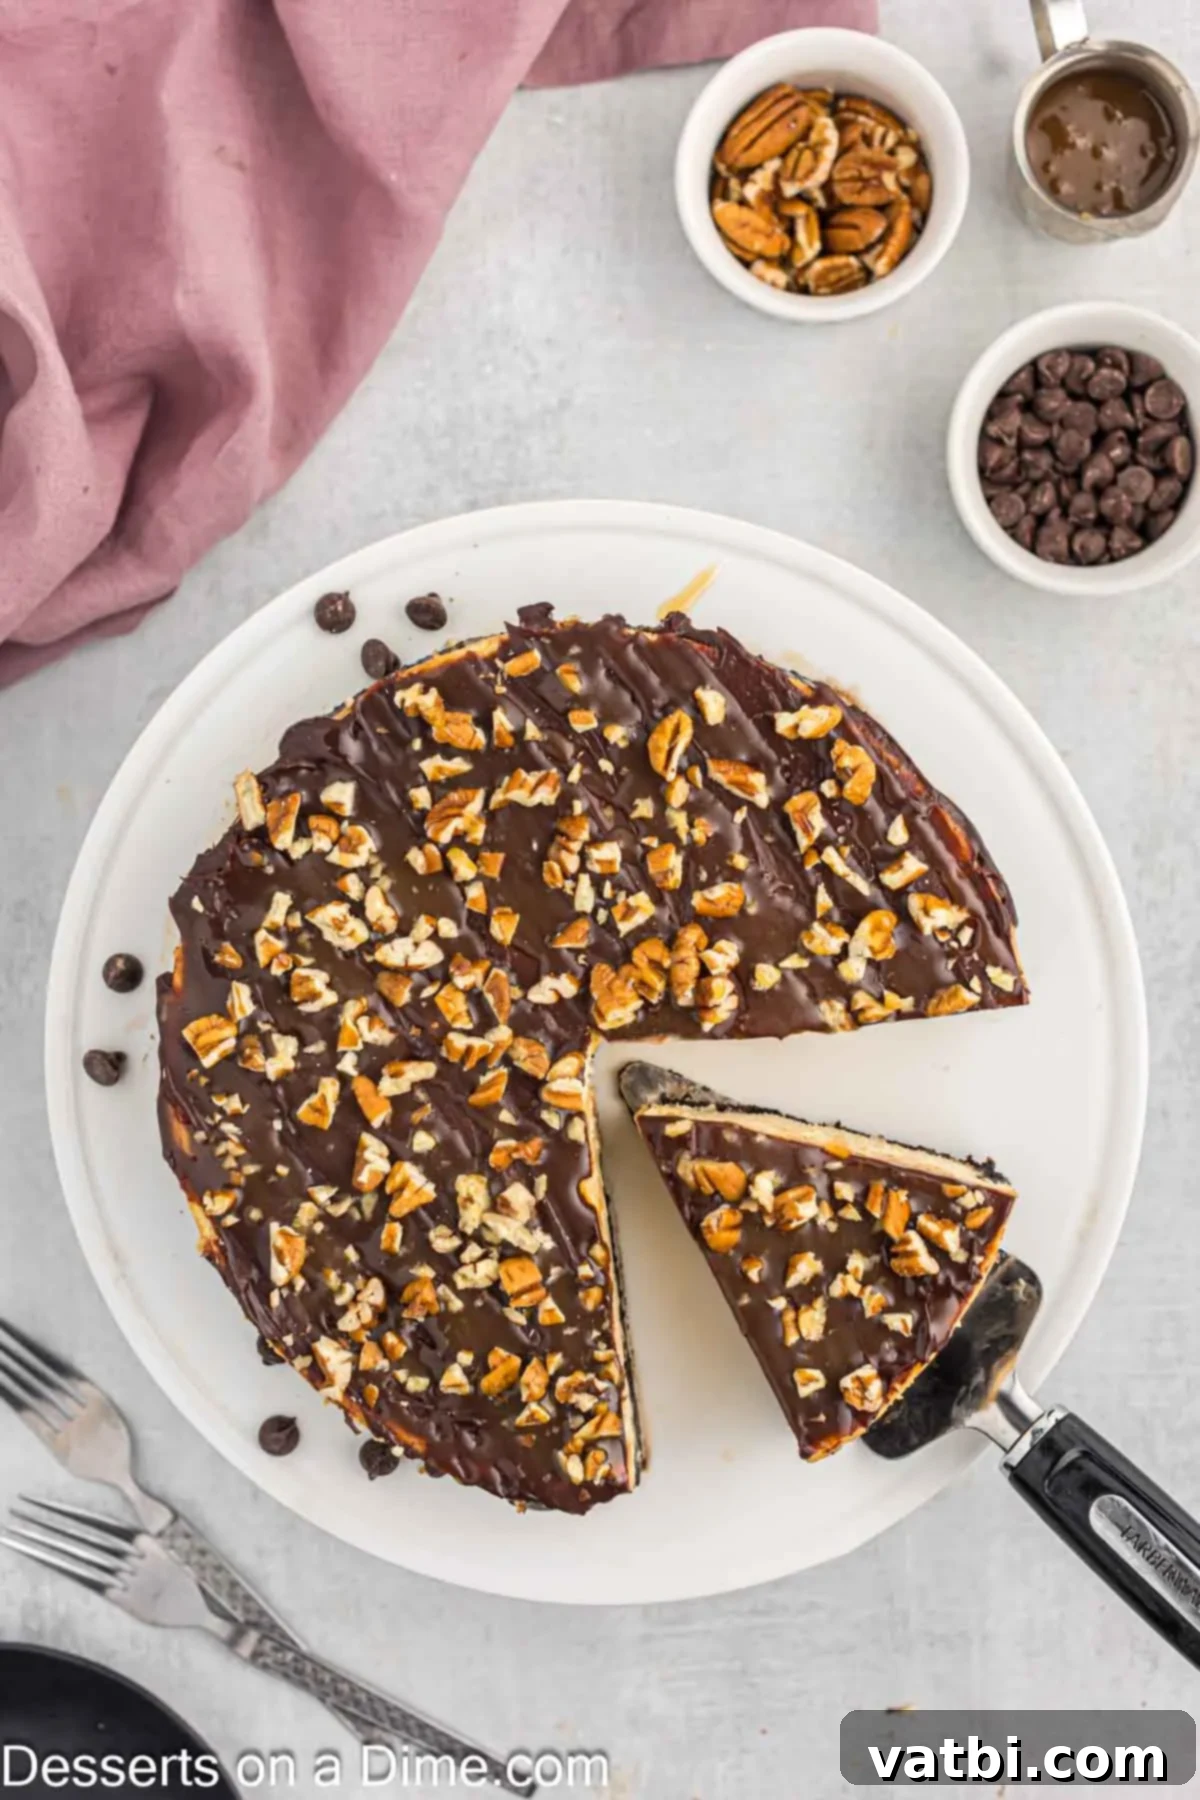
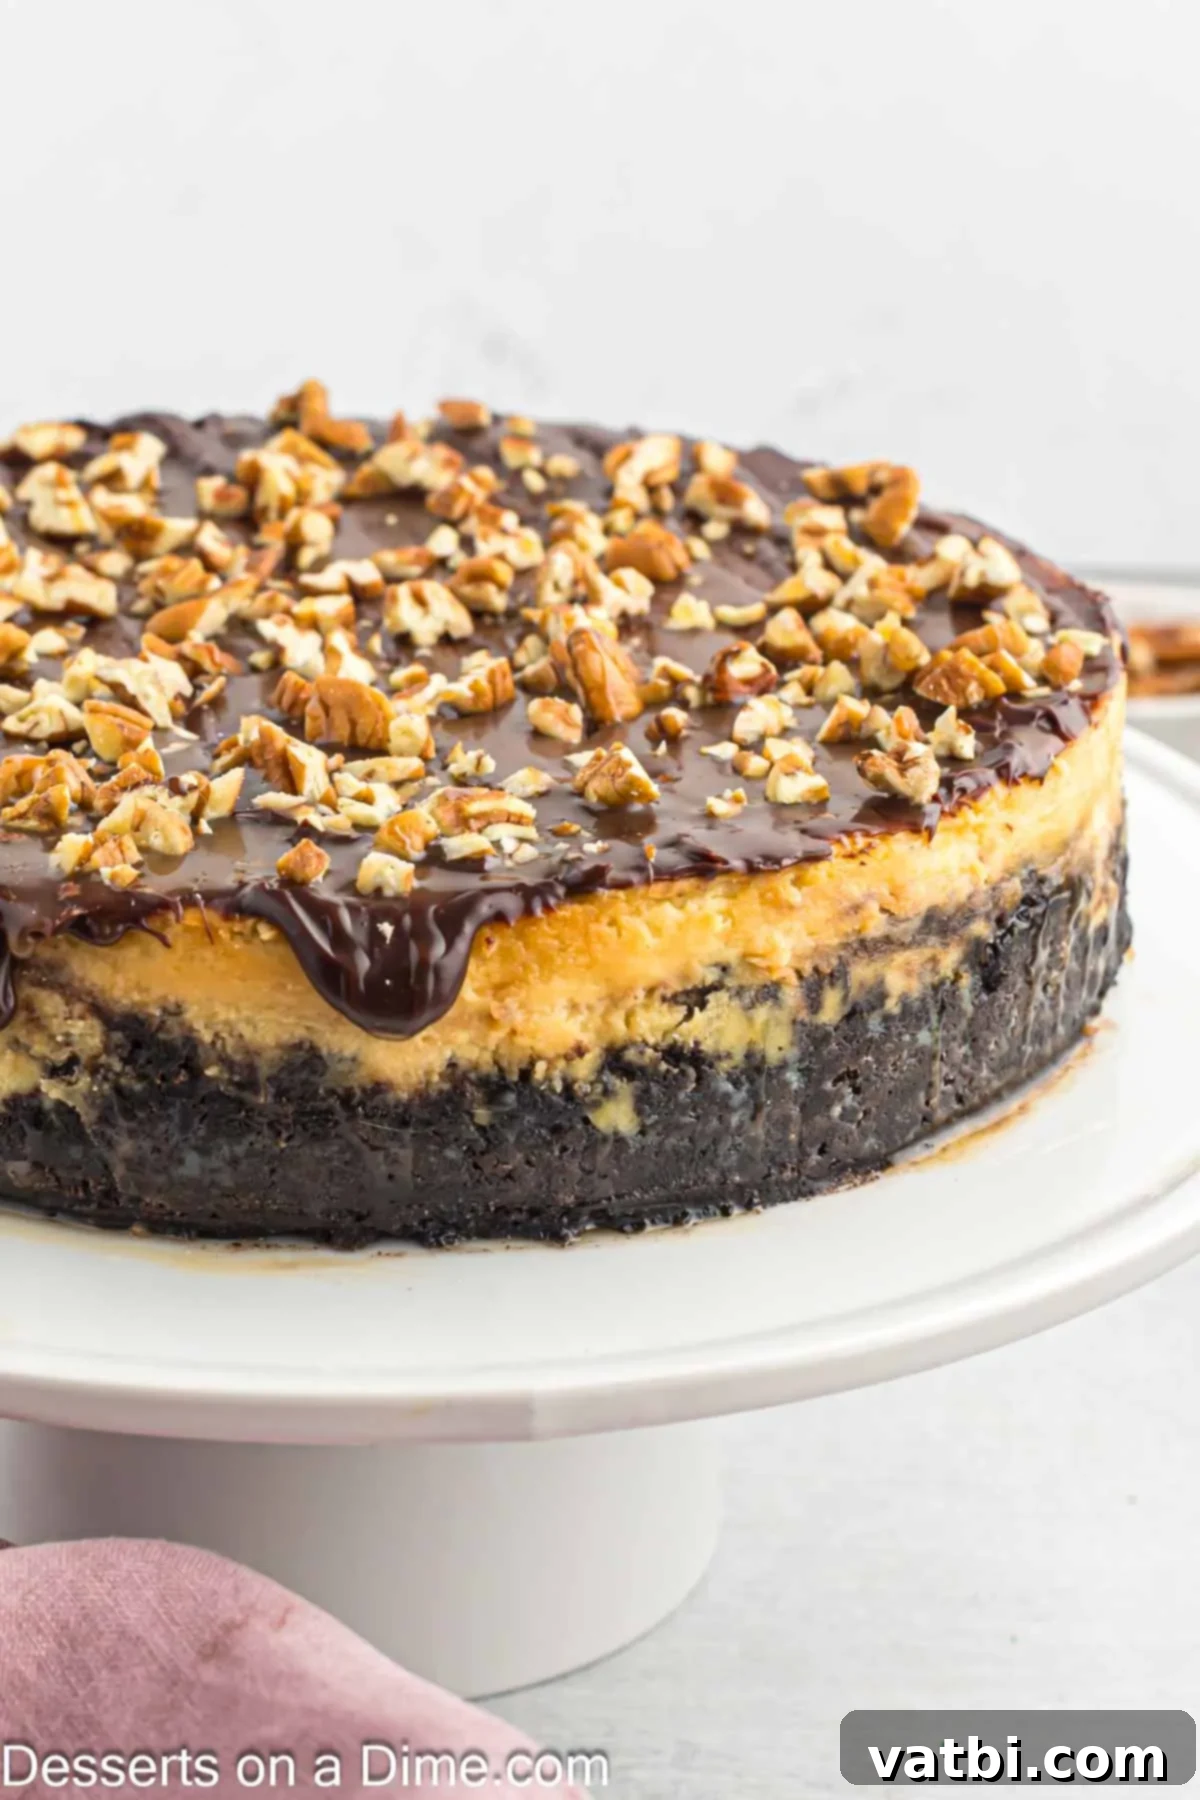
Step 10: Garnish and Serve. Finally, sprinkle the chopped pecan halves evenly over the luscious chocolate and caramel layers. The **Turtle Cheesecake recipe** is now completely finished and ready to be sliced, served, and savored! Each slice promises a delightful journey through creamy, crunchy, sweet, and nutty flavors. Enjoy the delighted reactions of your family and friends as they indulge in this incredible dessert!
Storage Tips for Freshness
Proper storage is essential to keep your **homemade Turtle Cheesecake** tasting its absolute best and to ensure its freshness for as long as possible. Cheesecakes are renowned for their excellent shelf life when stored correctly, making them fantastic make-ahead desserts for any occasion.
- Refrigeration for Leftovers: For any leftover slices or the entire cake after serving, ensure it is covered tightly with plastic wrap or stored in an airtight container. Place it promptly in the refrigerator. When stored properly, your **decadent Turtle Cheesecake** will remain fresh and delicious for up to 5 days. It’s crucial to seal it well to prevent it from absorbing any unwanted odors from other foods in your fridge.
- Freezing a Whole Cheesecake: Absolutely! This **Turtle Cheesecake** is remarkably freezer-friendly. If you plan to freeze the entire cheesecake, it is highly recommended to wait until just before serving to add the chocolate, caramel, and pecan toppings. This preserves the optimal freshness, texture, and appearance of these delicate toppings. Once your cheesecake is completely baked, cooled to room temperature, and thoroughly chilled in the refrigerator, you can proceed with freezing. You can leave it on the springform pan base or carefully transfer it to a sturdy cardboard cake round. Wrap the cheesecake very tightly first in several layers of plastic wrap, ensuring no air gaps, then follow with a layer of heavy-duty aluminum foil. This double-layer protection is key to preventing freezer burn. It can be safely stored in the freezer for up to 1-2 months.
- Freezing Individual Slices: For ultimate convenience and easy portioning, cut the thoroughly chilled cheesecake into individual slices. Place these slices on a baking sheet lined with parchment paper and freeze them for about an hour until they are firm. Then, wrap each individual slice tightly in plastic wrap, followed by aluminum foil. Store these well-wrapped slices in an airtight freezer-safe bag or container. This method allows you to easily grab a single slice whenever a craving for **caramel chocolate pecan cheesecake** strikes!
- Thawing Frozen Cheesecake: To thaw your frozen cheesecake (whether whole or individual slices), simply transfer it from the freezer to the refrigerator. Allow it to thaw slowly overnight, which is the best method for maintaining its texture and preventing condensation. Once thawed, you can add your fresh toppings if they weren’t applied before freezing.
Pro Baking Tips for a Perfect Cheesecake
Achieving a perfectly smooth, creamy, and crack-free **Turtle Cheesecake** doesn’t have to be a daunting task. With these professional tips and tricks, you’ll be well on your way to baking a dessert that is nothing short of spectacular and sure to impress every time.
- Room Temperature Ingredients are a Must: This is arguably the most crucial tip for any cheesecake success. Ensure that your cream cheese, eggs, and sour cream are all brought to room temperature before you start mixing. Cold ingredients don’t emulsify properly with each other, leading to a lumpy batter and a less smooth, potentially grainy cheesecake. Plan ahead and take them out of the refrigerator at least 1-2 hours (or even longer for cream cheese) before you begin the baking process. This allows them to blend seamlessly, creating a wonderfully smooth batter.
- Use Full-Fat Cream Cheese: For the absolute best flavor, the richest taste, and that undeniably luxurious texture, always opt for full-fat, brick-style cream cheese. Low-fat or whipped cream cheese varieties contain more water and stabilizers, which can negatively affect the cheesecake’s consistency, making it less rich and more prone to cracking. Stick to the good stuff for a truly decadent result.
- Don’t Overmix the Batter: After the cream cheese and sugar are smoothly combined, only mix in the eggs and other liquid ingredients on a *low* speed, just until they are fully incorporated. Overmixing is a common culprit for cheesecake cracks because it incorporates too much air into the batter. This air expands rapidly during baking, and then collapses as the cheesecake cools, often resulting in unsightly fissures on the surface. Mix gently and sparingly.
- Resist the Urge to Peek and Open the Oven Door: This requires discipline, but it’s vital! Opening the oven door during baking causes a sudden drop in temperature, which can shock the delicate cheesecake, making it deflate or crack. Trust your oven and the baking time, and let it do its magic undisturbed. The slow, gradual cooling process in the turned-off oven is equally critical for preventing cracks and ensuring a perfectly set cheesecake.
- Achieve Clean Slices by Wiping the Knife: For perfectly neat, professional-looking slices – which are especially important for beautiful presentation – always run a sharp knife under hot water and wipe it clean between each cut. This simple trick prevents the sticky cheesecake and its rich toppings from adhering to the knife, ensuring smooth, precise cuts every time.
- Don’t Overbake Your Cheesecake: A perfectly baked cheesecake will still have a slight “jiggle” in the center (a circle about 2-3 inches in diameter) when you gently nudge the pan. The edges, however, should appear set and slightly puffed. This slight jiggle is your cue that it’s done, as the cheesecake will continue to cook and set as it cools, first in the warm oven, then at room temperature, and finally in the refrigerator. Overbaking leads to a dry, dense cheesecake and significantly increases the likelihood of cracks.
- The Importance of the Water Bath (Bain-Marie): As highlighted in the instructions, the water bath is your best friend when baking cheesecake. It creates a moist, consistent, and gentle heat environment around the cheesecake, ensuring it bakes slowly and evenly. This gentle cooking prevents the cheesecake from drying out, curdling, or cracking on its surface. While it might seem like an extra step, it is a game-changer for achieving a smooth, creamy texture and a crack-free finish. Don’t skip this essential technique for a truly perfect **homemade Turtle Cheesecake**!
- Prepare Your Springform Pan Correctly: For added security against leaks (especially when using a water bath), wrap the outside of your springform pan tightly with several layers of heavy-duty aluminum foil before adding the crust. You can also lightly grease the sides of the pan (above the crust line) to help prevent the cheesecake from sticking and tearing as it cools and slightly contracts, ensuring an easy release.
Frequently Asked Questions About Cheesecake
Baking a show-stopping **Turtle Cheesecake** can sometimes raise a few questions, especially if you’re new to cheesecake making. Here are answers to some common queries about preparing, baking, and enjoying your delicious dessert:
Yes, using a water bath (also known as a bain-marie) is highly recommended for almost all cheesecakes, and especially for this rich **Turtle Cheesecake recipe**. The water bath serves several critical purposes: it helps to regulate the oven temperature around the cheesecake, ensuring it bakes slowly and evenly. This gentle, moist cooking environment prevents the cheesecake from overbaking, drying out, or developing unsightly cracks on its surface. The moisture from the water bath also helps to prevent the filling from curdling, resulting in that signature silky, smooth, and incredibly creamy texture. While it might seem like an extra step, it’s truly a game-changer for achieving a perfect, professional-looking cheesecake. Many experienced bakers consider it a non-negotiable technique for premium results, and it’s well worth the effort.
Absolutely! This **Turtle Cheesecake** is wonderfully freezer-friendly, making it an excellent dessert to prepare well ahead of time for future enjoyment. To freeze it effectively, first allow the cheesecake to cool completely at room temperature, then chill it thoroughly in the refrigerator until it is firm. For the very best results regarding texture and appearance, I strongly suggest waiting to add the caramel, chocolate drizzle, and pecans until just before you plan to serve the thawed cheesecake. This prevents the toppings from becoming watery, sticky, or losing their distinct textures during the freezing and thawing process. Once the cheesecake is cooled and chilled, wrap it very tightly first in plastic wrap, ensuring every surface is covered to prevent air exposure. Then, add a second layer of protection with aluminum foil. Place the double-wrapped cheesecake inside a freezer bag or an airtight container. It can be safely stored in the freezer for up to 1-2 months. When you’re ready to indulge, simply transfer it from the freezer to the refrigerator to thaw slowly overnight.
Cheesecake cracking is a common frustration for bakers, but it’s usually due to a few identifiable factors. The most frequent culprits include overmixing the batter, which incorporates too much air; sudden and drastic temperature changes during the baking or cooling process; and simply overbaking the cheesecake. Overmixing causes tiny air bubbles to form within the batter; these bubbles expand during baking and then collapse as the cheesecake cools, often creating visible cracks on the surface. Baking at too high a temperature or opening the oven door too frequently also causes rapid temperature shifts that stress the cheesecake. Similarly, removing the cheesecake from the oven too quickly (not allowing it to cool slowly within the turned-off oven) can shock it and lead to cracking. Ensuring your ingredients are at room temperature, using a water bath, and not overmixing are the most effective preventative measures to achieve a perfectly smooth, crack-free finish.
The best way to determine if your cheesecake is perfectly baked is by gently nudging the springform pan. The edges of the cheesecake should appear set and slightly puffed, but the very center (a circle about 2-3 inches in diameter) should still have a slight wobble or jiggle. It shouldn’t be liquidy or runny, but it also shouldn’t be completely firm. This slight jiggle indicates that it’s perfectly done, as the residual heat will continue to cook and set the center as it cools. Overbaking until the center is completely firm will result in a dry, dense cheesecake texture and significantly increase the potential for cracks.
Absolutely! Cheesecake is an ideal make-ahead dessert, making it perfect for entertaining or when you want to plan your baking in advance. You can prepare and bake the entire cheesecake up to 2-3 days before you plan to serve it. Once it’s fully baked, cooled to room temperature, and thoroughly chilled, simply keep it covered tightly in the refrigerator. To ensure the freshest taste and best texture, add the caramel, chocolate drizzle, and pecans just before you’re ready to serve. This strategy makes preparing a delicious, impressive dessert virtually stress-free!
More Irresistible Cheesecake Recipes
If you’ve fallen in love with this incredible **caramel chocolate pecan cheesecake**, you’re in for a continued treat! Our collection features a variety of other delightful cheesecake creations that are just as easy, satisfying, and utterly delicious to make. Explore these fan favorites and expand your baking horizons with more creamy, dreamy desserts:
- Reese’s Cheesecake – A peanut butter and chocolate lover’s ultimate dream come true, packed with your favorite candy.
- Strawberry Swirl Cheesecake – Fresh, fruity, and vibrant, this cheesecake is absolutely perfect for spring and summer gatherings.
- Cheesecake Factory Red Velvet Cheesecake Recipe – Discover how to recreate a beloved restaurant classic right in your own kitchen.
- Sopapilla Cheesecake Recipe – A unique, warm, and comforting cheesecake with a delightful cinnamon-sugar twist, inspired by the classic Mexican pastry.
I’m so excited for you to try this ultimate **Turtle Cheesecake recipe**. It’s truly a rewarding experience to create such a delicious and impressive dessert that combines so many beloved flavors. Please leave a comment below and share your thoughts and experiences once you’ve baked and enjoyed it! Happy baking, and happy eating!
Turtle Cheesecake
Instructions
For the Crust:
- Place the Oreo Cookies in a food processor or blender and blend until the cookies are turned into crumbs.
- Place the Oreo crumbs in a mixing bowl. Stir in the melted butter.
- Pour the mixture into a 9-inch springform pan. Use the back of a spoon to press the mixture firmly down into the bottom of the pan and approximately halfway up the sides of the pan.
- Refrigerate the crust while you prepare the cheesecake filling.
For the Cheesecake Layer:
- Beat the softened cream cheese with a hand held mixer or stand up mixer until soft and creamy.
- Mix in the light brown sugar and vanilla extract for 1-2 minutes until combined. Scrape down the sides of the bowls as needed.
- Reduce the speed on the mixer down to low and slowly add in the eggs, one at a time, until each egg is fully combined. Be careful not to over mix.
- Keep the mixer speed on low and mix in the sour cream and heavy cream until both are thoroughly combined.
- Then pour the cream cheese mixture over the graham cracker crust and use a spatula to make the top as smooth as possible.
- Place the pan into a large pan and pour boiling water around the cheesecake pan until it goes up approximately halfway up the side of the cheesecake pan.
- Bake for 60-70 minutes. The edges should be set and the center should still appear jiggly.
- Turn the oven off and crack the oven door. Let the cheesecake sit in the oven for 45 more minutes. Remove from the oven and carefully remove the cheesecake from the water. Let the cheesecake cool completely at room temperature (approximately 1 hour).
- Chill in the refrigerator for at least 4 hours or overnight.
- When ready to serve, run a knife around the sides of the cheesecake to release the cheesecake from the pan.
For the Topping:
- Place the heavy cream in a microwave safe bowl. Heat for 20-30 seconds until warmed. Add in the chocolate chips. Let sit for a few minutes and then stir until thoroughly combined and smooth.
- Remove the cheesecake carefully from the springform pan by running a knife around the sides of the cheesecake to release the cheesecake from the pan and move the cheesecake to a serving plate.
- When ready to serve, drizzle the top of the cheesecake with the melted chocolate and caramel sauce. Sprinkle the chopped pecans on top and then the cheesecake is ready to serve and enjoy!
