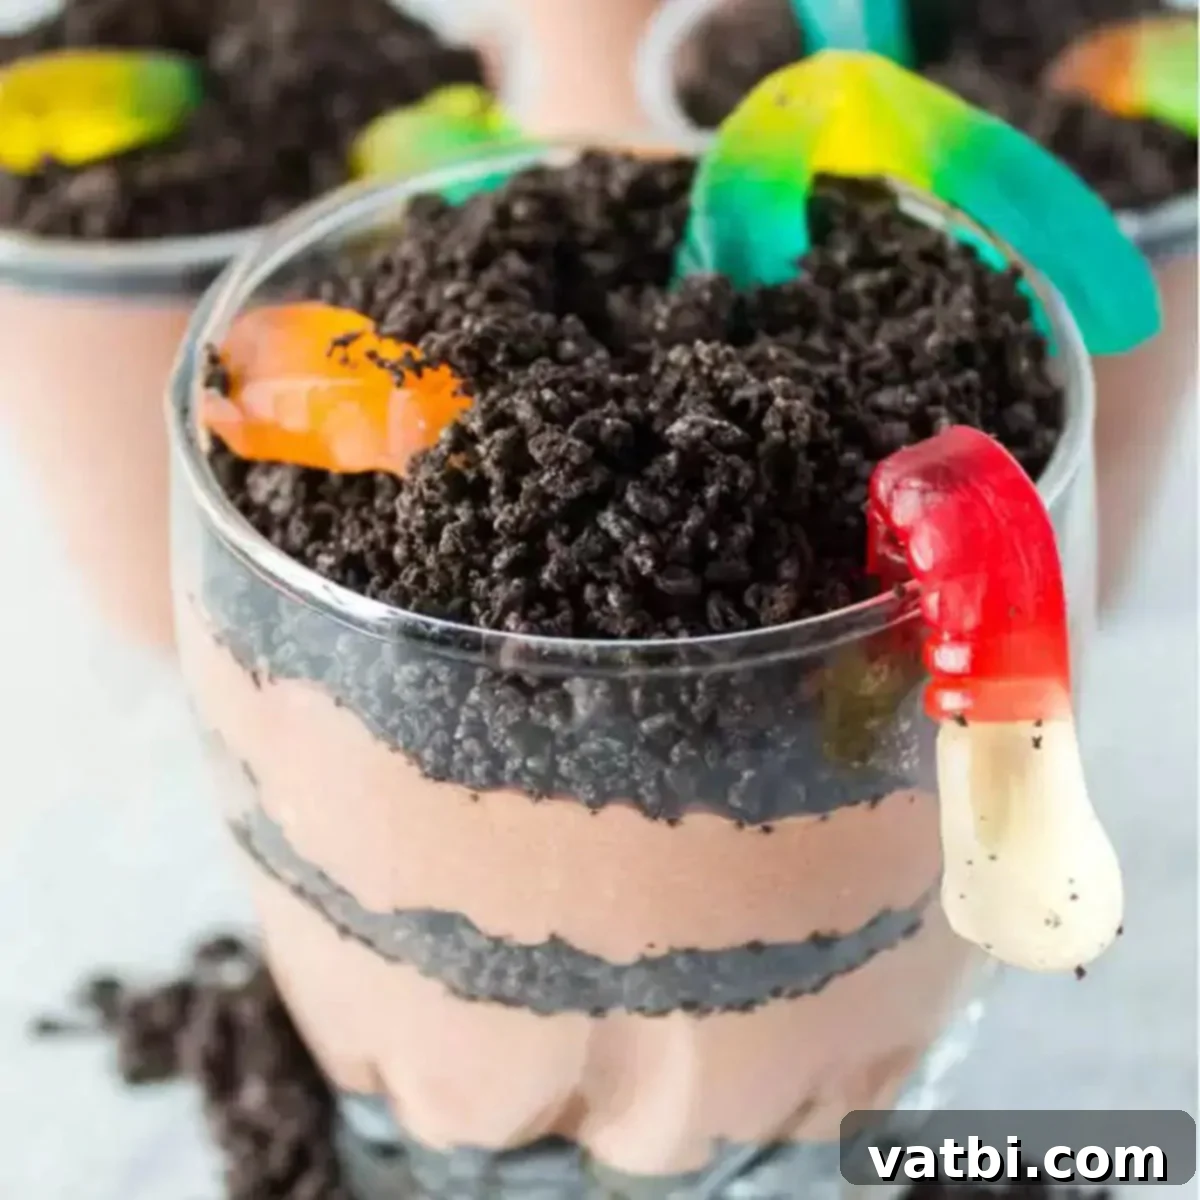
Easy Oreo Dirt Cups: The Ultimate No-Bake Pudding Dessert for Kids & Parties
Prepare for a chorus of cheers and happy faces when you serve up these incredibly delicious and fun Easy Dirt Cups. This classic no-bake dessert layers creamy chocolate pudding, rich whipped topping, and crunchy crushed Oreo cookies, all adorned with playful gummy worms, creating a delightful treat that kids (and adults!) simply adore. Whether you’re planning a birthday bash, a Halloween get-together, a summer picnic, or just looking for a simple, joyful dessert, these individual Oreo dirt cups are guaranteed to be a hit.
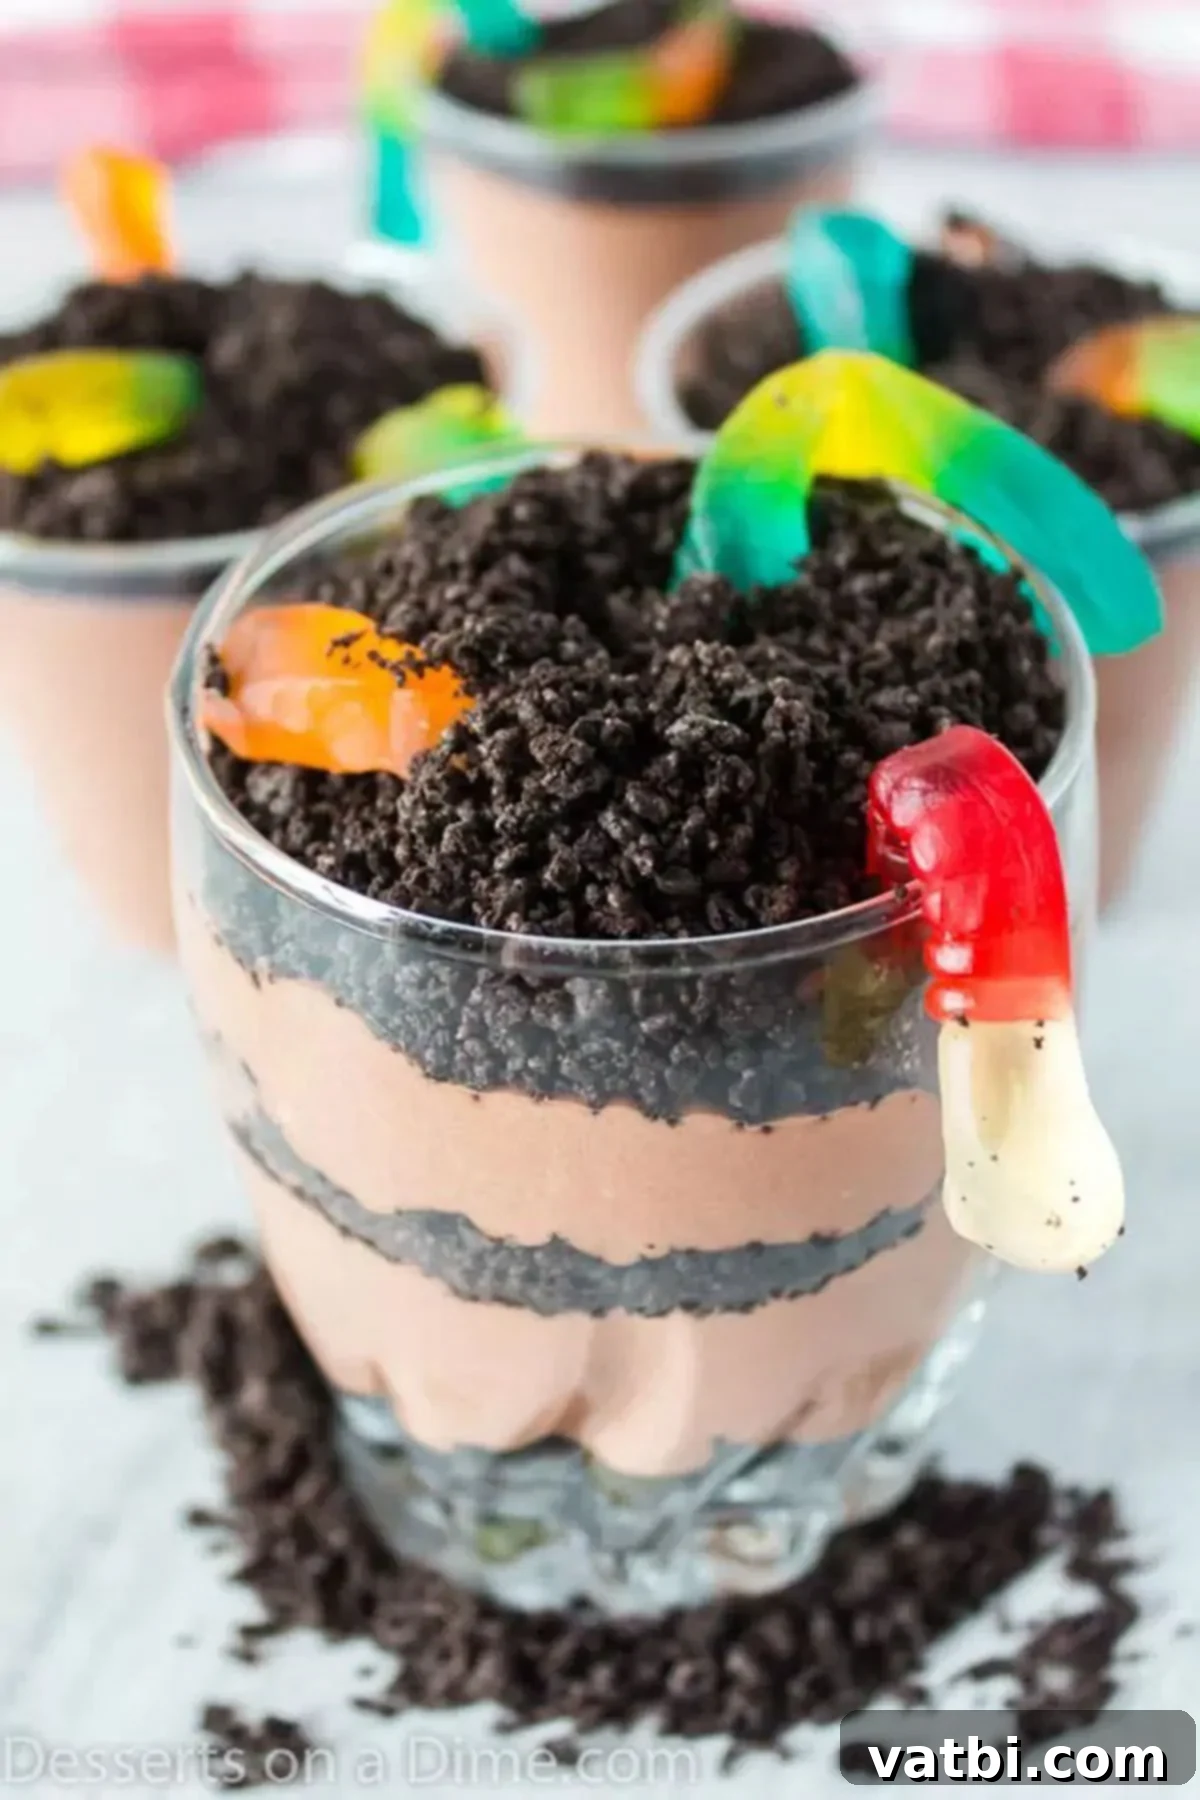
This no-bake dessert recipe is not only incredibly simple to put together but also offers a visually appealing treat, especially when served in clear cups. The distinct layers of dark “dirt” (Oreos) and creamy “mud” (pudding and whipped topping) truly resemble a patch of garden soil, making it a whimsical and immersive experience for children. We absolutely love serving these at birthday parties, school events, or even just as a special weekend dessert because they’re easy to manage and serve as individual portions.
If you’re already a fan of the larger Oreo Dirt Cake Recipe, you’ll be thrilled with this convenient cup version. It offers all the same great flavors and textures in a single-serving format. Plus, these versatile cups can be customized for various holidays! We often transform them into spooky Halloween Graveyard Dirt Cups with candy tombstones or vibrant Easter Dirt Cups adorned with candy eggs and bunny Peeps.
It’s no exaggeration to say that children go absolutely wild for these dirt cups – the combination of rich chocolate, creamy texture, and playful candy is simply irresistible. But don’t be surprised if the adults are just as enthusiastic! They are genuinely that delicious and surprisingly satisfying. The best part is how quick and easy they are to prepare, making them a stress-free option for busy parents. Involving the kids in the assembly process turns it into a fun activity, making the dessert even more special. They also love helping me make the Best Sand Pudding Cups, which are a similar concept with a beachy twist!
Table of contents
- The Enchantment of Dirt Cups
- Simple Ingredients for Dirt Cup Magic
- Creative Variations and Smart Substitutions
- How to Assemble Your Delicious Dirt Pudding Cups
- Imaginative Topping Ideas for Extra Fun
- Expert Pro Tips for Perfect Dirt Cups
- How Long Do Dirt Pudding Cups Last?
- More Delightful Dirt Cup Recipes
- Explore More No-Bake Desserts
The Enchantment of Dirt Cups
So, what exactly makes up this beloved dessert? At its heart, a classic dirt cup is a playful concoction of creamy chocolate pudding, fluffy whipped cream, and crunchy crushed Oreo cookies – which form the “dirt” layer. The final touch, and arguably the most iconic, is a scattering of squiggly gummy worms peeking out from the “soil.” It’s this delightful combination of textures, rich flavors, and fun presentation that makes dirt cups an instant favorite, especially with my own children. The simple yet effective illusion of edible dirt creates an imaginative landscape that kids absolutely adore digging into.
Simple Ingredients for Dirt Cup Magic
One of the many reasons dirt cups are so popular is the short and sweet ingredient list. You don’t need fancy components or obscure items; just a few pantry staples transform into this magical dessert. Here’s what you’ll need to create these charming treats:
- Instant Chocolate Pudding Mix: Opt for instant pudding for quick preparation. The rich chocolate flavor forms the “muddy” base of our dirt cups. You can choose a smaller 3.4 oz box for a lighter pudding flavor or a larger one for a richer taste.
- Milk: Cold milk is essential for whisking the instant pudding to the correct consistency. Whole milk often yields a creamier result, but any milk will work.
- Whipped Topping, thawed: A tub of thawed whipped topping (like Cool Whip) adds an airy, sweet creaminess that lightens the pudding and creates a lovely texture contrast.
- Toppings: Oreo cookies, crushed: These iconic chocolate sandwich cookies are the star, providing the “dirt” effect. Crushing them fine gives the best texture.
- Toppings: Gummy Worms: The quintessential “worms” for our dirt cups! They add a burst of color, a chewy texture, and a lot of character.
You can find the precise measurements and complete ingredient list for these irresistible dirt cups in the detailed recipe card further down this page.
Creative Variations and Smart Substitutions
While the classic dirt cup is perfect as is, there are plenty of ways to customize this recipe to suit your taste or dietary needs. Don’t be afraid to get creative and experiment with different flavors and textures!
- Golden Oreos: For a delightful twist, swap out the classic chocolate Oreo cookies for Golden Oreos. This creates a “sandy” look, perfect for a beach-themed dessert, especially when paired with vanilla pudding.
- Vanilla Pudding: Instead of chocolate, try using vanilla instant pudding to make easy dirt dessert cups. This offers a lighter flavor profile and can be lovely with Golden Oreos or even chocolate Oreos for a cookies-and-cream vibe. You could also experiment with other pudding flavors like banana, butterscotch, or even pistachio for unique color and taste.
- Homemade Whipping Cream: If you prefer a homemade touch, substitute store-bought whipped topping with a batch of fresh, Homemade Whipped Cream Recipe. Simply whip heavy cream with a little powdered sugar and vanilla extract until stiff peaks form. It adds a luxurious texture and rich flavor.
- Different Cookies: Beyond Oreos, consider using other crushed cookies like chocolate chip cookies, graham crackers for a lighter “dirt” color, or even shortbread cookies.
- Candy Mix-ins: While gummy worms are traditional, feel free to add other candies like chocolate chips, M&Ms, or mini marshmallows for extra texture and sweetness within the pudding layers.
- Dietary Adaptations: For gluten-free guests, use gluten-free sandwich cookies. For a dairy-free version, use dairy-free instant pudding mixes (check labels), plant-based milk (almond, soy, oat), and dairy-free whipped topping.
How to Assemble Your Delicious Dirt Pudding Cups
Making dirt cups is a straightforward process, making it an excellent activity for involving younger helpers in the kitchen. Follow these simple steps for perfectly layered and delightful dirt cups:
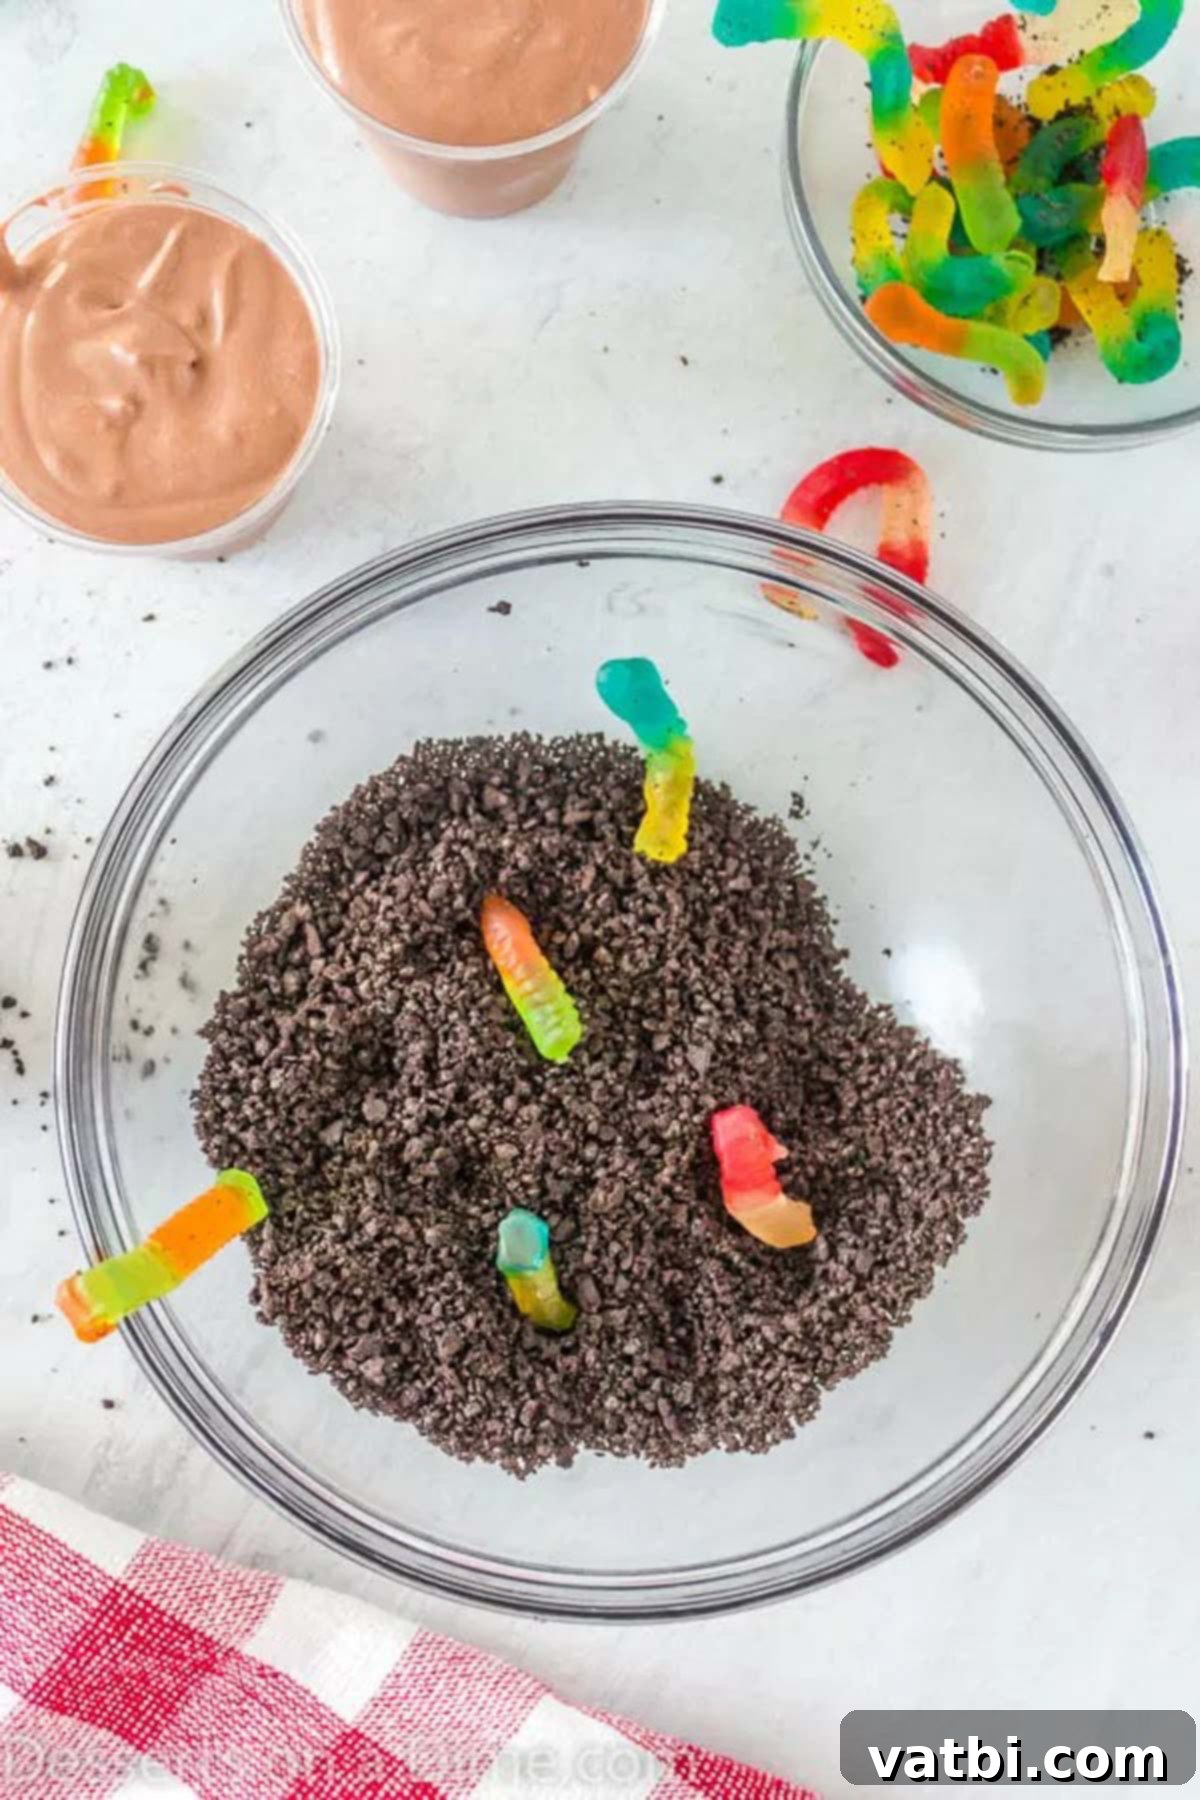
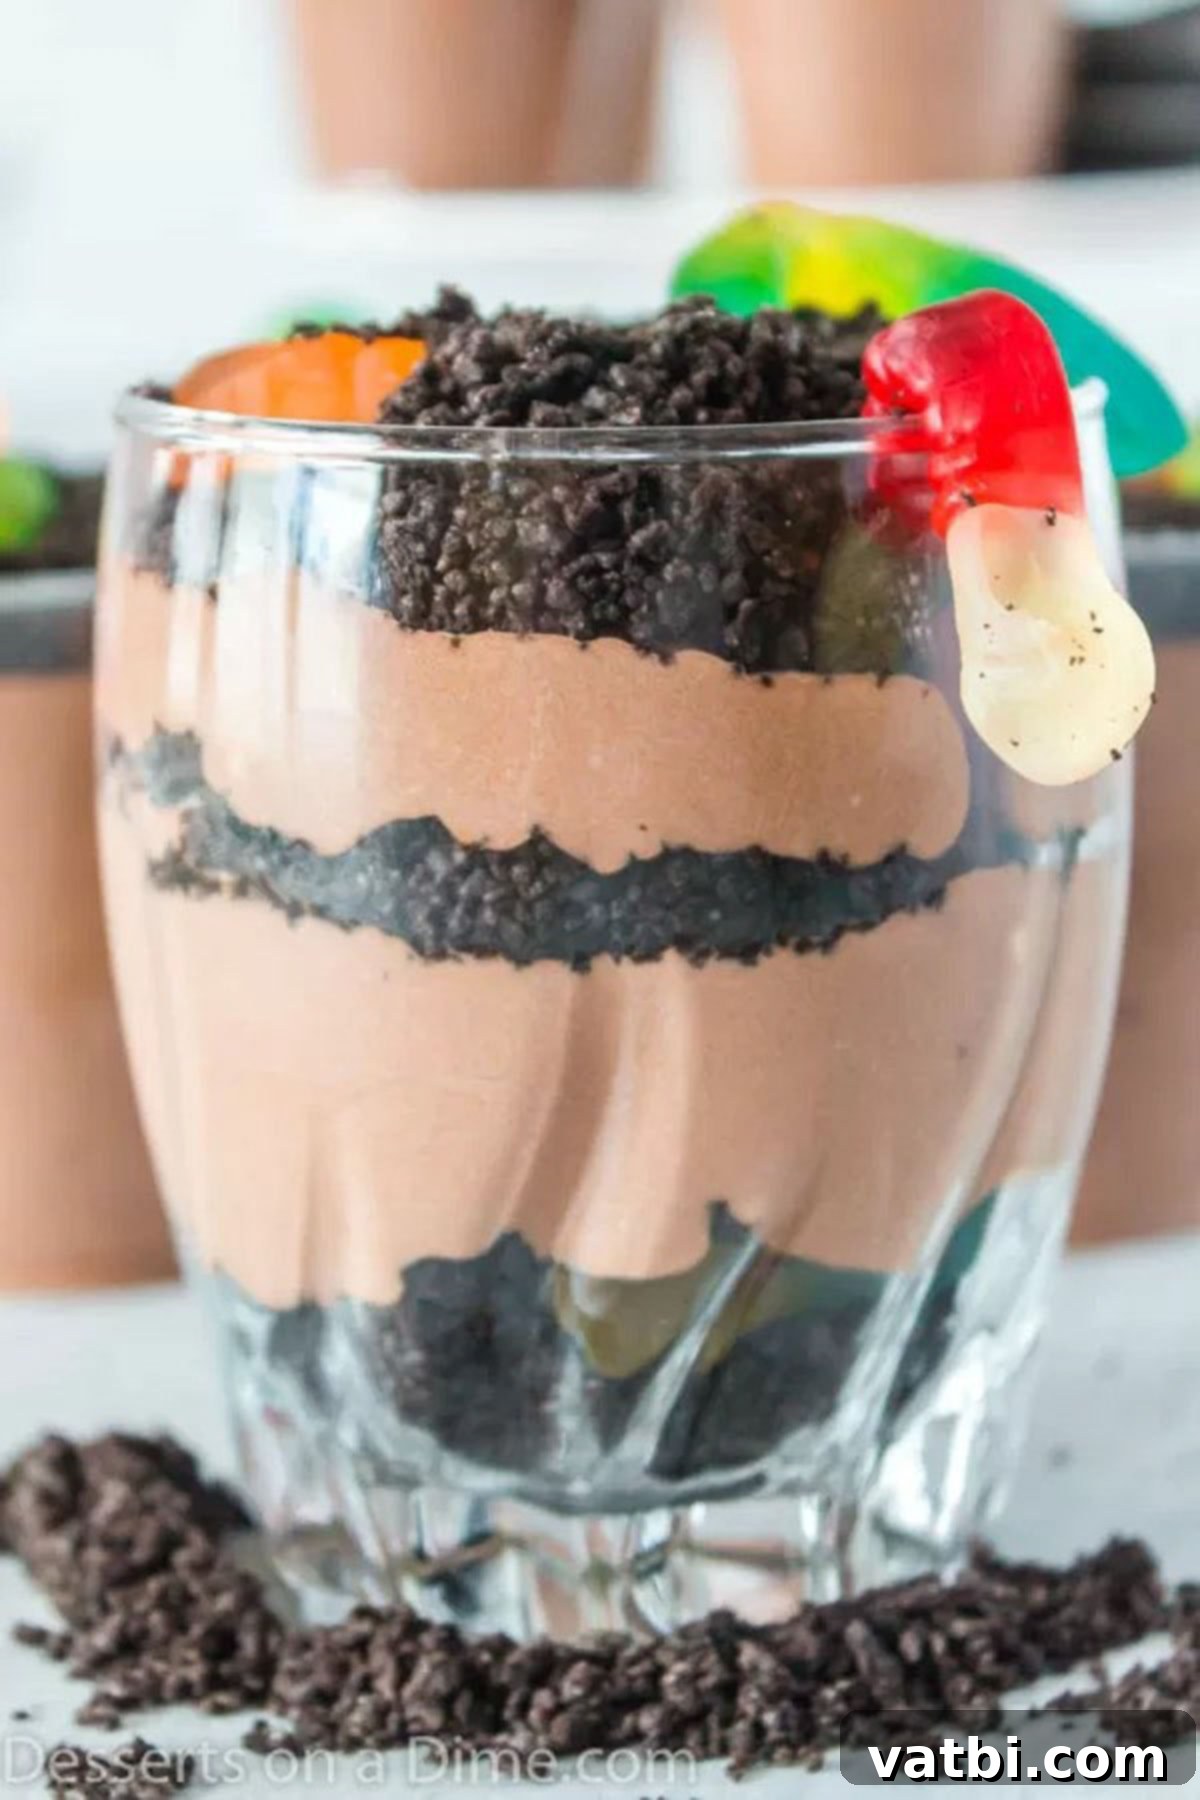
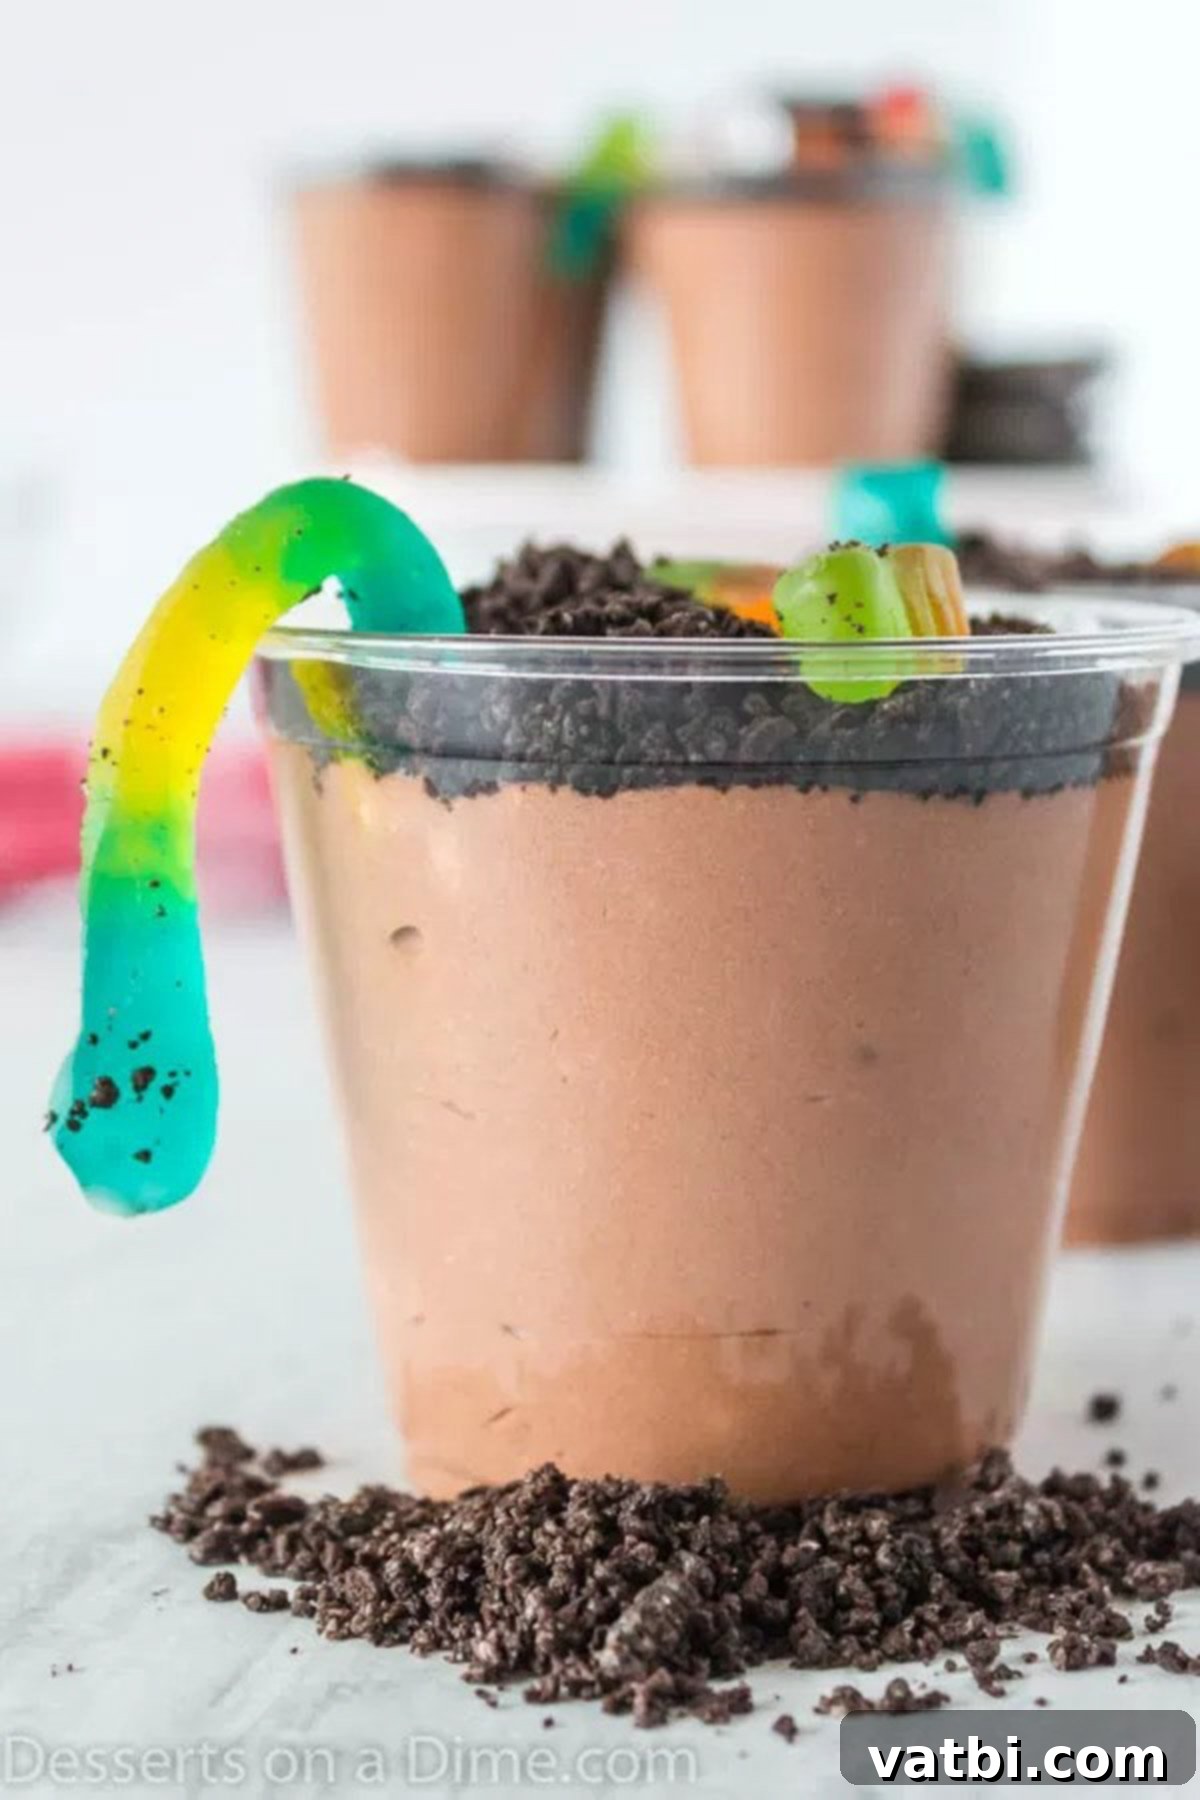
Imaginative Topping Ideas for Extra Fun
While gummy worms are the quintessential topping for dirt cups, don’t limit your creativity! There are countless ways to make these treats even more exciting and tailored to a specific theme or occasion. Let your imagination run wild, and definitely get the kids involved in the topping process!
- Variety of Gummy Candies: Beyond regular gummy worms, explore sour gummy worms for a tangy kick, gummy bears, gummy frogs, or even candy insects for an extra creepy-crawly effect. Any colorful, chewy gummy will add a fun element.
- Candy Flowers & Greenery: For a garden theme, you can add small candy flowers or even fresh, edible flowers (make sure they’re food-safe!). Green candy sprinkles or shredded coconut dyed green can mimic grass.
- Edible Decorations for Holidays:
- Halloween: Mini candy pumpkins, candy corn, ghost-shaped marshmallows, candy eyeballs, or tiny candy tombstones made from cookies or chocolate.
- Easter: Jelly beans, chocolate eggs, Peeps bunnies or chicks, and green coconut “grass.”
- Christmas: Red and green sprinkles, mini candy canes, or a few festive M&Ms.
- Spring/Summer: Fresh berries (strawberries, raspberries), mini chocolate chips, or sprinkles in bright, cheerful colors.
- Chocolate Shavings or Chips: A dusting of chocolate shavings or a handful of mini chocolate chips can add extra cocoa flavor and a different texture.
- Cookie Crumbs Varieties: Experiment with different types of cookie crumbs for diverse textures and flavors – shortbread crumbs, graham cracker crumbs, or even crushed Nilla Wafers for a lighter “sand” look.
Just remember to make it fun and let the kids take the lead in decorating their own cups. It’s a fantastic way to encourage creativity and make the dessert even more special to them!
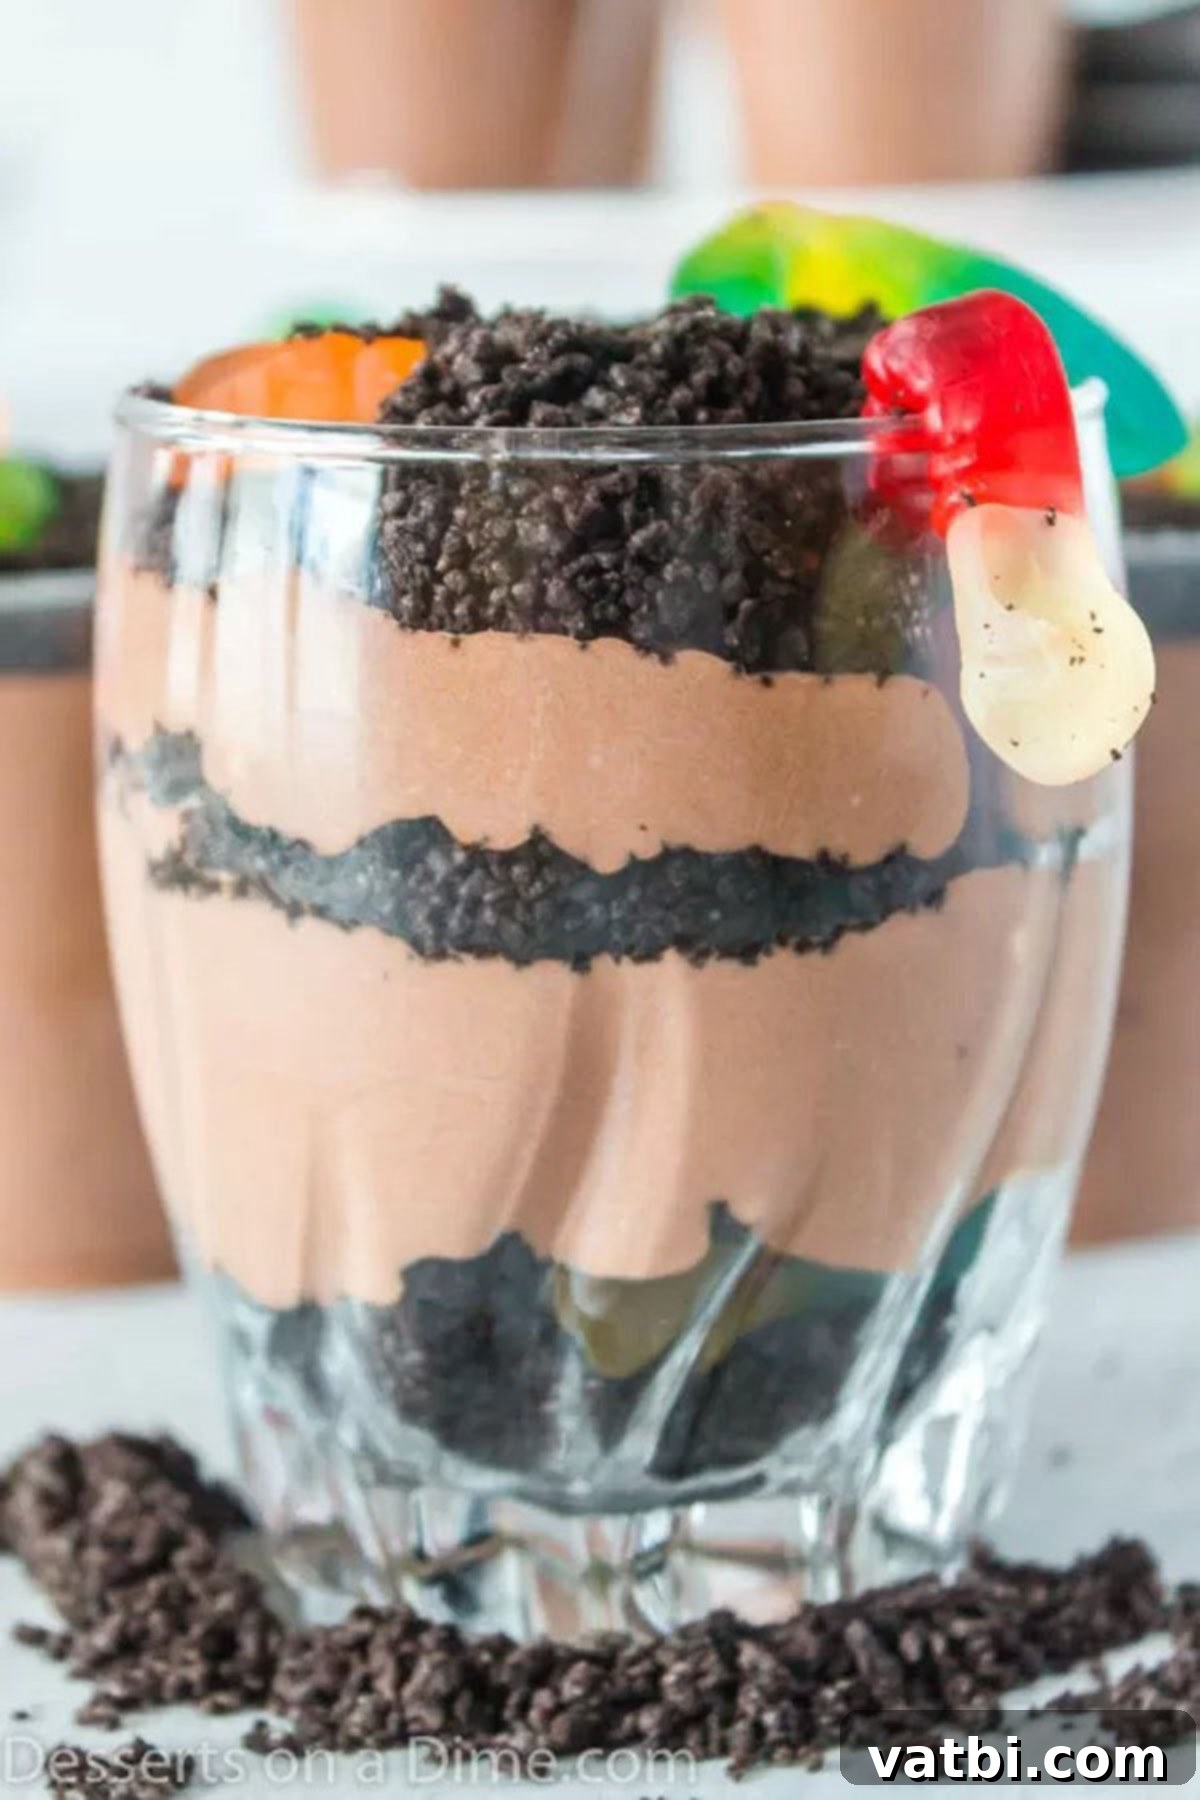
Expert Pro Tips for Perfect Dirt Cups
While dirt cups are inherently simple, a few expert tips can elevate your dessert from good to absolutely fantastic. Keep these pointers in mind for the best results:
- Powdered Sugar “Sand”: For a unique look, sprinkle a light dusting of powdered sugar over the tops of your finished dirt cups. Depending on your chosen decorations, this can beautifully mimic a fine layer of sand or a light dusting of snow for a winter theme.
- Prepare Ahead of Time: These dirt pudding cups are an excellent make-ahead dessert! You can prepare the pudding mixture and crush the Oreos a day in advance. Store the pudding tightly covered in the fridge and the crushed Oreos in an airtight container at room temperature. For the freshest look, I usually add the gummy candy worms and any other delicate toppings right before serving to prevent them from getting soggy or sinking.
- Crushing Oreos Made Easy: No need for special equipment! If you don’t have a food processor or blender, simply place the Oreo cookies inside a large, resealable plastic bag. Make sure the bag is sealed tightly, then use a rolling pin, the bottom of a heavy glass, or even your hands to quickly crush the cookies until they reach your desired “dirt” consistency.
- Full-Fat Ingredients are Best for Creaminess: For the richest flavor and creamiest texture, I highly recommend using whole milk and regular whipped topping (like Cool Whip). While you can certainly substitute with reduced-fat or non-dairy alternatives, you might notice a slight difference in the dessert’s overall richness and consistency.
- Mastering the Layering Technique: For distinct and attractive layers, add a small portion of the pudding mixture to the bottom of your cup, then sprinkle a layer of cookie crumbs. Continue this pattern, alternating between pudding and cookie crumbs, until the cup is almost full. This creates that iconic “dirt” look that everyone loves.
- Keep the Cream Filling in Oreos: When crushing Oreos, there’s no need to remove the cream filling. The filling contributes to the overall flavor and helps the “dirt” clump together slightly, giving it a more realistic texture.
- Serving Suggestions: We love serving these in small, individual cups – clear glass or plastic ones – as they are perfect for little hands to hold and allow the beautiful layers to be seen. If serving at a party, small mason jars or clear plastic tumblers are fantastic choices. You can also make a large “dirt cake” in a clear trifle dish for a striking centerpiece!
How Long Do Dirt Pudding Cups Last?
Dirt Pudding cups are truly best when served fresh, as the Oreo crumbs have their maximum crunch. However, you can absolutely prepare them ahead of time and store any leftovers in the refrigerator for up to 2 to 3 days. Beyond this timeframe, the crushed Oreo cookies will begin to absorb moisture from the pudding and whipped topping, becoming soggy. While still edible, they won’t have the same delightful texture. For optimal freshness, cover individual cups tightly with plastic wrap before refrigerating.
Why Dirt Cups Are So Popular
Dirt cups hold a special place in many hearts, particularly among children, and their popularity stems from a few key factors:
- Whimsical & Fun Appearance: The visual appeal of dirt cups is undeniable. The crushed Oreos perfectly mimic soil, and the gummy worms add a playful, realistic touch that ignites imagination. It’s a dessert that tells a story.
- Irresistible Flavor Combination: The blend of rich chocolate pudding, creamy whipped topping, and crunchy chocolate cookies creates a symphony of textures and flavors that is deeply satisfying. It’s sweet, decadent, and incredibly comforting.
- Easy to Make (No-Bake!): The simplicity of this no-bake recipe makes it accessible to everyone, regardless of their baking skills. It requires minimal effort and no oven time, perfect for quick treats or last-minute party desserts.
- Kid-Friendly Involvement: Dirt cups are an ideal recipe for involving children in the kitchen. They can help crush cookies, layer the ingredients, and, of course, arrange the gummy worms. This hands-on experience makes the dessert even more enjoyable for them.
- Versatile for Any Occasion: From casual family desserts to elaborate themed parties, dirt cups fit right in. They can be easily customized for holidays, birthdays, or school events, making them a go-to option for many celebrations.
- Individual Portions: Serving dirt cups in individual clear cups is a genius move for parties. It makes portion control easy, minimizes mess, and showcases the beautiful layers.
Making Dirt Cups with Kids
Involving children in the kitchen can be a rewarding experience, and making dirt cups is the perfect entry point for young chefs. Here’s how to make it a fun and safe activity:
- Crushing the “Dirt”: This is often a favorite! Let kids place Oreos in a sturdy, sealed Ziploc bag and gently smash them with a rolling pin or their hands. Supervise to ensure the bag stays sealed.
- Layering Experts: Provide small spoons and let them take turns adding layers of pudding and crushed cookies to their cups. This helps with fine motor skills and encourages precision.
- Gummy Worm Gardeners: The best part! Let them artfully arrange the gummy worms (and any other candy creatures) to peek out from the “dirt.” This sparks creativity and makes each cup unique.
- Taste Testing (Pre-approved!): Allow a small taste of the pudding mixture (before adding whipped topping) and crushed Oreos. It’s part of the cooking experience!
- Safety First: Remind them about washing hands, and supervise closely if using any kitchen tools. This recipe is particularly safe as it involves no heat.
Making dirt cups together isn’t just about the dessert; it’s about creating memories, fostering a love for cooking, and enjoying a delicious treat they helped create.
More Delightful Dirt Cup Recipes
If you’ve fallen in love with the charm and ease of these classic dirt cups, you’ll be excited to know there are many other themed variations to explore!
- Christmas Dirt Cups Recipe: Festive and fun, perfect for holiday gatherings with red and green candies.
- Football Dirt Cups: A touchdown dessert for game day, complete with themed candy decorations.
- 39 Easy Dessert Cup Recipes: A treasure trove of individual dessert ideas, including more dirt cup variations and other delightful treats.
Explore More No-Bake Desserts
Can’t get enough of hassle-free desserts? No-bake recipes are a lifesaver for busy schedules and hot weather. Here are some more favorites that require no oven time:
- No Bake Cinnamon Corn Flake Cereal Bars Recipe: Crunchy, sweet, and spiced, these bars are a quick and satisfying snack or treat.
- Easy No Bake Cookies: A classic for a reason – chewy, chocolatey, and ready in minutes.
- No Bake Cheerios Bars Recipe: A simple and wholesome treat, perfect for breakfast or a snack.
- Quick and Easy Fruity Pebble Bars Recipe: Colorful, sweet, and bursting with fruity flavor.
- Cookies and Cream Muddy Buddies: An addictively crunchy snack mix with a delightful cookies and cream twist.
Get ready to impress the kids and delight your guests when you whip up a batch of these charming Oreo dirt cups. They’re more than just a dessert; they’re an experience! Don’t forget to leave a comment after you make them – it brightens my day to hear from you and learn about your creations. Happy digging!
Pin
Dirt Cups
Ingredients
For the Dirt Cups:
- 1-2 small box 3.4 oz instant chocolate pudding mix
- 2 cups milk
- 1 tub 8 oz whipped topping, thawed
For the Toppings:
- 10-12 Oreo cookies crushed
- Gummy worms
Instructions
-
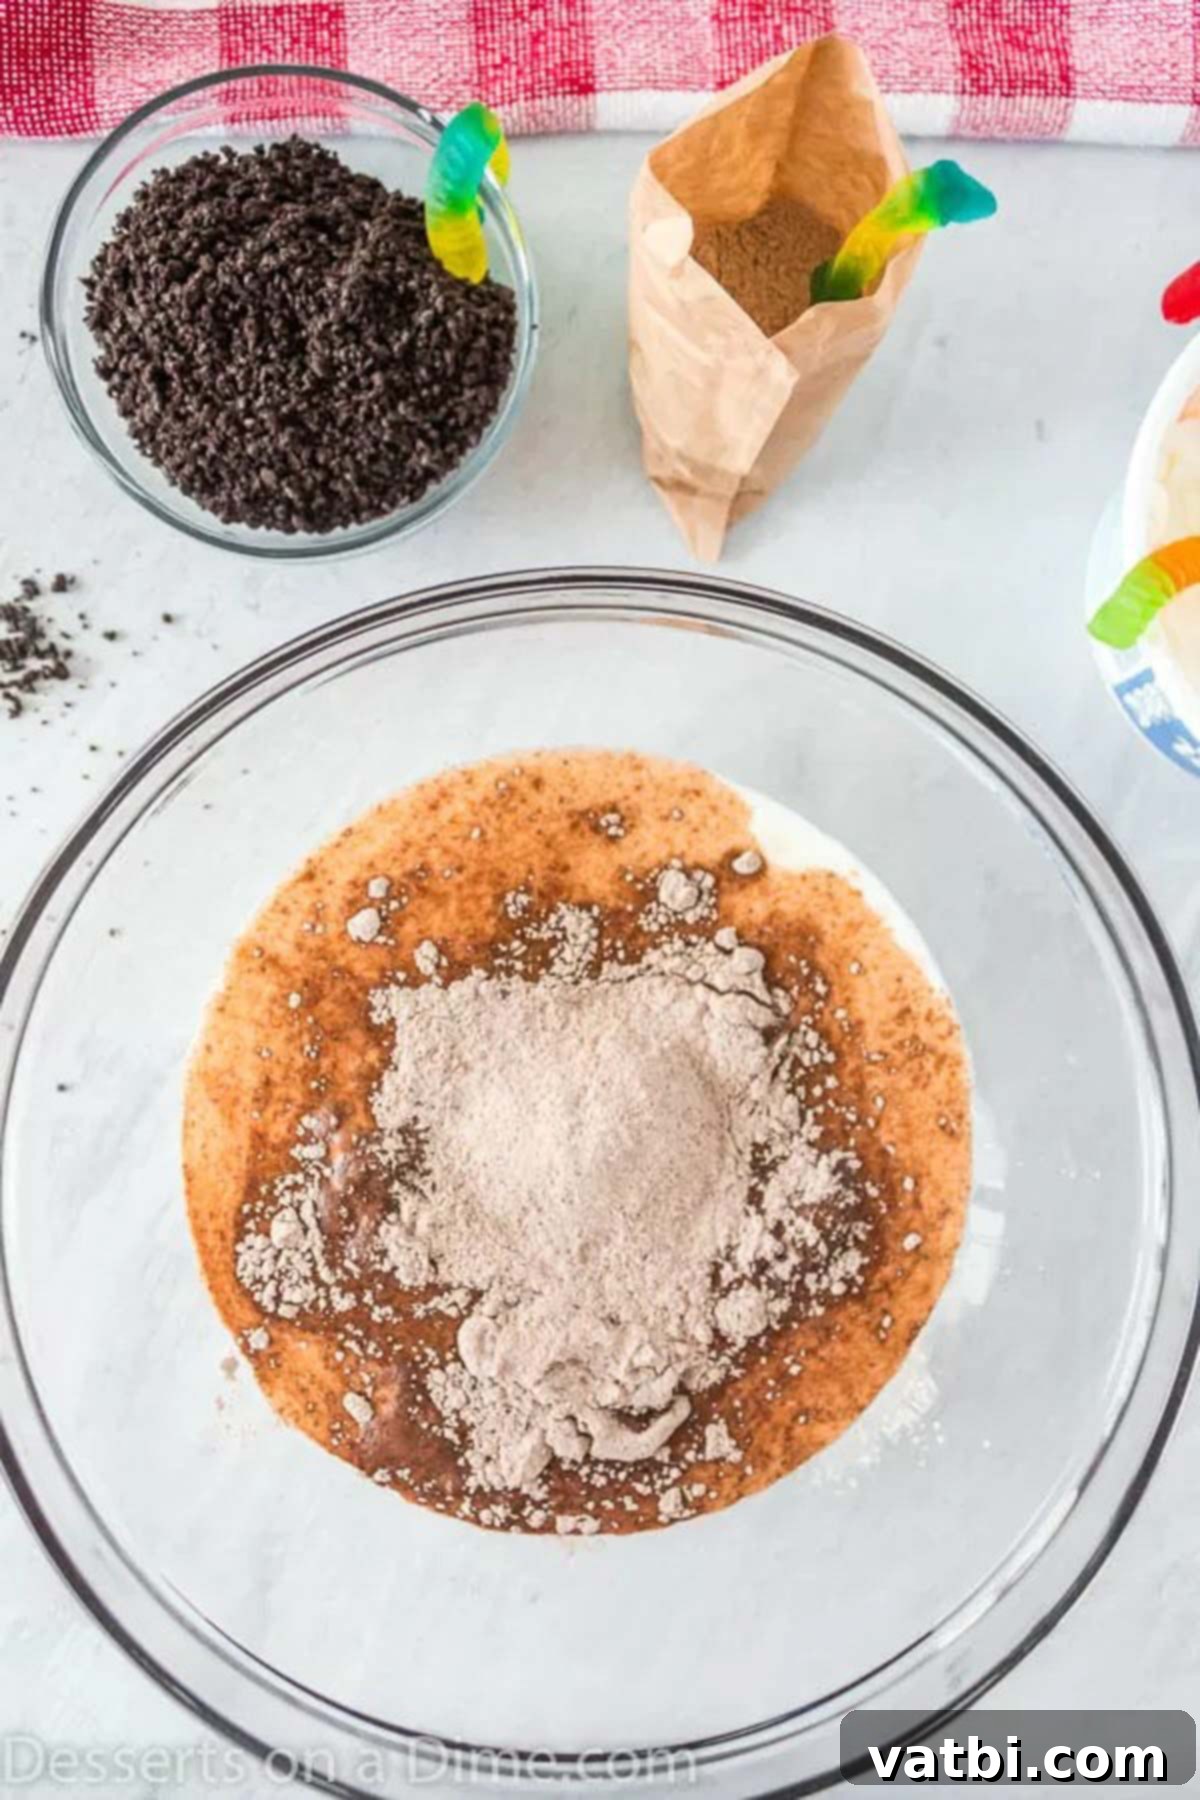
In a medium bowl, add cold milk. Ensure the milk is thoroughly chilled for best pudding setting.
-
Sprinkle the instant pudding mix evenly over the cold milk. Whisk immediately and continuously for at least 2 minutes until the mixture is completely smooth and thickened, with no dry spots of pudding mix.
-
Place the bowl with the pudding mixture in the refrigerator for about 10 minutes to allow it to set further and become firm. This step is crucial for achieving the perfect pudding consistency.
-
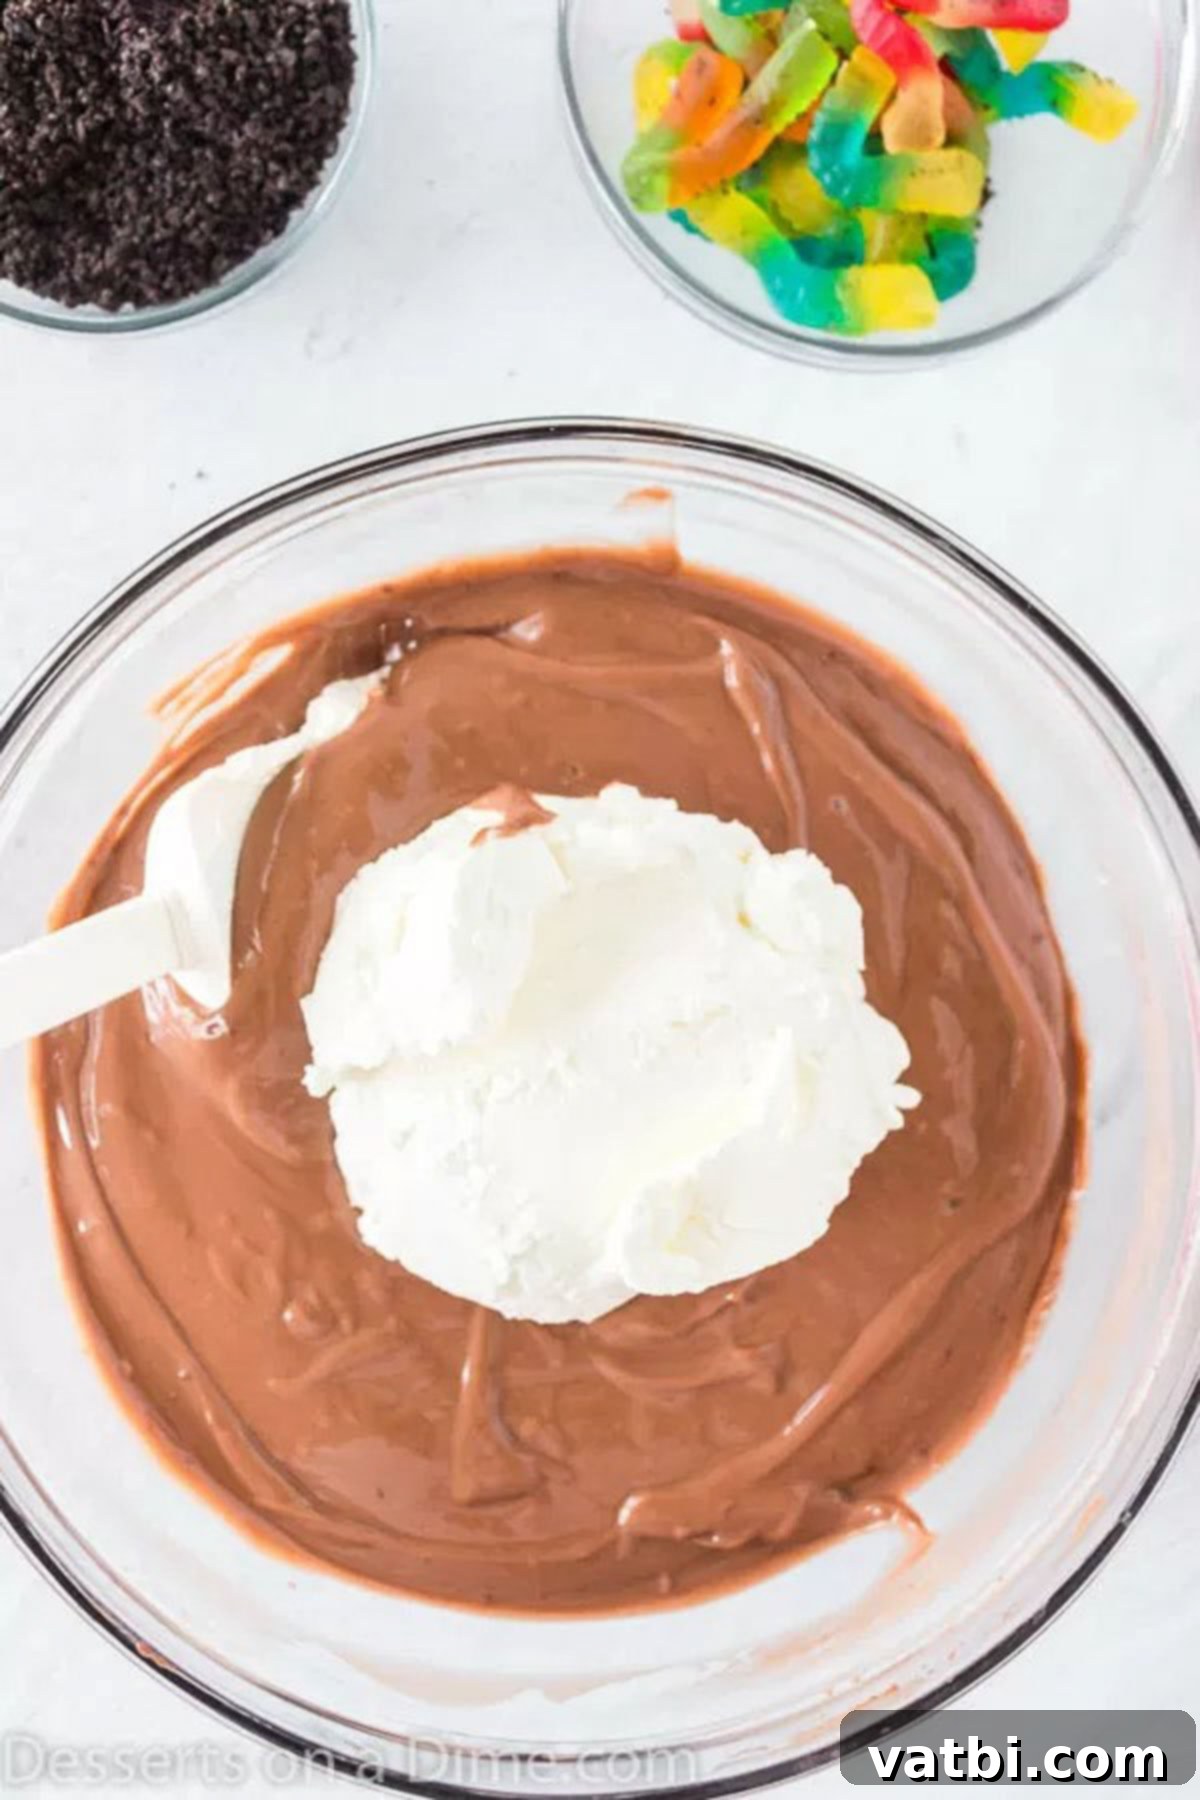
Gently fold in the thawed whipped topping into the set pudding mixture using a spatula. Mix until no streaks of whipped topping remain and the mixture is light and creamy. Be careful not to deflate the whipped topping by overmixing.
-
Begin layering the dessert. Spoon a portion of the pudding mixture into the bottom of your chosen glasses or cups. Clear cups work best to show off the beautiful layers!
-
Once your cups are layered, place them in the refrigerator for an additional 20 minutes to chill thoroughly. This ensures the pudding is firm and refreshing.
-
While the cups are chilling, prepare your “dirt.” Crush the Oreo cookies in a food processor until they are finely ground, resembling soil. Alternatively, place them in a resealable plastic bag and crush with a rolling pin.
-
Once chilled, remove the cups from the refrigerator. Sprinkle a generous amount of the crushed Oreo cookies over the top layer of pudding in each cup. This creates the classic “dirt” effect.
-
Finally, add a few gummy worms to each cup, positioning them so they look like they are crawling out of the dirt. Serve immediately and enjoy these fun and delicious dirt cups!
Nutrition Facts
Pin This Now to Remember It Later
Pin Recipe
