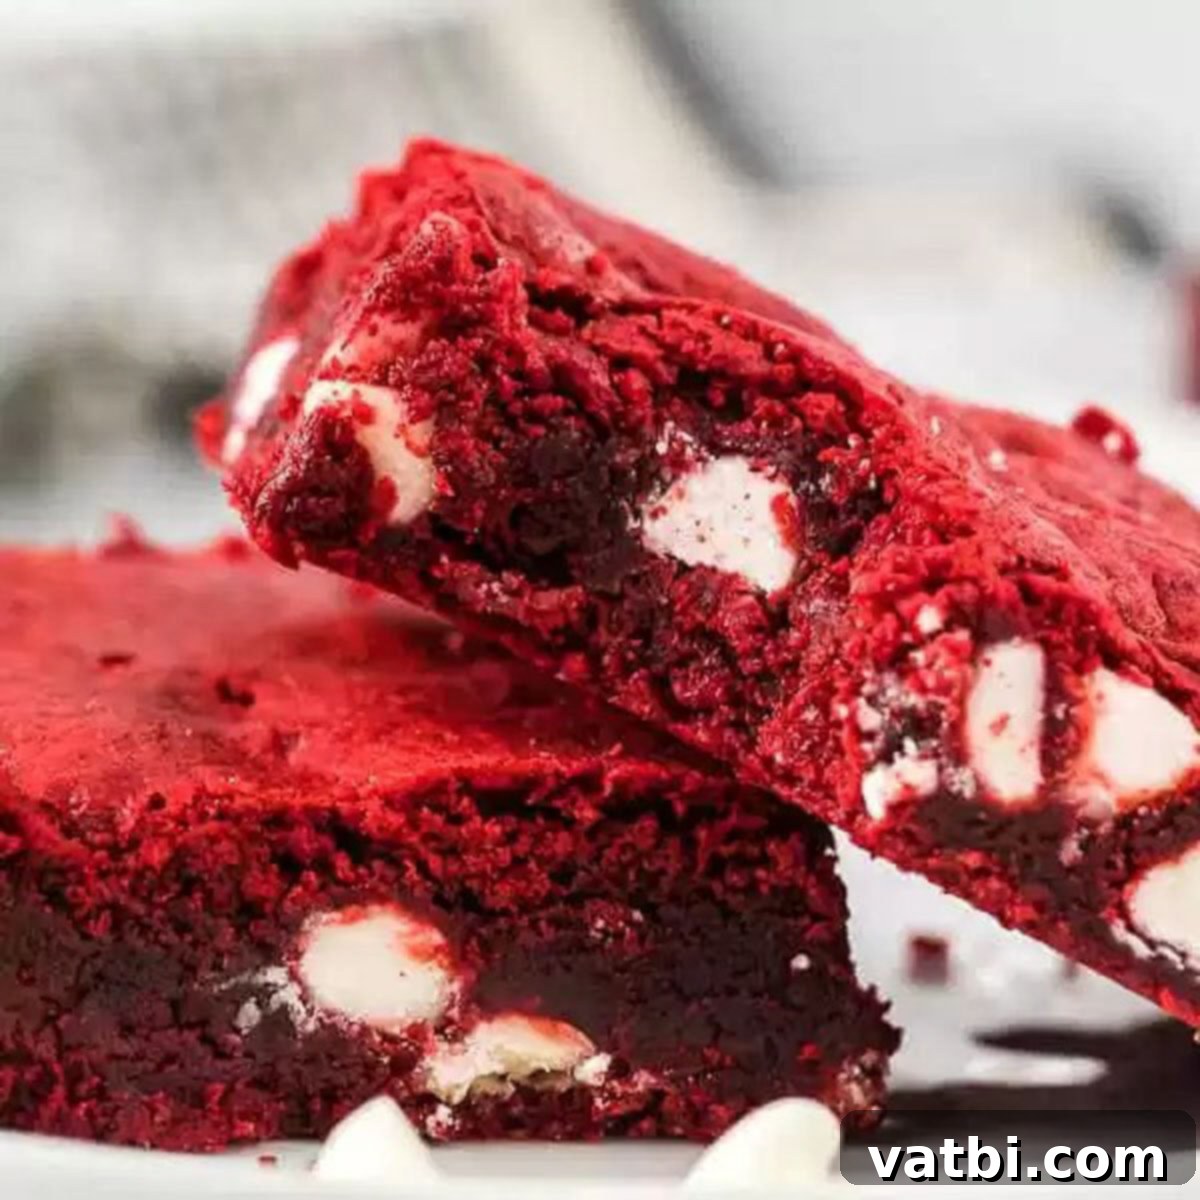
Effortlessly Delicious Red Velvet Brownies: The Ultimate Cake Mix Hack for Fudgy Perfection
Discover the ultimate shortcut to decadent dessert bliss with these incredibly easy Red Velvet Brownies. The secret to their rich, fudgy texture and vibrant color lies in a simple cake mix, making them perfect for any baker, from novice to expert. Each bite is a symphony of classic red velvet flavor, generously studded with luscious white chocolate chips, creating an irresistible treat that will quickly become a household favorite.
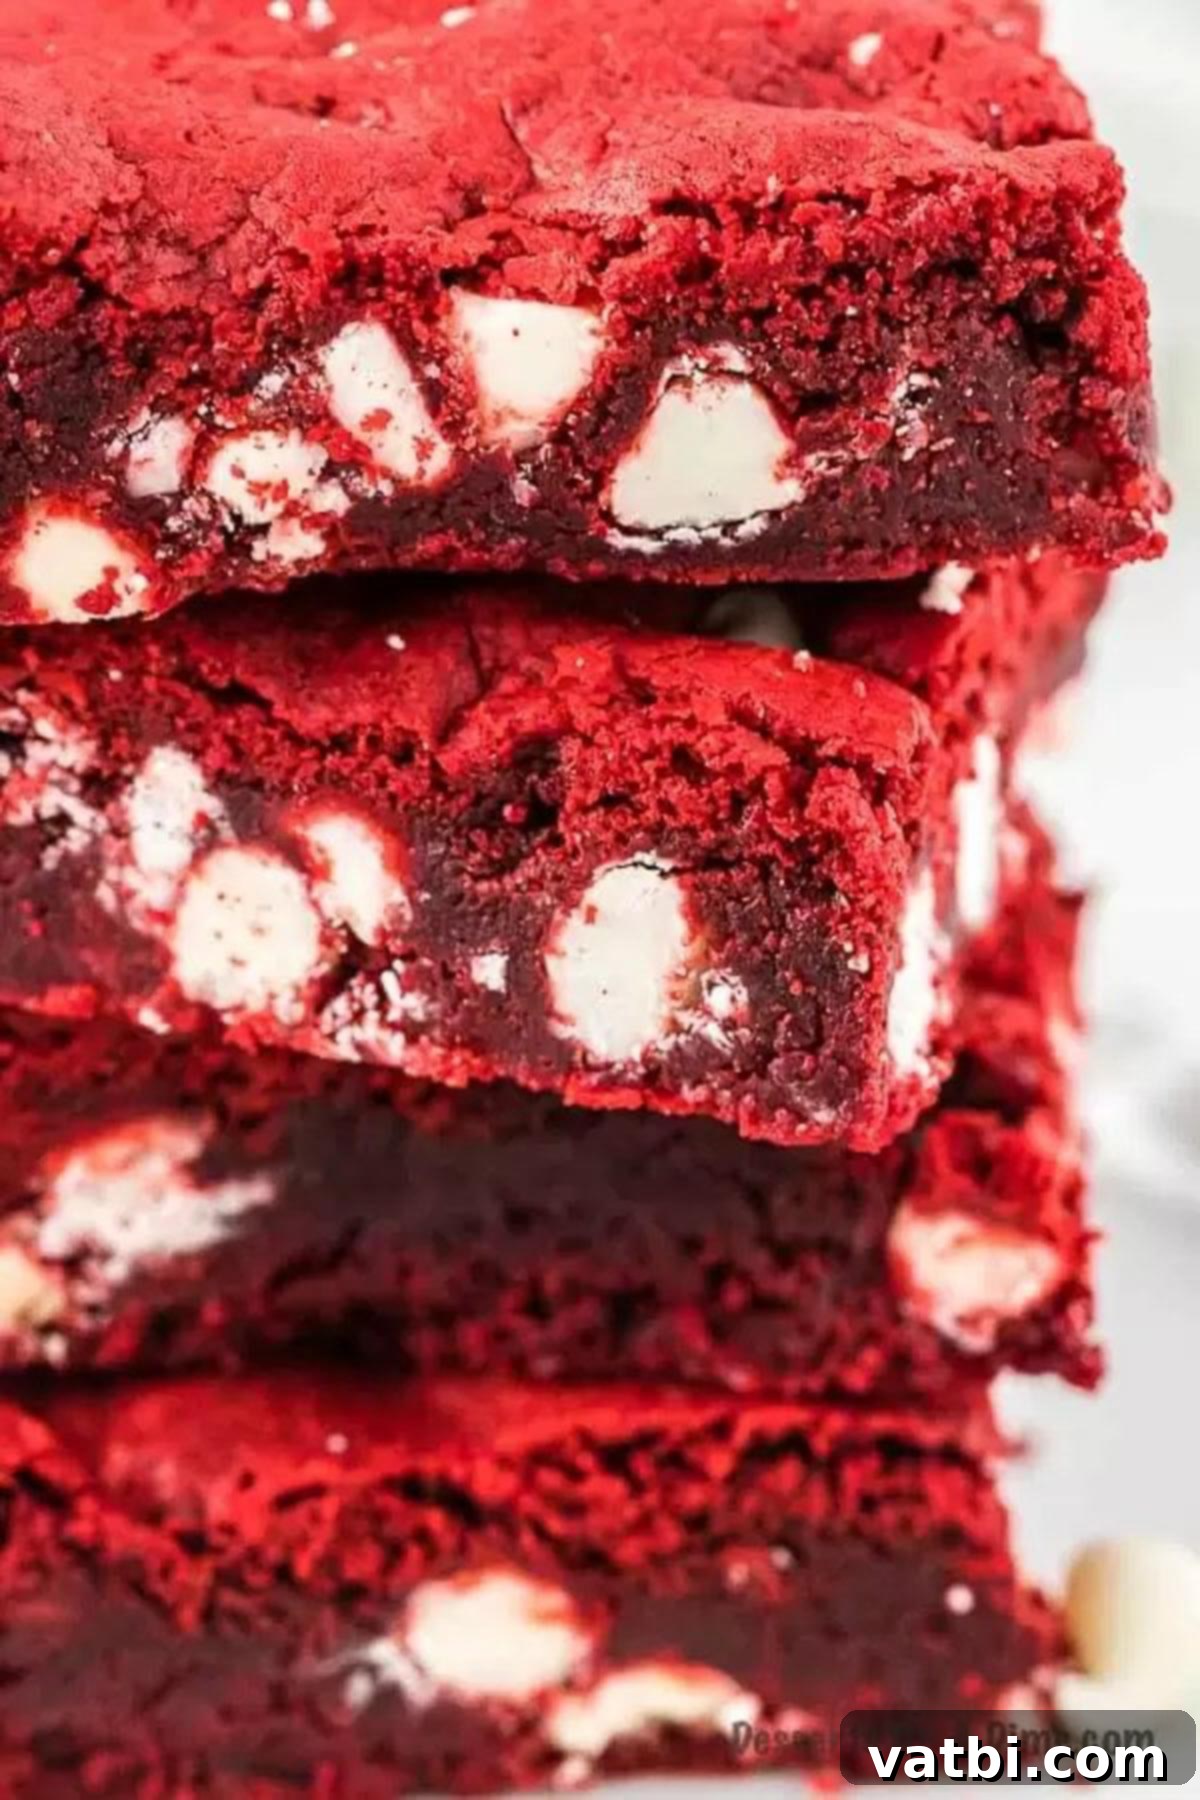
Red velvet holds a special place in the hearts of dessert enthusiasts, and for good reason! Its unique blend of flavors and stunning appearance make it a showstopper. While a traditional Red Velvet Cake can be a labor of love, sometimes you simply crave that signature taste without the fuss. That’s why this recipe is a game-changer. If you love red velvet as much as we do, you might also enjoy our easy Red Velvet Cake recipe, delightful Red Velvet Fudge, or our charming Red Velvet Trifle Cups.
This recipe is not only simple but also incredibly versatile, making it a fantastic choice for special occasions. It’s an ideal easy Valentine’s Day Recipe, bringing a festive touch to your celebration. For more vibrant and delicious ideas, explore our collection of 31 Easy Red Desserts to Impress. You’ll be amazed at how quickly these red velvet brownies come together, delivering maximum flavor with minimal effort.
What’s in this post: Red Velvet Brownies
- What is Red Velvet?
- What do Red Velvet Brownies Taste Like?
- Ingredients for Cake Mix Red Velvet Brownies
- Delicious Variation Ideas
- How to Make Brownies Out of Cake Mix
- Top Recipe Tips for Perfect Brownies
- How Do You Know When Brownies Are Done?
- How to Perfectly Cut Brownies
- Creative Ways to Serve Your Brownies
- Frequently Asked Questions
- More Irresistible Homemade Brownie Recipes
- Also Try These Red Velvet Recipes
- Red Velvet Brownies Recipe
What is Red Velvet?
Red Velvet is a classic American dessert known for its distinctive reddish-brown color, delicate texture, and subtle flavor profile. At its core, it’s a type of vanilla cake infused with a touch of cocoa powder and vibrant red food coloring. The original red velvet cakes, particularly popular in the Southern United States, often achieved their reddish hue from the reaction between buttermilk, vinegar, and unprocessed cocoa powder. While modern recipes frequently rely on food coloring for that signature deep red, the combination of these ingredients still provides a unique, slightly tangy flavor that balances the sweetness of the cake. It’s not a rich chocolate cake, but rather a vanilla cake with a hint of chocolate, making it truly special.
What do Red Velvet Brownies Taste Like?
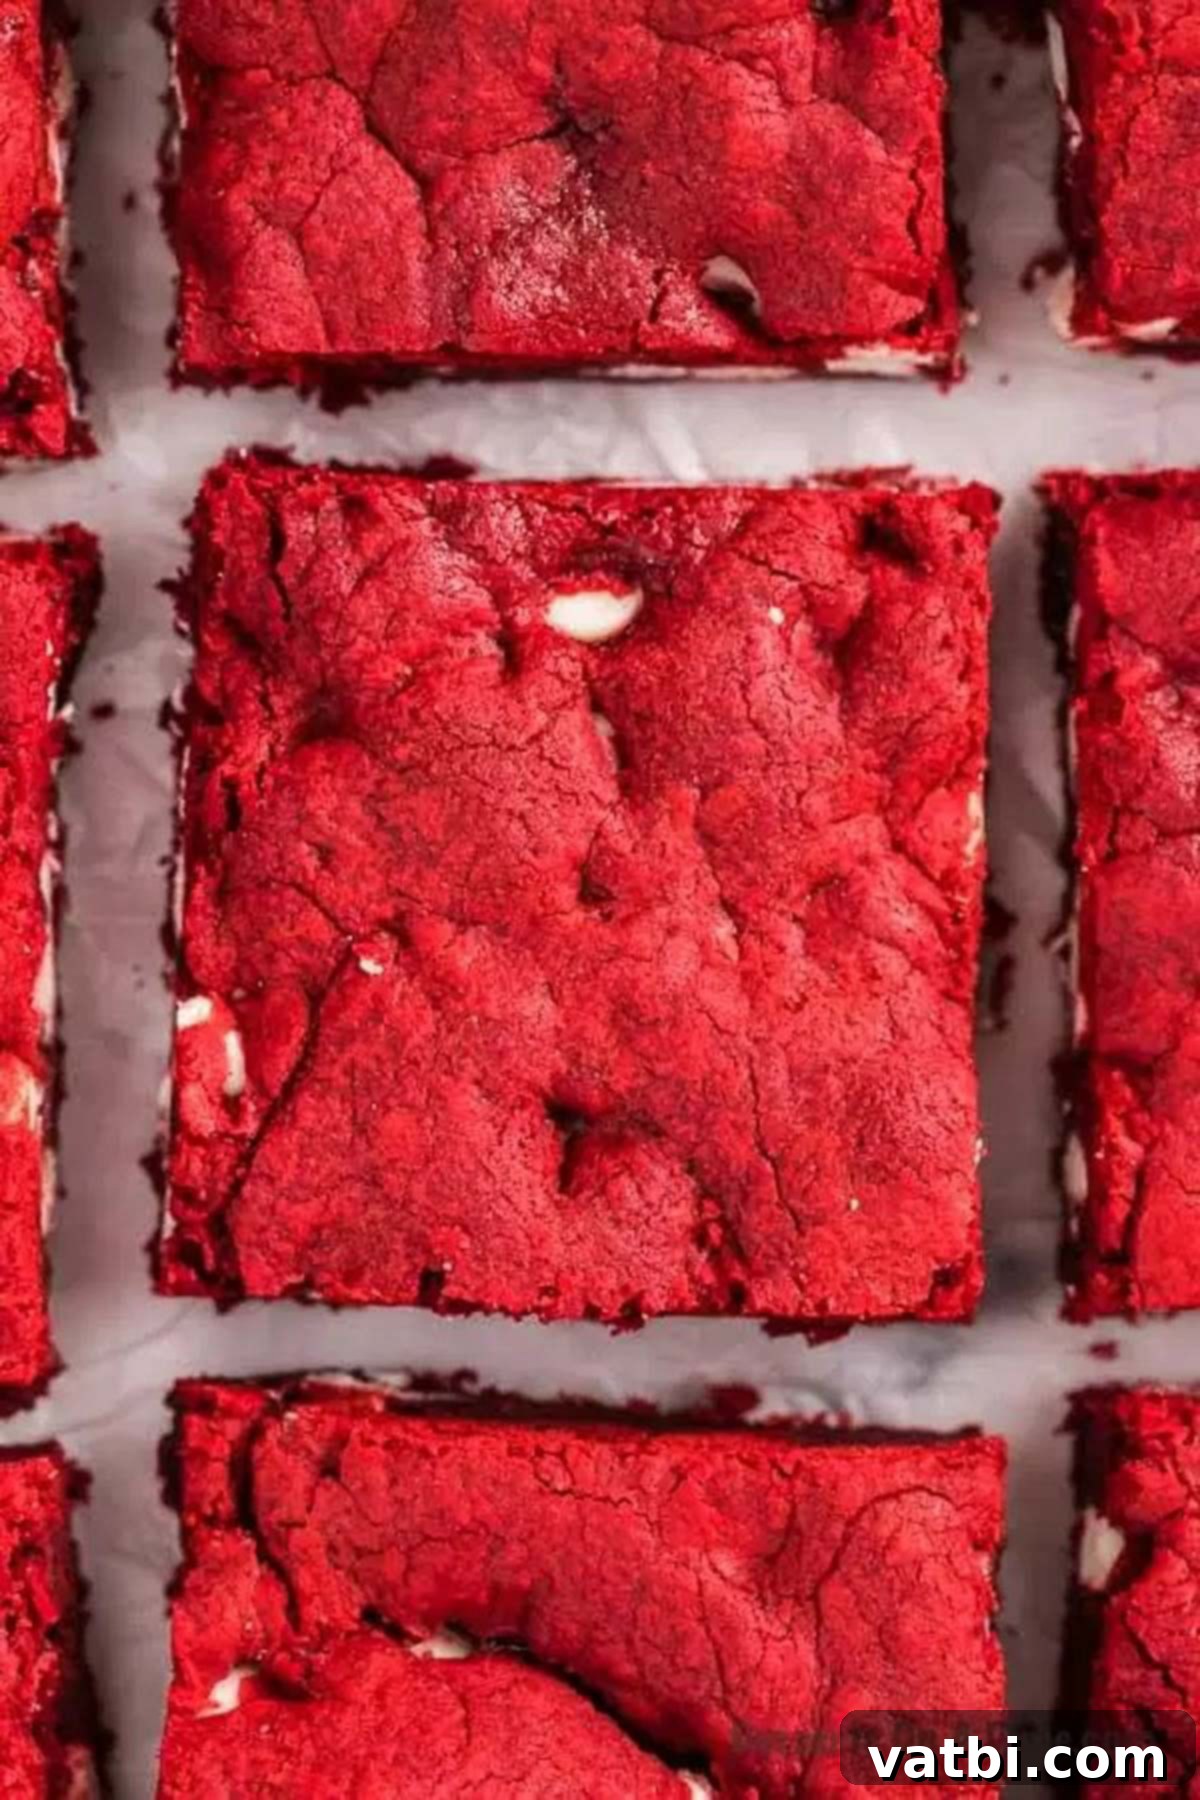
These Red Velvet Brownies offer an irresistible sensory experience. Unlike a cakey brownie, these boast a remarkably fudgy and chewy texture, reminiscent of your favorite dense, gooey brownies. They strike a perfect balance between the richness of chocolate and the delicate sweetness of vanilla, creating a flavor that is both familiar and uniquely red velvet. The subtle cocoa notes are present but not overpowering, allowing the distinct tang (often from buttermilk in traditional recipes, though implied here with the cake mix) to shine through, providing a complex and utterly delicious taste that will have you reaching for another piece. The added white chocolate chips melt into creamy pockets, enhancing the decadence with every bite.
Ingredients for Cake Mix Red Velvet Brownies
One of the best things about these easy red velvet brownies is the minimal ingredient list. You likely have most of these staples in your pantry already!
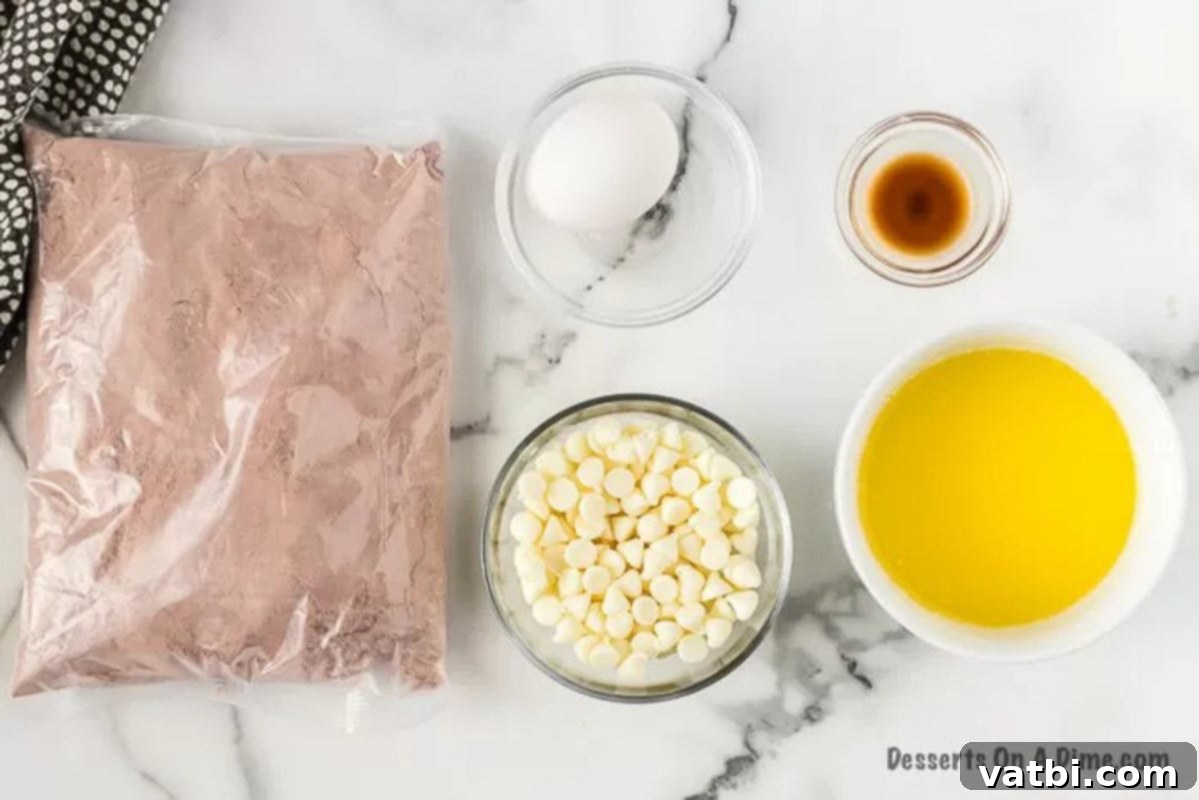
- Red Velvet Cake Mix: This is the star ingredient that makes these brownies so incredibly quick and simple. It provides all the dry ingredients, color, and signature red velvet flavor in one convenient package.
- Egg: The egg acts as a binder, helping to create that desirable fudgy and chewy texture that defines a perfect brownie.
- Butter: Melted butter contributes to the rich flavor and moistness of the brownies. It’s essential for a tender crumb.
- Vanilla Extract: Even with a cake mix, a touch of extra vanilla extract enhances the overall sweetness and aroma, bringing out the best in the red velvet flavor.
- White Chocolate Chips: These chips are folded into the batter, adding pockets of creamy, sweet chocolate that beautifully complement the red velvet base.
For the precise measurements and the full, printable recipe, please scroll down to the bottom of this post. You’ll find all the details you need to make these sensational brownies!
Delicious Variation Ideas
While this recipe for red velvet brownies is fantastic as is, feel free to get creative and customize them to your liking. Here are some delightful variations to try:
- For the Cake Mix – You can absolutely experiment with different cake mix flavors! While Red Velvet is our absolute favorite for its unique taste and festive color, you could try a chocolate cake mix for a super fudgy double chocolate brownie, or even a strawberry cake mix for a fruity twist. The possibilities are endless with this easy cake mix brownie recipe.
- For the Butter – If you’re out of butter or prefer a slightly different texture, you can use the same amount of vegetable oil instead. Using oil can often result in an even moister brownie, so it’s a great substitute if you want to play with the richness and chewiness.
- For the White Chocolate Chips – The white chocolate chips add a wonderful creamy contrast, but don’t limit yourself! Milk chocolate chips would create a sweeter, classic chocolate brownie profile, while semi-sweet chocolate chips would add a deeper, richer chocolate flavor. You could also try a mix of different chocolate chips for added complexity.
- Deluxe Toppings – Elevate your brownies with some simple yet delicious toppings. A dusting of powdered sugar adds an elegant finish and a touch more sweetness. For the ultimate red velvet experience, prepare a tangy cream cheese frosting. Simply mix it in a small bowl until smooth and spread it generously over the completely cooled brownies. This adds a fantastic creamy and tangy contrast that pairs perfectly with red velvet.
- Omit or Swap Chocolate Chips – If you’re not a fan of white chocolate, feel free to leave the white chocolate chips out entirely, or swap them for milk chocolate, dark chocolate, or even peanut butter chips for a different flavor profile.
- Achieve a Cake-Like Texture – If you prefer a brownie that’s more akin to cake – lighter and fluffier – simply add one more egg to this recipe. Make sure to stir the eggs in one at a time to ensure they are fully incorporated into the batter, which will result in a less dense, more cake-like brownie.
How to Make Brownies Out of Cake Mix
Making these red velvet brownies from a cake mix couldn’t be simpler! You’ll be enjoying these decadent treats in no time.
- Step 1 – Prepare Your Oven: First, ensure your oven is properly preheated to 350 degrees Fahrenheit. This is crucial for even baking and achieving the perfect brownie texture.
- Step 2 – Prep Your Baking Pan: Next, take an 8×8 inch baking pan and generously spray it with a non-stick cooking spray. This will prevent your brownies from sticking and make removal much easier.
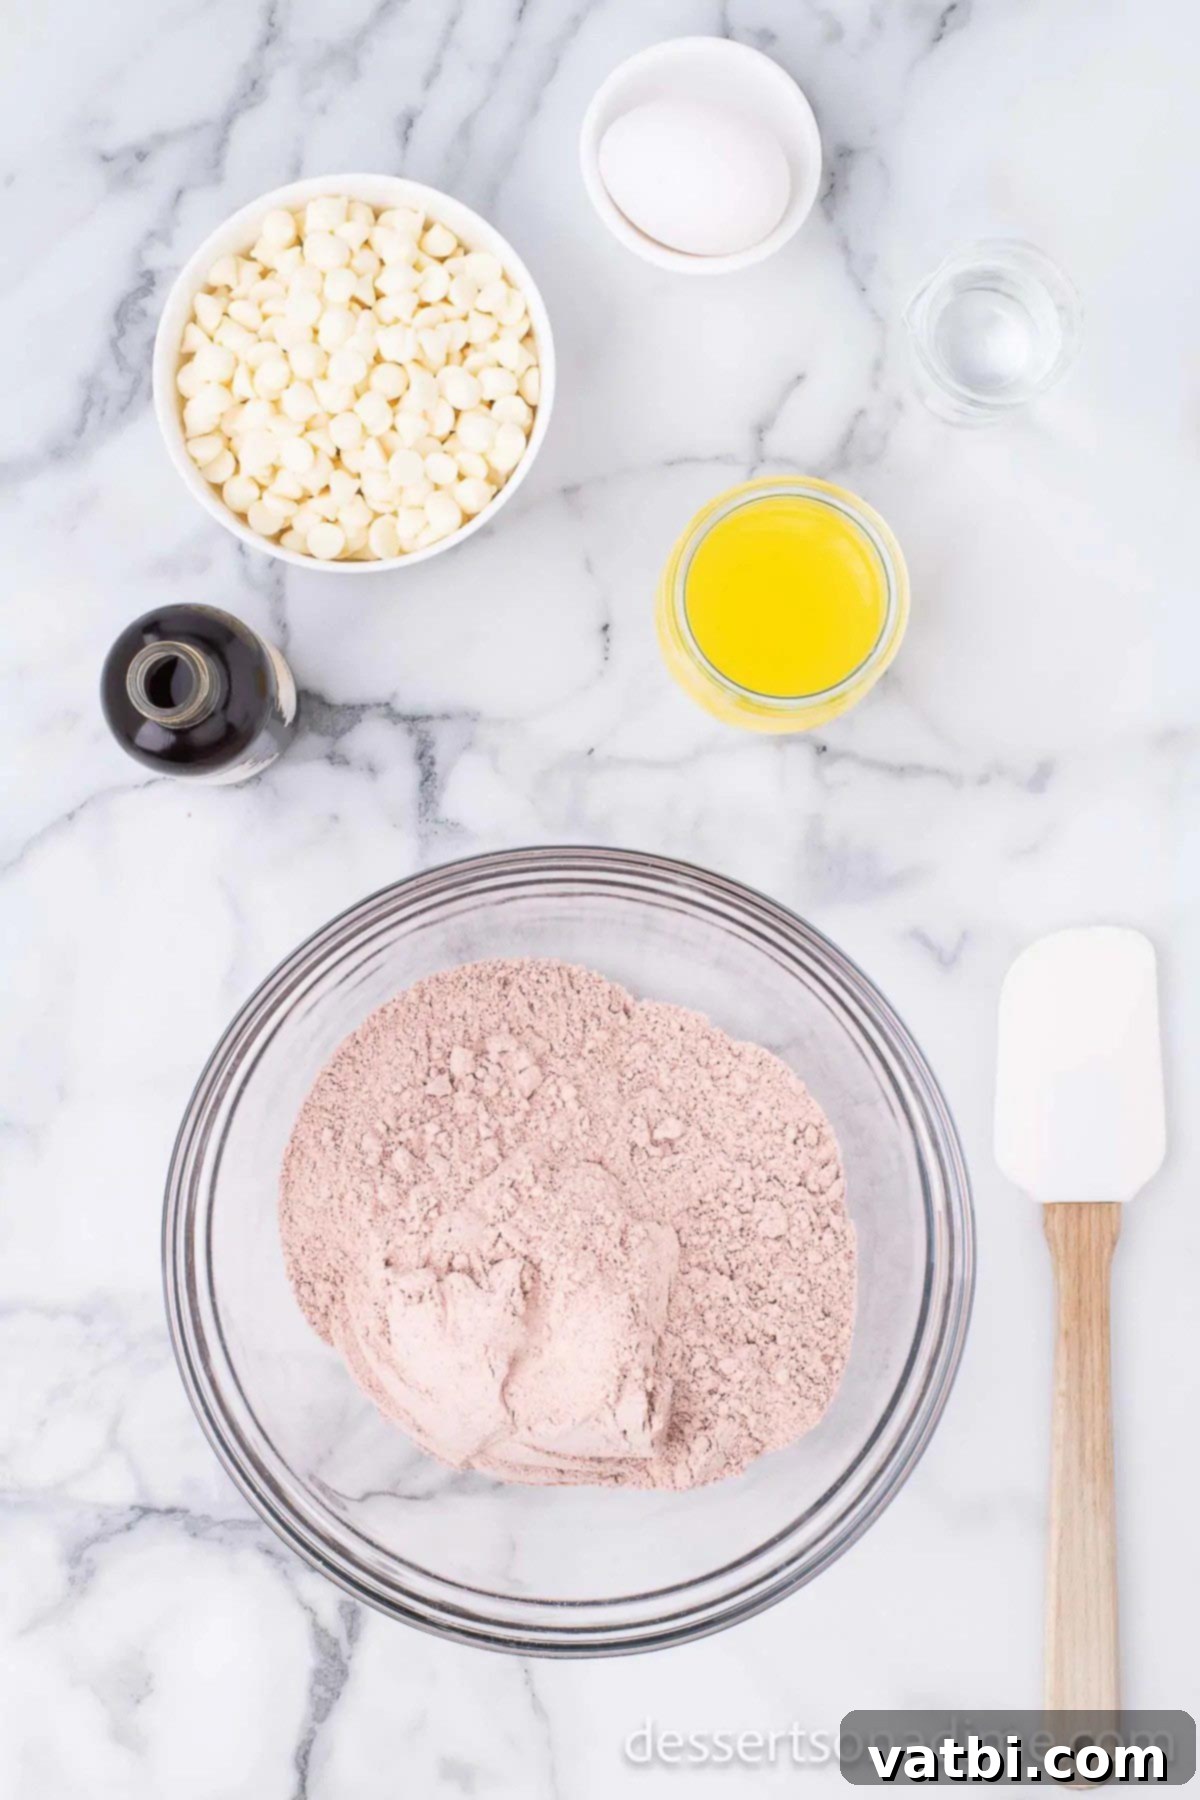
Step 3 – Mix the Base Ingredients: Combine all the ingredients – the red velvet cake mix, egg, melted butter, and vanilla extract – in a large mixing bowl. Whisk them together by hand until just combined. Avoid using an electric mixer to prevent overmixing and ensure a fudgy outcome. This manual stirring helps maintain the ideal texture.
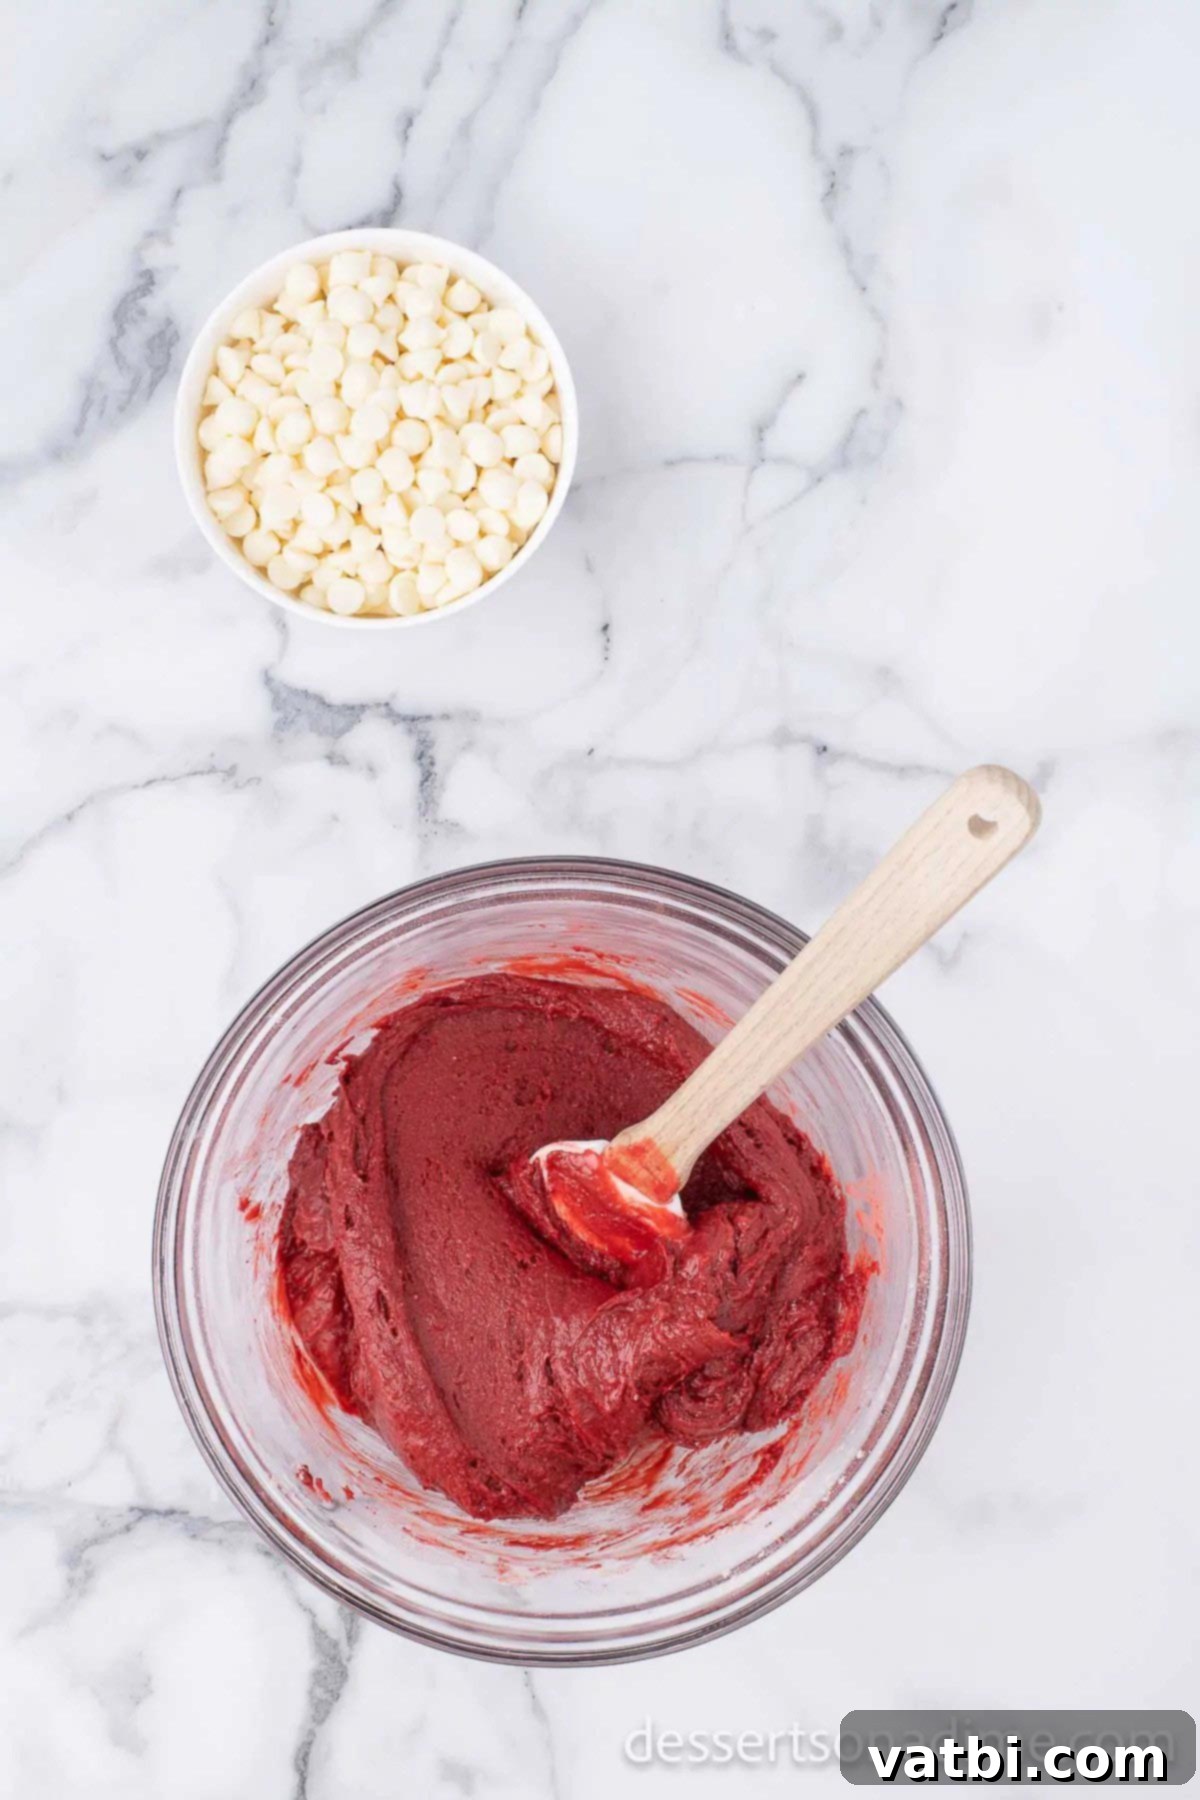
Step 4 – Achieve the Right Batter Consistency: Don’t be alarmed if the batter appears quite thick – this is completely normal for fudgy brownies! If you find it challenging to get the cake mix to combine fully with the melted butter and egg, add the suggested two tablespoons of water for extra liquid, one tablespoon at a time, until the mixture comes together into a cohesive batter. It should be thick, but manageable.
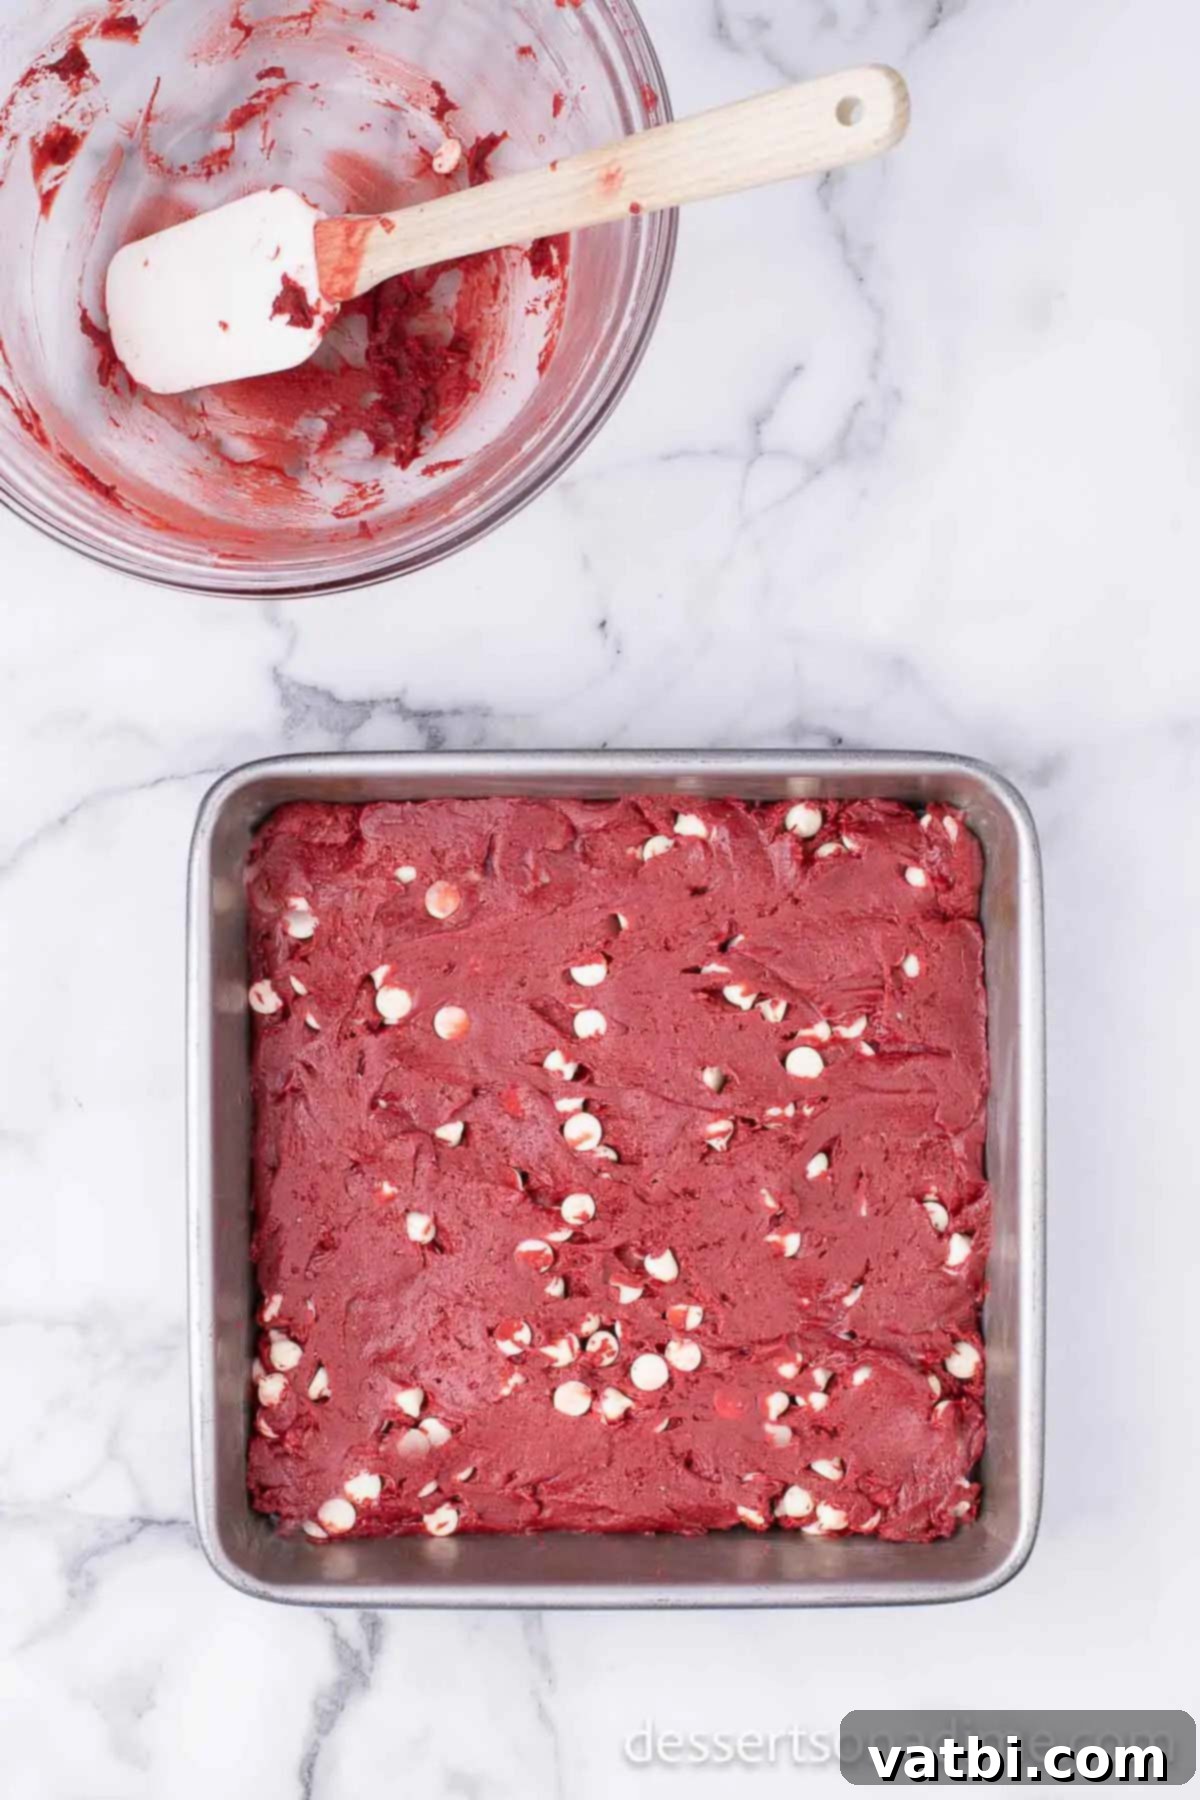
Step 5 – Incorporate White Chocolate Chips: Gently fold in the white chocolate chips by hand. Using a rubber spatula for this step is ideal, as it allows you to evenly distribute the chips without overworking the batter. Once folded in, pour the vibrant red velvet brownie batter into your prepared baking dish, spreading it evenly to the corners.
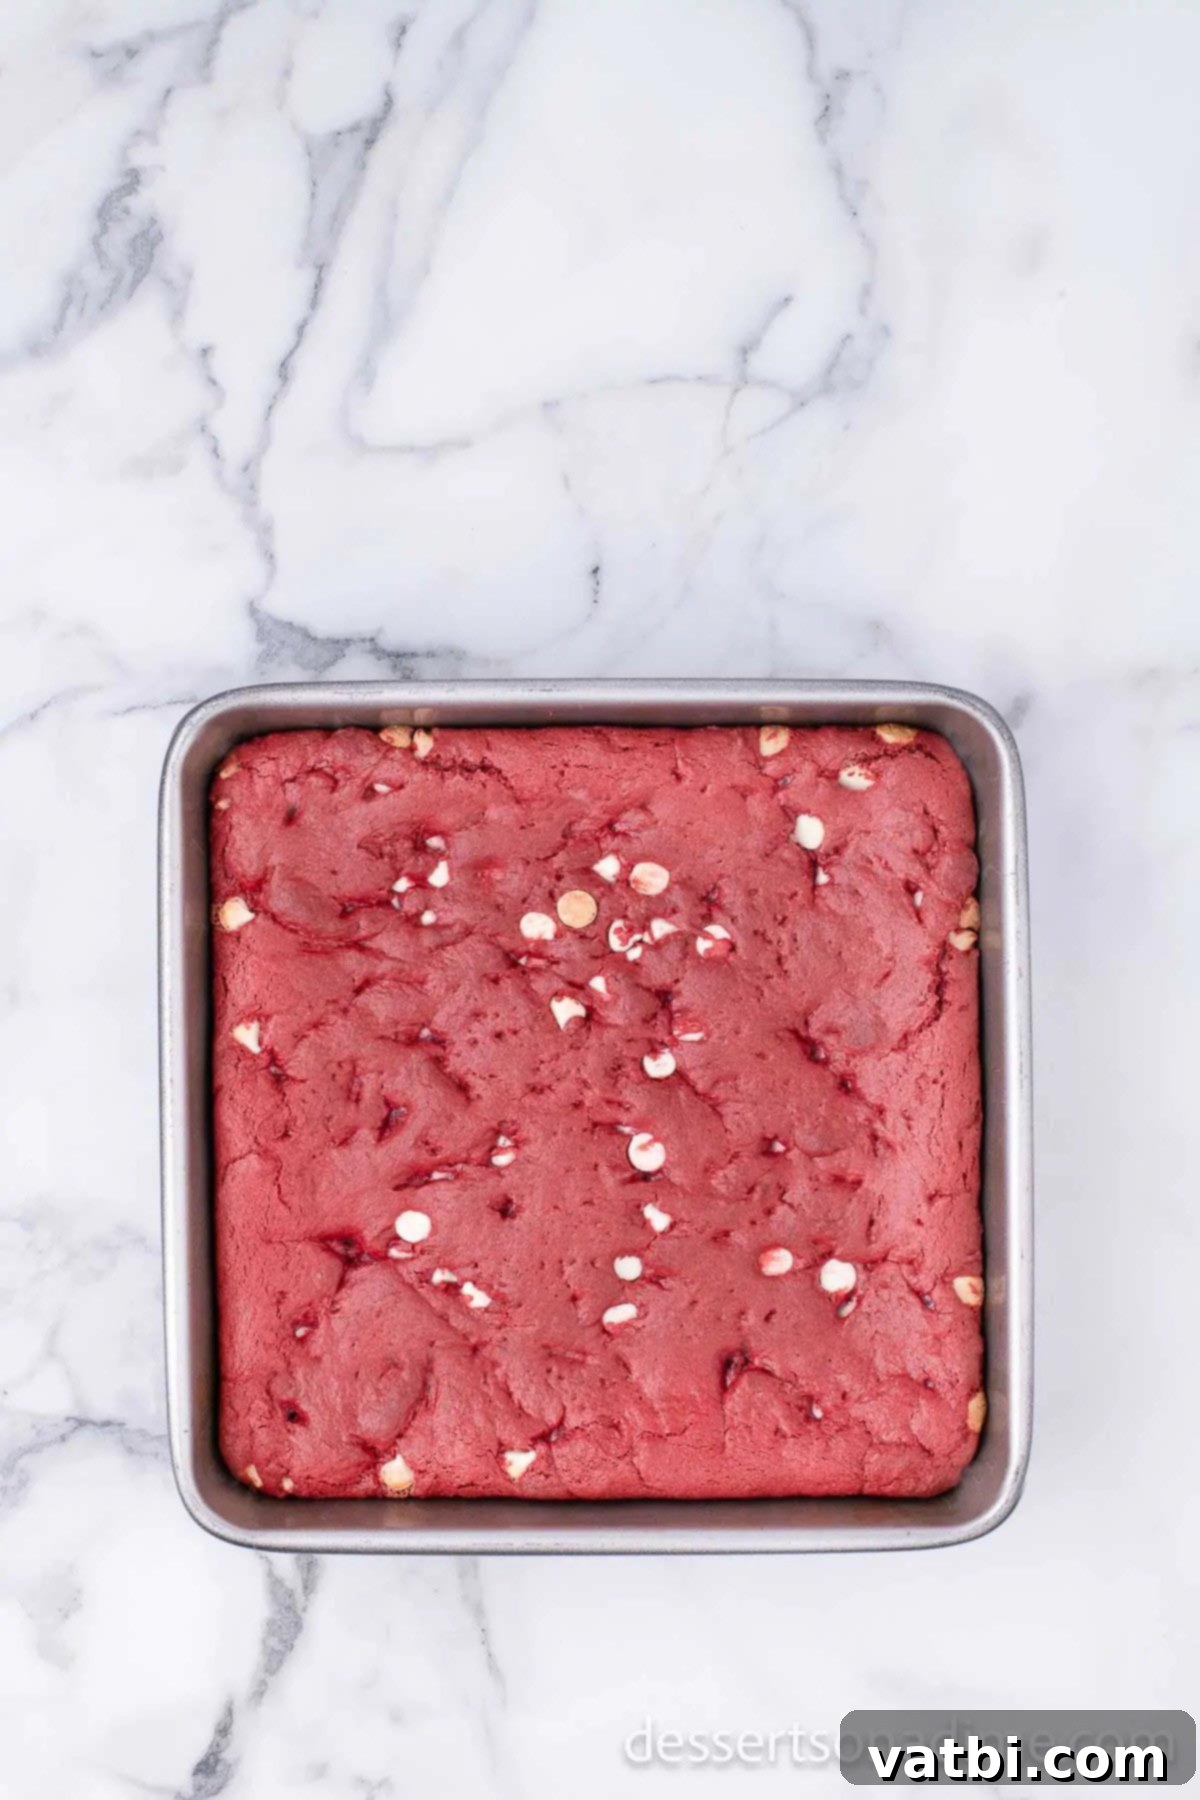
Step 6 – Bake and Cool: Bake the brownies, uncovered, for 20-25 minutes. Keep an eye on them; the edges will appear set and firm when they’re done. Once out of the oven, the most important step for fudgy brownies is patience! Allow them to cool completely in the pan before attempting to slice and enjoy. Cooling allows them to fully set, preventing crumbling and ensuring beautiful, clean cuts.
Top Recipe Tips for Perfect Brownies
Achieving the perfect fudgy brownie is an art, but with these simple tips, you’ll master it every time:
- Use Parchment Paper – For effortless cleanup and easy removal of your brownies, always line your baking pan with parchment paper. Leave a slight overhang on the sides to create “handles” that you can use to lift the entire batch of cooled brownies out of the pan before cutting. This simple trick makes a huge difference!
- Utilize a Wire Rack – Once your brownies come out of the oven, it’s crucial to let them cool completely. A wire rack is incredibly handy for this purpose. It allows air to circulate around all sides of the pan, facilitating even cooling and preventing the bottom of the brownies from becoming soggy. If you plan to remove and cut them outside the pan, cooling on a rack is essential for structural integrity.
- Avoid Overmixing and Overbaking – These are the two golden rules for fudgy brownies. Overmixing the batter can develop the gluten in the flour, leading to a tougher, more cake-like texture instead of that desired chewiness. Overbaking, even by a few minutes, will dry out your brownies, making them crumbly rather than fudgy. Watch them closely and err on the side of slightly underbaked for the best, most decadent flavor and texture.
- Make a Double Batch – These brownies are so delicious, they disappear quickly! Consider making a double batch to ensure you have plenty for everyone. Leftovers can be individually wrapped in small zip-top bags. They’re perfect for packing into lunchboxes for a sweet surprise during the week or having on hand for a quick, satisfying treat whenever a craving strikes.
How Do You Know When Brownies Are Done?
Knowing exactly when your brownies are done is crucial for achieving that perfect fudgy texture. Pay close attention during the last few minutes of baking.
The edges of the brownies should appear set and baked through. They might look slightly firmer and a bit darker. The center of the brownies, however, should be mostly set but will still have a slight wobble when you gently shake the pan. This slight wobble is key! It indicates that the brownies will continue to cook and set as they cool, leading to a wonderfully fudgy interior. If you wait for the center to be completely firm in the oven, you’ll likely end up with dry, overbaked brownies.
For truly fudgy brownies, do NOT wait for a toothpick inserted in the middle to come out clean. A clean toothpick typically signifies a cake-like texture. For fudginess, the toothpick should come out with moist crumbs attached, but not wet batter. This ensures they remain deliciously gooey once cooled. Trust your instincts and these visual cues for the best results.
How to Perfectly Cut Brownies
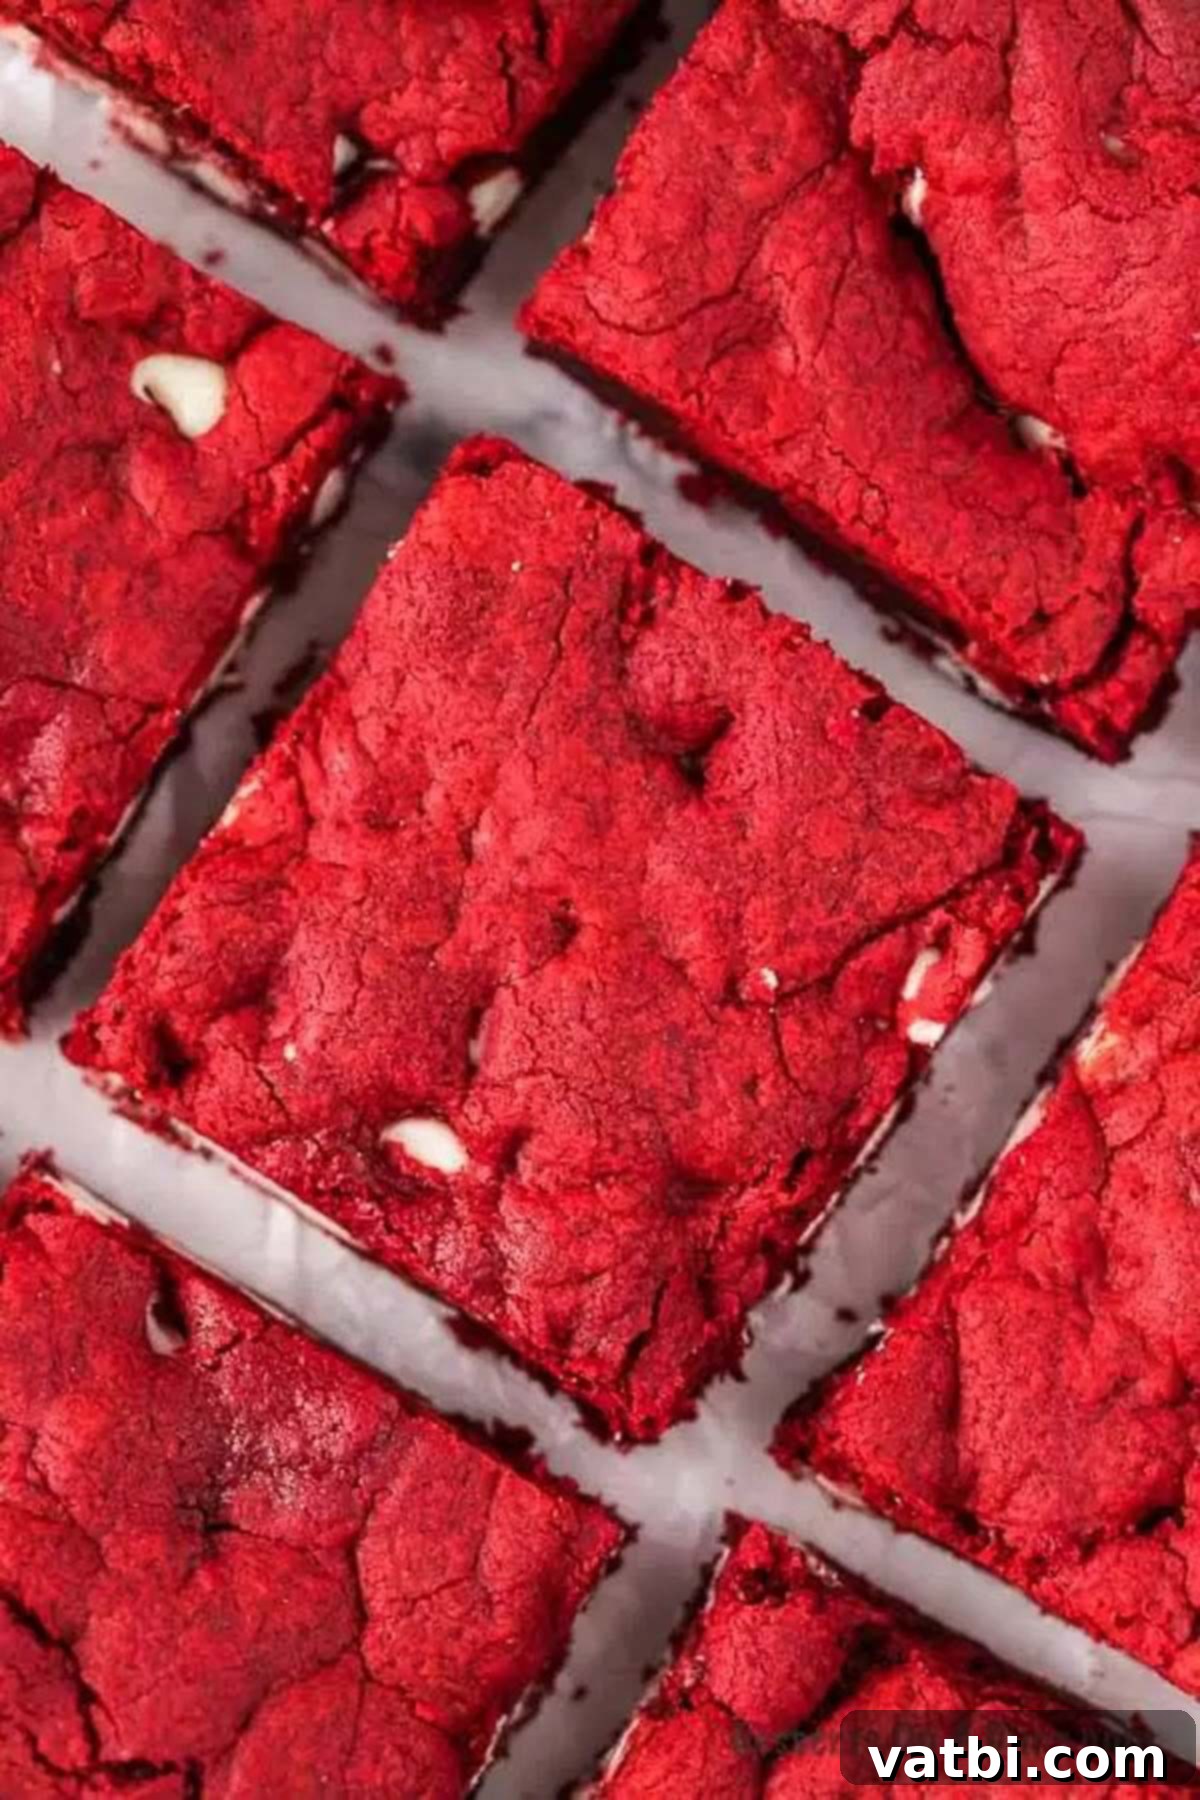
Achieving clean, perfect slices of your red velvet brownies is all about technique and patience. The absolute best way to cut this red velvet brownies recipe is to allow them to cool completely at room temperature. Trying to cut warm brownies will almost always result in a messy, crumbly outcome. Once fully cooled, the brownies will firm up, making them much easier to slice neatly.
When you’re ready to cut, use a clean, sharp knife. For exceptionally clean cuts, you can wipe the knife clean with a damp cloth after each slice, or even run it under hot water and dry it between cuts. A clever trick many bakers use is to use a plastic knife – surprisingly, plastic knives tend to glide through fudgy brownies without sticking, creating super neat edges. Alternatively, if using a regular metal knife, lightly coat it with cooking spray to prevent sticking. Slice in a straight motion, pressing down firmly, rather than sawing back and forth, to get those beautiful, picture-perfect squares.
Creative Ways to Serve Your Brownies
These Red Velvet Brownies are utterly delicious on their own, but they also lend themselves beautifully to a variety of serving options that can elevate your dessert experience. We particularly love to serve these brownies warm, fresh from a quick zap in the microwave, alongside a generous scoop of creamy vanilla ice cream. The warm brownie melting with cold ice cream is a match made in heaven!
However, the possibilities don’t stop there. Consider topping them with a dollop of fresh whipped cream and a few fresh berries (strawberries or raspberries pair wonderfully with red velvet). A drizzle of chocolate syrup or a sprinkle of powdered sugar can add a touch of elegance. For a truly indulgent treat, serve them with a hot fudge sauce. These brownies are also fantastic served chilled, especially on a hot day. No matter how you choose to enjoy them, they are guaranteed to be a hit!
Frequently Asked Questions
Proper storage is key to keeping your red velvet cake mix brownies fresh and delicious. Store any leftover brownies in an airtight container at room temperature for up to 4 days. If your brownies are frosted with cream cheese frosting, it’s best to store them in the refrigerator to prevent the frosting from spoiling, consuming them within 3-4 days. In my house, however, these irresistible treats rarely last more than 1 to 2 days!
Absolutely! Brownies freeze beautifully, making them an excellent make-ahead dessert or a way to enjoy a treat whenever you want. To freeze, ensure that the brownies have cooled completely to room temperature. Then, cut them into individual pieces. For best results and to prevent freezer burn, wrap each individual piece tightly with plastic wrap. After wrapping, place the individual pieces in a freezer-safe bag or an airtight container. They can be frozen for up to 3 months.
Thawing frozen brownies is incredibly easy. Simply remove the desired number of individually wrapped brownies from the freezer bag and place them on a plate at room temperature. They will typically thaw within 30-60 minutes, depending on the ambient temperature. For a warm, freshly baked experience, you can pop a thawed brownie into the microwave for 10-20 seconds. This is my favorite way to freeze brownies, as it allows you to easily defrost just the amount you want to enjoy, preventing waste and ensuring a perfect treat every time.
Using a cake mix is a fantastic shortcut for brownies for several reasons. It drastically reduces prep time by pre-measuring and combining most of the dry ingredients, ensuring consistent results every time. It’s also a great way to introduce unique flavors, like red velvet, into brownies without needing multiple specialty ingredients. The result is an incredibly convenient, delicious, and perfectly fudgy brownie with minimal effort!
More Irresistible Homemade Brownie Recipes
If you’ve fallen in love with these Red Velvet Brownies, you’ll definitely want to explore more of our fantastic homemade brownie recipes. Whether you prefer a classic chocolate or something with a unique twist, we have a brownie for every craving:
- Brownie Cookies: Get the best of both worlds with these chewy, chocolatey delights that combine the fudginess of a brownie with the convenience of a cookie.
- Raspberry Cheesecake Brownies Recipe: Indulge in layers of rich chocolate brownie swirled with creamy, tangy raspberry cheesecake – a truly elegant and delicious dessert.
- One Bowl Brownies: For ultimate simplicity, these brownies require just one bowl, meaning less cleanup and more time to enjoy your fudgy treats!
- Butterscotch Brownies: A delightful alternative to chocolate, these blondies are packed with sweet, caramel-like butterscotch flavor and a wonderfully chewy texture.
- Buckeye Brownie Cookies Recipe: A delicious fusion of rich chocolate brownie, creamy peanut butter, and a chocolate coating, inspired by the classic Buckeye candy.
Also Try These Red Velvet Recipes
Can’t get enough of that distinctive red velvet flavor? We’ve got you covered with an array of other fantastic red velvet desserts that are sure to satisfy your cravings:
- Easy Red Velvet Cookies Recipe: Soft, chewy cookies with the classic red velvet flavor and a crackled surface, often adorned with white chocolate.
- Red Velvet Cake Pops Recipe: Bite-sized treats made from crumbled red velvet cake and cream cheese frosting, coated in chocolate – perfect for parties.
- Red Velvet Funnel Cake Recipe: A carnival classic gets a vibrant makeover with this deep-fried, airy red velvet batter, dusted with powdered sugar.
- Cheesecake Factory Red Velvet Cheesecake Recipe: Recreate the iconic dessert at home with layers of rich red velvet cake and creamy cheesecake.
- Red Velvet Cake Balls Recipe: Similar to cake pops but often simpler to make, these delightful spheres are a concentrated burst of red velvet flavor.
- Red Velvet Ice Cream: A cool and creamy treat featuring the distinct taste of red velvet, perfect for a summer day or as a unique dessert anytime.
We absolutely love hearing from our readers! If you try these incredibly easy and delicious red velvet brownies, please take a moment to leave us a star review and share your experience. Your feedback helps other home bakers discover and enjoy these wonderful recipes!
Pin
Easy Cake Mix Red Velvet Brownies
Ingredients
- 1 Red Velvet Cake Mix
- 1 egg
- 1/2 cup Butter melted
- 2 Tablespoon Water if needed
- 1 tsp vanilla Extract
- 1 cup White Chocolate Chips
Instructions
-
Preheat your oven to 350 degrees F (175 degrees C) to ensure even baking.
-
Generously spray an 8×8 inch baking pan with non-stick spray, or line with parchment paper for easy removal.
-
In a large mixing bowl, combine the Red Velvet Cake Mix, egg, melted butter, and vanilla extract. Stir together by hand with a spatula or whisk until just combined. The batter will be thick. If it’s too stiff to mix, add the 2 tablespoons of water, one at a time, until a thick, cohesive batter forms.
-
Gently fold in the white chocolate chips using a spatula, ensuring they are evenly distributed throughout the batter. Pour the batter into the prepared baking dish and spread evenly.
-
Bake uncovered for 20-25 minutes, or until the edges are firm and a toothpick inserted into the center comes out with moist crumbs (not wet batter).
-
Allow the brownies to cool completely in the pan before slicing and enjoying. This is essential for a fudgy texture and clean cuts!
Recipe Video
Nutrition Facts
Pin This Now to Remember It Later
Pin Recipe
