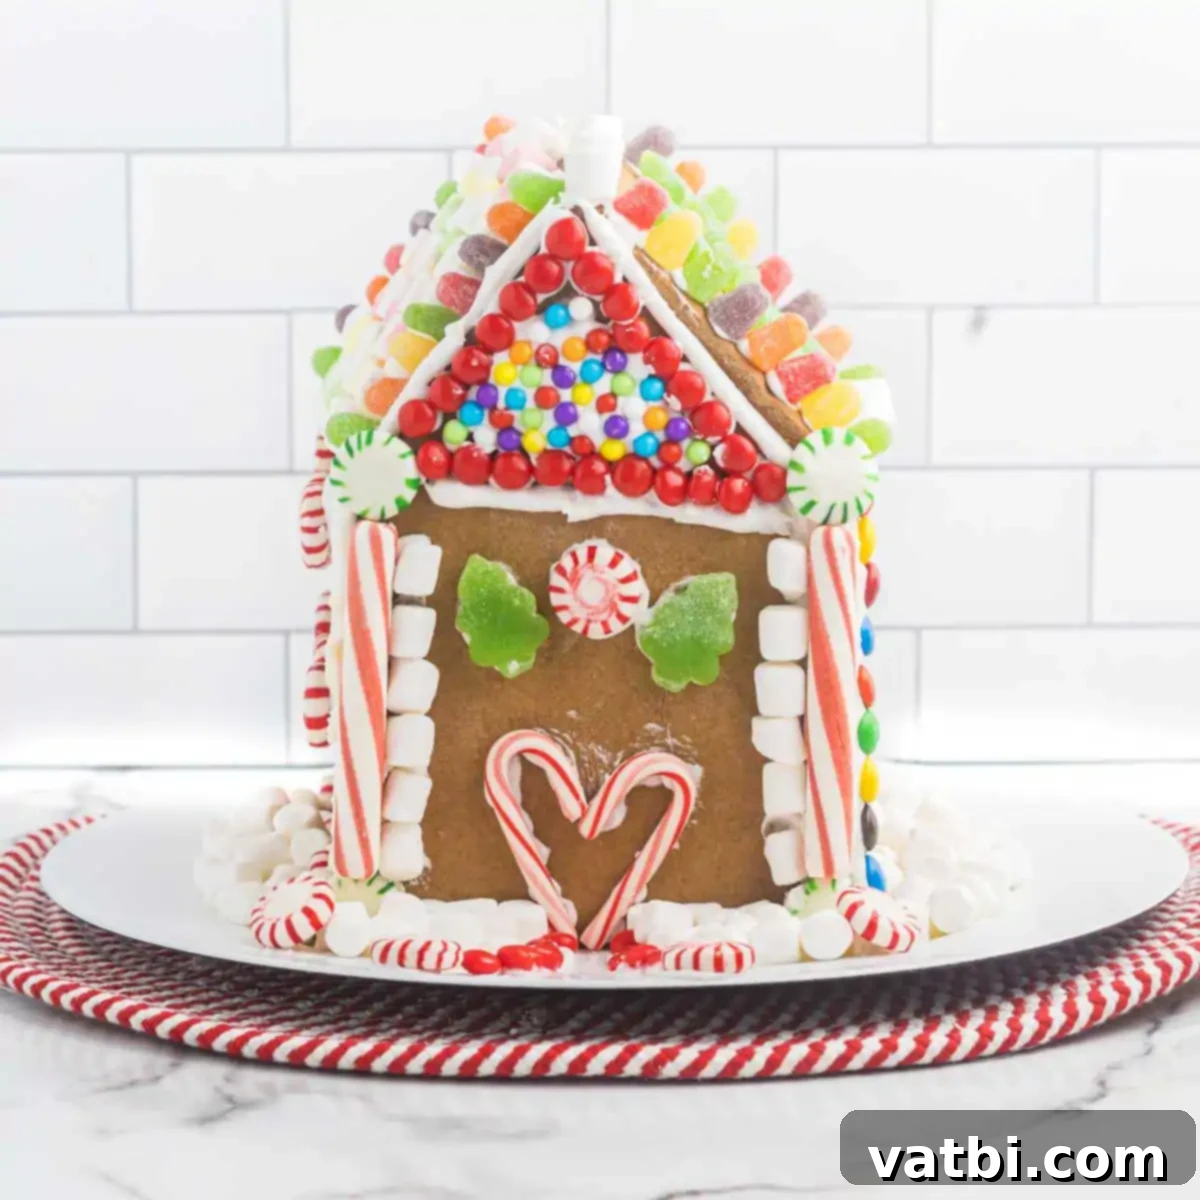
Craft Your Perfect Homemade Gingerbread House: An Easy Step-by-Step Guide for a Magical Holiday Tradition
This holiday season, skip the generic store-bought kits and create a truly special, homemade Gingerbread House. It’s an incredibly fun and rewarding activity for the entire family, and with these easy, step-by-step instructions, you’ll find the process surprisingly simple and enjoyable. From baking the sturdy gingerbread walls to adorning them with whimsical candy cane doors and sparkling decorations, this DIY project promises to become a cherished annual tradition in your home.
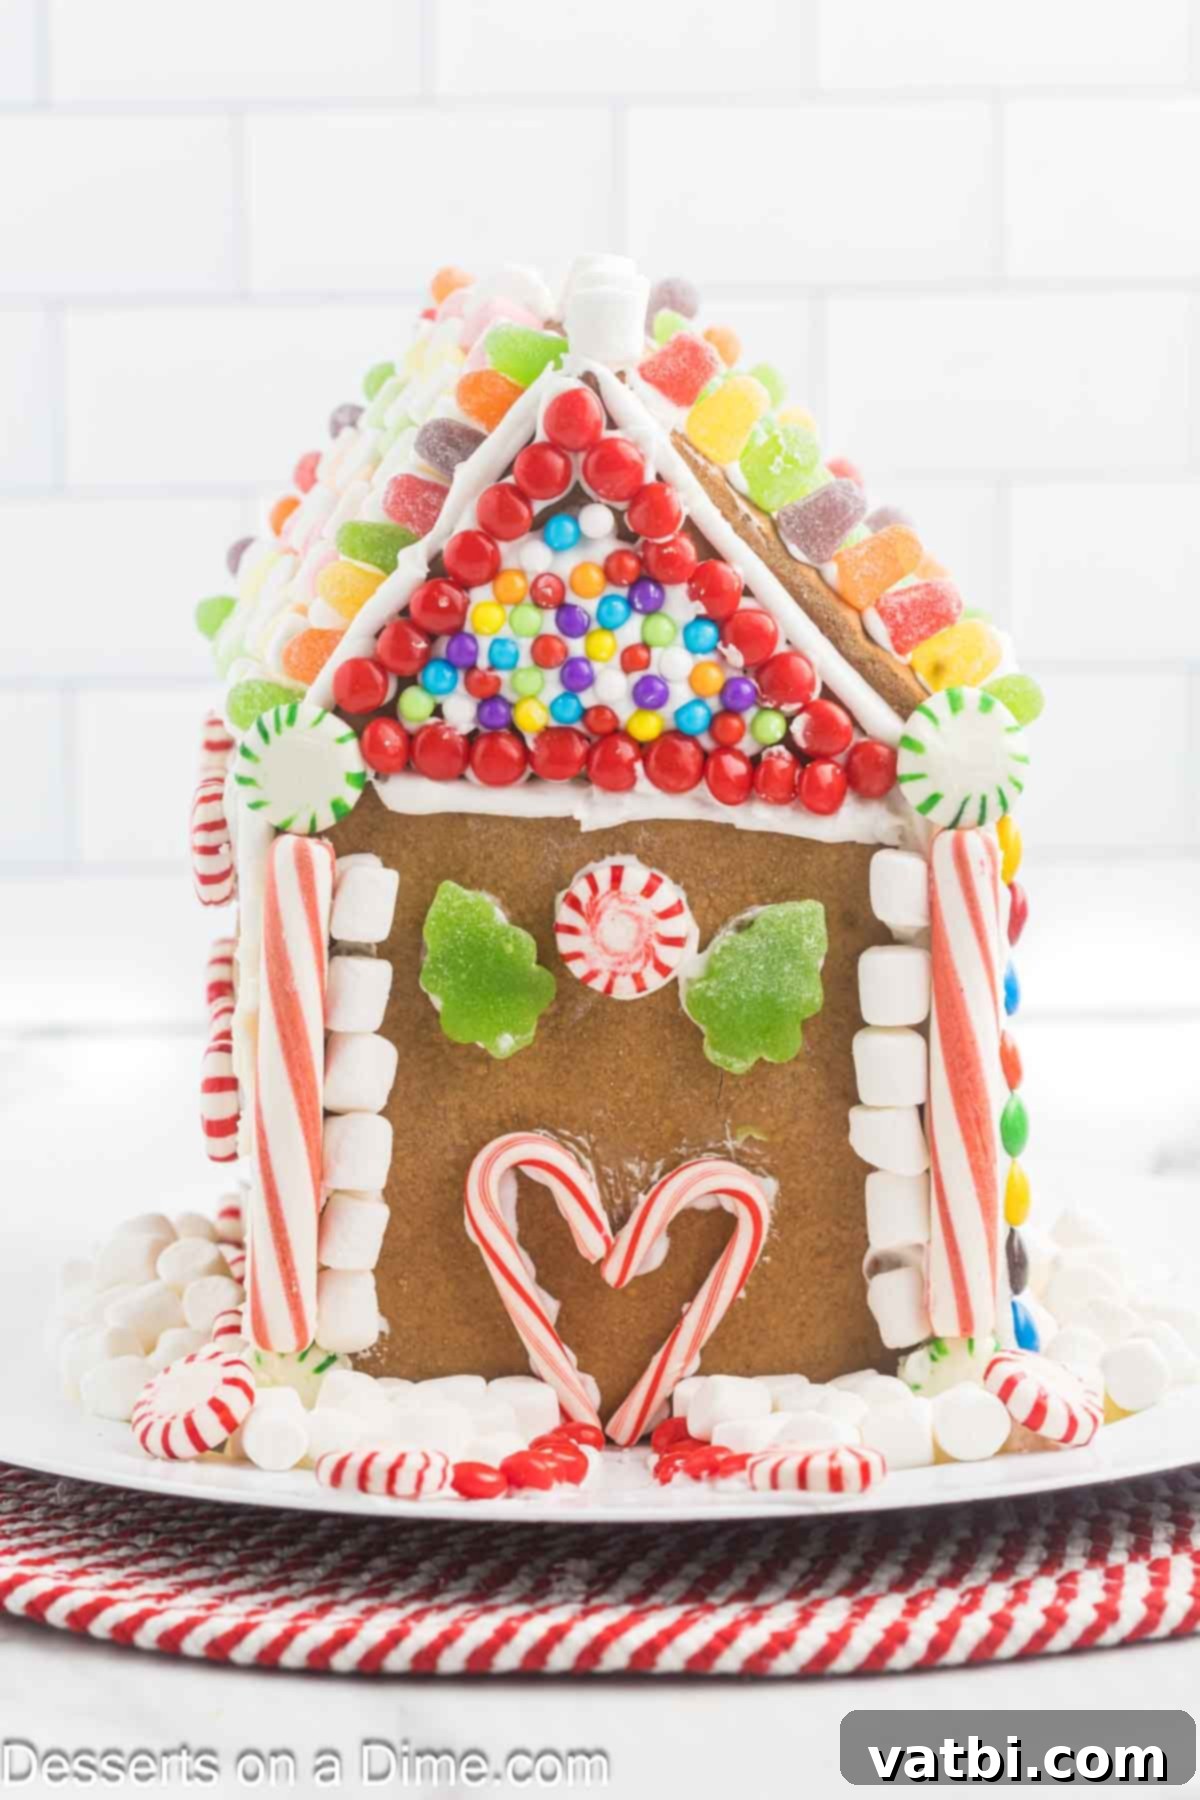
Forget those pre-made gingerbread house kits; this fun and easy Gingerbread House DIY will guide you through every step, ensuring a personalized masterpiece. Getting the entire family involved in designing and decorating this festive treat is a fantastic way to create lasting candy-filled memories. Imagine the delight as everyone contributes to building a sweet, edible home, making it a truly unique centerpiece for your holiday celebrations!
For even more festive flavor and gingerbread goodness, be sure to also try our delightful Soft Gingerbread Cookies and our moist and flavorful Gingerbread Cake. These recipes perfectly complement your gingerbread house-making experience, filling your home with the irresistible aroma of holiday spices.
Table of contents
- Why We Love This Homemade Gingerbread House
- Ingredients You’ll Need
- For the Gingerbread Dough
- For the Royal Icing (Construction Glue)
- For the Buttercream Frosting (Decorating)
- Step-by-Step Instructions to Build Your Gingerbread House
- Pro Tips for Gingerbread House Success
Why We Love This Homemade Gingerbread House
There’s an undeniable magic in creating a homemade gingerbread house. It’s more than just a dessert; it’s an experience, a craft, and a cherished Christmas tradition that brings smiles and fills your home with festive cheer. We adore this project for so many reasons:
- Family Bonding: This is an activity designed for togetherness. Everyone, from the youngest decorator to the most seasoned baker, can contribute. Rolling out dough, cutting shapes, mixing icing, and, of course, the grand decorating session, all create wonderful opportunities for laughter and shared moments.
- Unleash Creativity: Unlike kits with limited options, making a gingerbread house from scratch allows for boundless creativity. You choose the design, the colors, and the candies. Every house is unique, reflecting the personality and imagination of its creators.
- The Aroma of Christmas: The process itself is intoxicating! The warm, spicy scent of baking gingerbread combined with the sweet fragrance of icing transforms your kitchen into a true holiday wonderland.
- A Sense of Accomplishment: There’s immense satisfaction in seeing your gingerbread house come to life, from humble dough to a festive, edible masterpiece. It’s a project that builds confidence and creates a tangible symbol of holiday effort.
- Customization Galore: Want a snowy rooftop? Add shredded coconut. A colorful candy path? Go wild with gumdrops and M&M’s. This homemade gingerbread house recipe is fully customizable, allowing you to tailor it to your family’s tastes and aesthetic preferences.
It’s truly one of our favorite holiday traditions, and we can’t wait for you to discover the joy of your own DIY gingerbread house!
Ingredients You’ll Need
Gathering your ingredients is the first step to building your dream gingerbread house. We’ve broken down the list into sections for the gingerbread dough, the royal icing (for construction), and the buttercream frosting (for decorating).
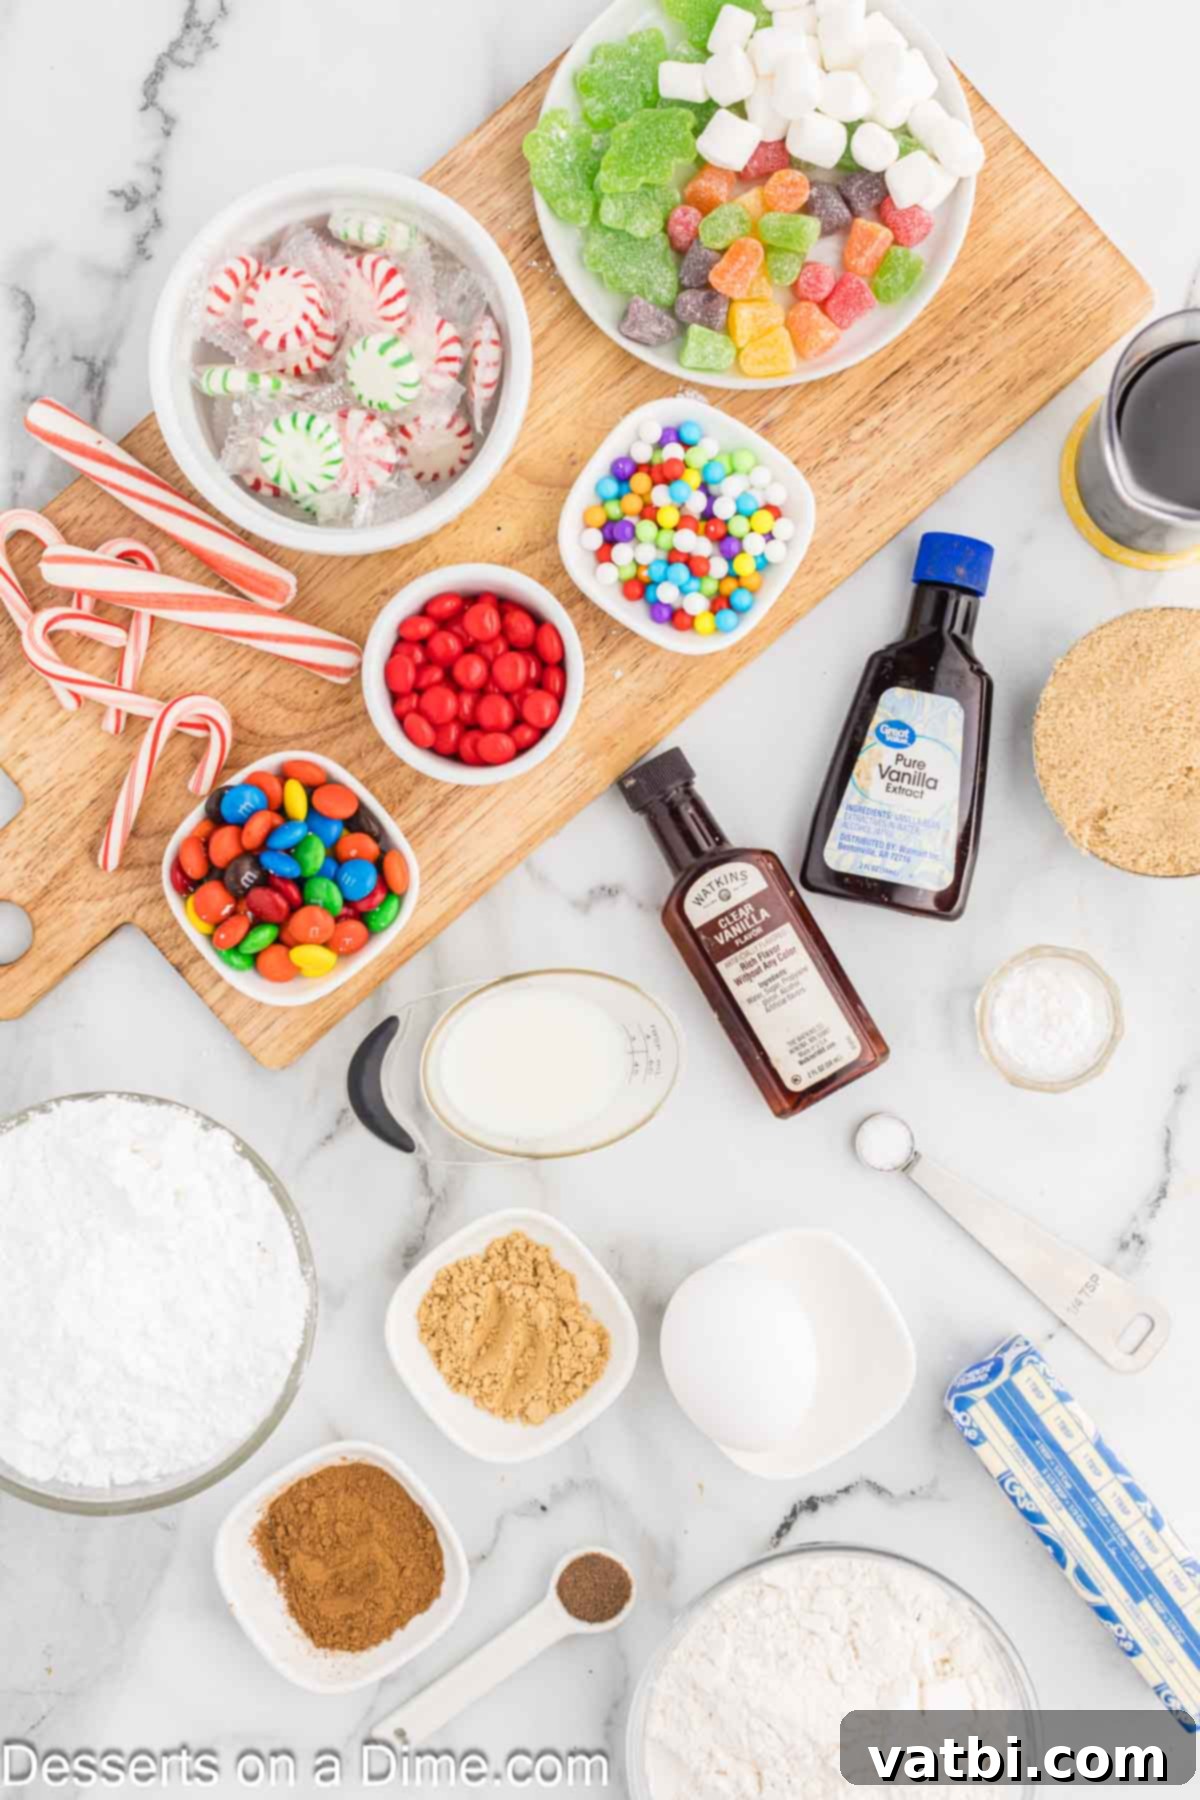
For the Gingerbread Dough
- All-purpose flour: This forms the structural base of your gingerbread house. It’s crucial to use all-purpose flour, not self-rising. To measure accurately, spoon the flour into the measuring cup and level it off; don’t scoop directly from the bag, as this can pack too much flour into the cup, resulting in a dense, dry dough.
- Spices: A fragrant blend of ground ginger, ground cinnamon, and ground allspice creates that classic, warm gingerbread flavor we all love. These spices are essential for both taste and aroma.
- Unsalted butter: Softened at room temperature, unsalted butter creams more easily with sugar, resulting in a smoother, more uniform dough. Using unsalted butter allows you to control the total salt content in the recipe.
- Brown Sugar: Either light or dark brown sugar will work beautifully, adding moisture and a rich, caramel-like sweetness to the gingerbread. If you’re feeling adventurous, you can even try our Homemade Brown Sugar Recipe.
- Vanilla Extract: Pure vanilla extract enhances all the sweet and spicy flavors, adding a touch of warmth and depth to your gingerbread.
- Molasses: Use unsulphured or dark molasses for the best flavor and color. Molasses is key to giving gingerbread its characteristic dark hue, chewiness, and rich, deep, slightly smoky sweetness.
- Large Egg: At room temperature, eggs incorporate better into the batter, ensuring a smooth and consistent dough.
- Water: A small amount of water helps bring the dough together to the right consistency for rolling.
For the Royal Icing (Construction Glue)
Royal icing is the super-strong “glue” that holds your gingerbread house together. It dries hard and provides a sturdy structure.
- Powdered sugar: Also known as confectioners’ sugar, this fine sugar is essential for a smooth icing. Sifting it beforehand will prevent lumps and ensure a perfectly pipeable consistency.
- Egg whites: These provide the structure and glossy finish for royal icing. Using fresh egg whites is recommended for the best results.
- Cream of Tartar: This helps stabilize the egg whites, giving the royal icing extra strength and ensuring it dries hard and firm, perfect for construction.
For the Buttercream Frosting (Decorating)
Once your house is built, buttercream frosting is perfect for adding soft, fluffy “snow” and other decorative flourishes.
- Powdered Sugar: Again, sift the powdered sugar to remove any lumps and achieve a silky-smooth buttercream texture.
- Unsalted Butter: Softened butter is whipped until light and fluffy, forming the creamy base of your frosting.
- Clear Vanilla Extract: It’s important to use clear vanilla extract here to avoid tinting your white frosting. Regular vanilla extract can give it a slightly yellowish hue.
- Milk: Any type of milk you prefer (whole, 2%, or even non-dairy alternatives) can be used to achieve the desired consistency for your buttercream.
- Various Candies: This is where the fun really begins! We love a colorful assortment including gum drops, candy canes (mini ones are great for roof tiles!), sprinkles, M&M’s, peppermints, jelly beans, and even small chocolate pieces. Shredded coconut is also a fantastic addition to simulate snow on the roof or ground around your house. Get creative and choose your family’s favorites!
You can find the complete list of exact ingredient measurements and quantities in the detailed recipe card at the bottom of this page.
Step-by-Step Instructions to Build Your Gingerbread House
Follow these detailed steps to bake your gingerbread pieces, prepare your icing, and assemble your beautiful homemade gingerbread house. Patience is key, especially when letting the pieces cool!
- Step 1: Prepare Your Oven and Baking Sheets. First things first, preheat your oven to 375 degrees Fahrenheit (190°C). Then, prepare two large baking sheets by lining them with parchment paper. This non-stick surface is essential for easy removal of your gingerbread pieces and helps prevent them from sticking.
- Step 2: Combine Dry Ingredients. In a large mixing bowl, thoroughly whisk together the all-purpose flour, ground ginger, ground cinnamon, ground allspice, and salt. Whisking ensures that the spices are evenly distributed throughout the flour, giving every bite of gingerbread that perfect festive flavor. Set this mixture aside for now.
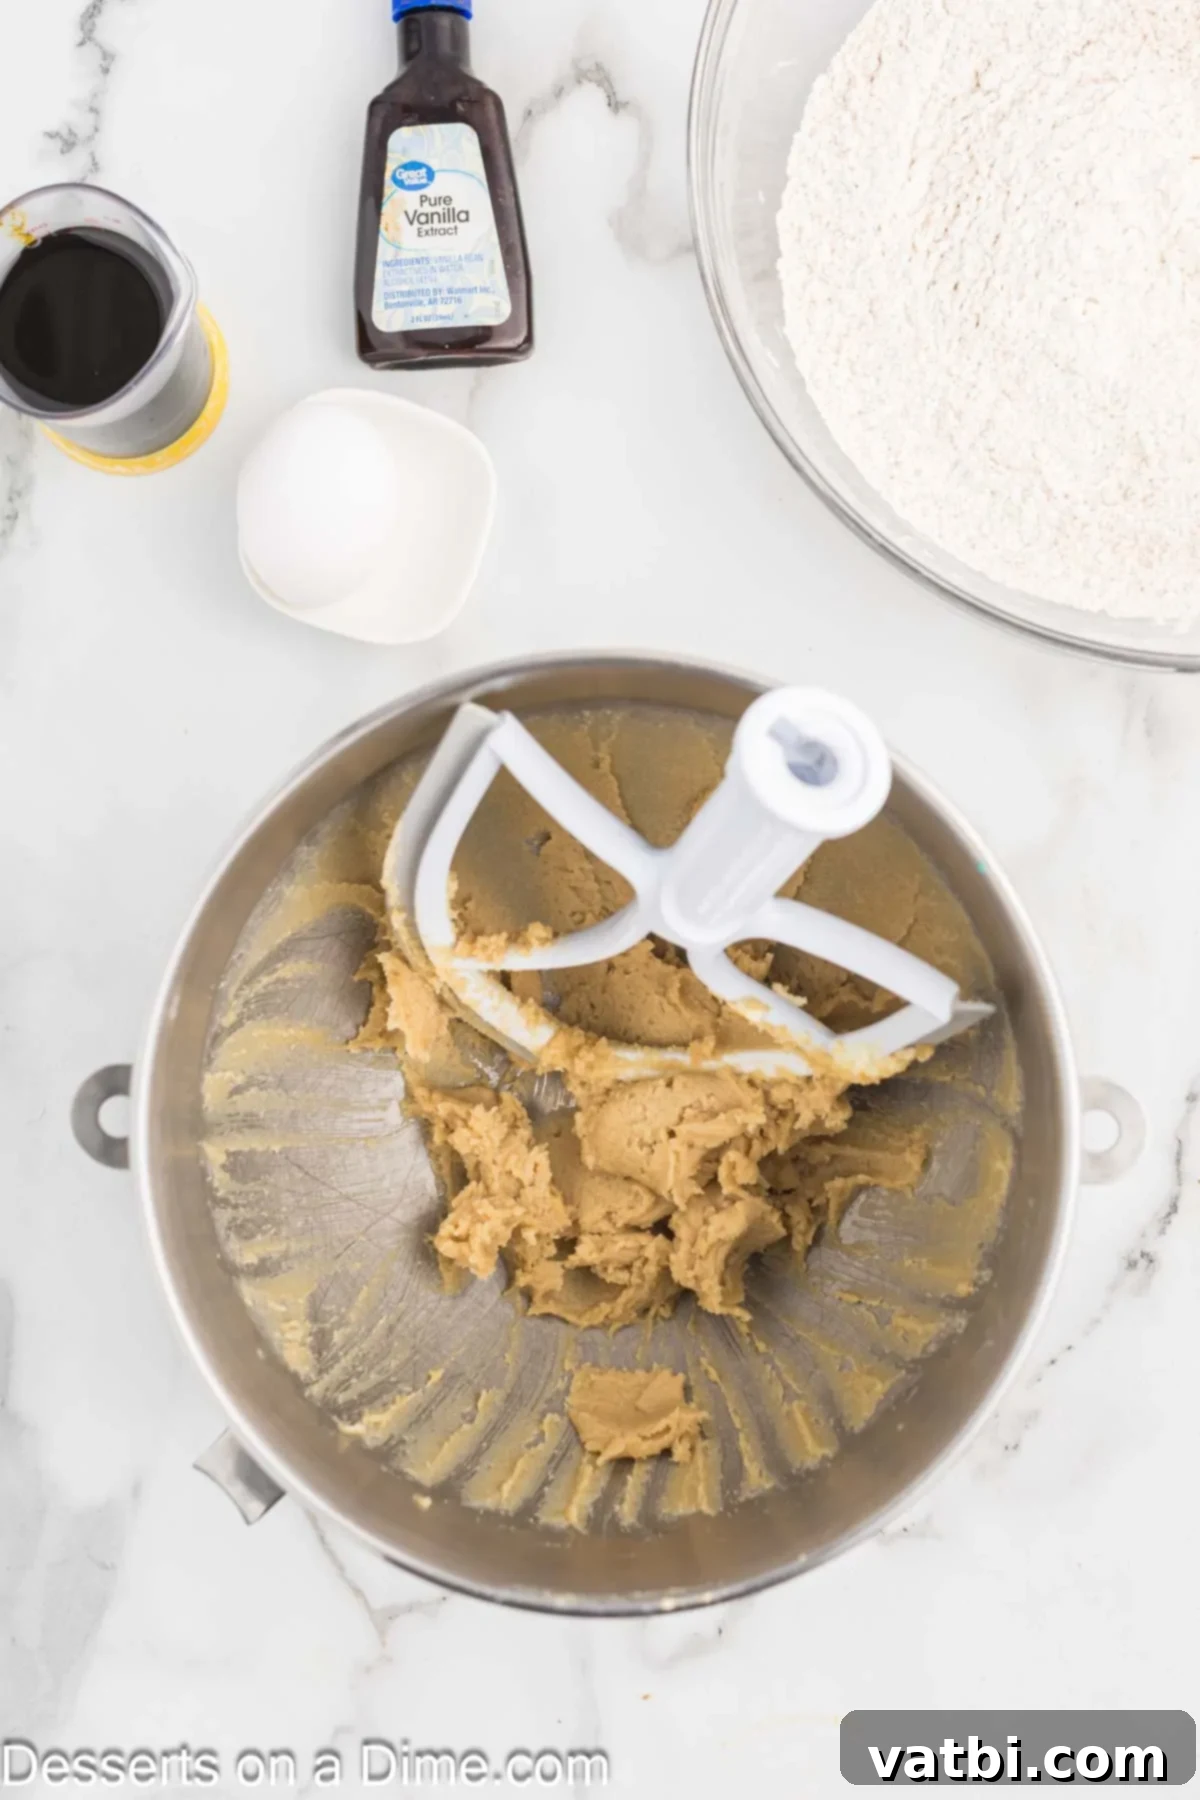
Step 3: Cream Butter and Sugar. Get out another large mixing bowl, or use the bowl of your stand mixer fitted with the paddle attachment. Add the softened unsalted butter and brown sugar. Beat them together on medium-high speed until the mixture is light, fluffy, and creamy, which should take about 3-4 minutes. This creaming process incorporates air, making your gingerbread tender.
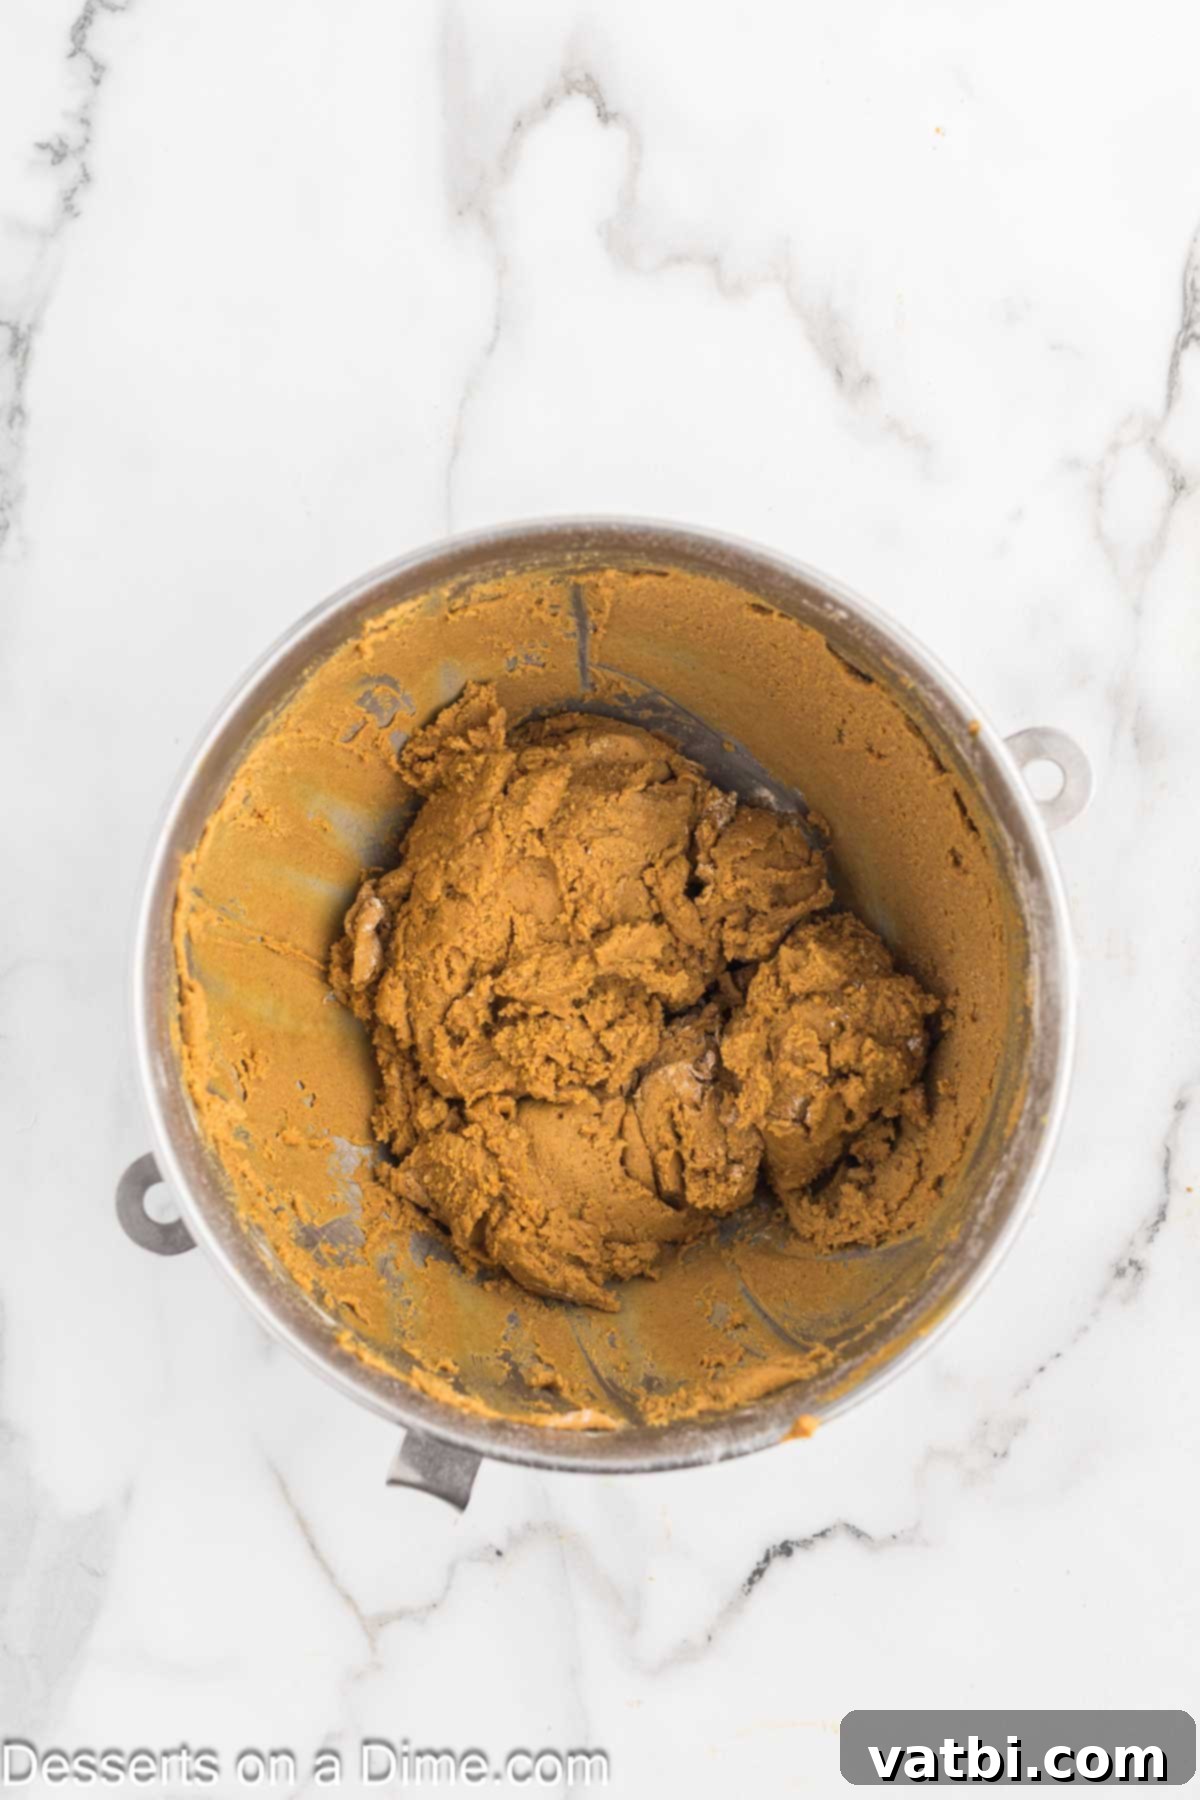
Step 4: Incorporate Wet Ingredients. To the creamed butter and sugar mixture, add the large egg, vanilla extract, molasses, and water. Beat these ingredients together on high speed until they are well combined and smooth. Once incorporated, reduce the mixer speed to low and gradually add the whisked dry ingredients (from Step 2) into the wet mixture. Mix until just combined, being careful not to overmix the batter. Overmixing can develop the gluten in the flour too much, leading to tough gingerbread.
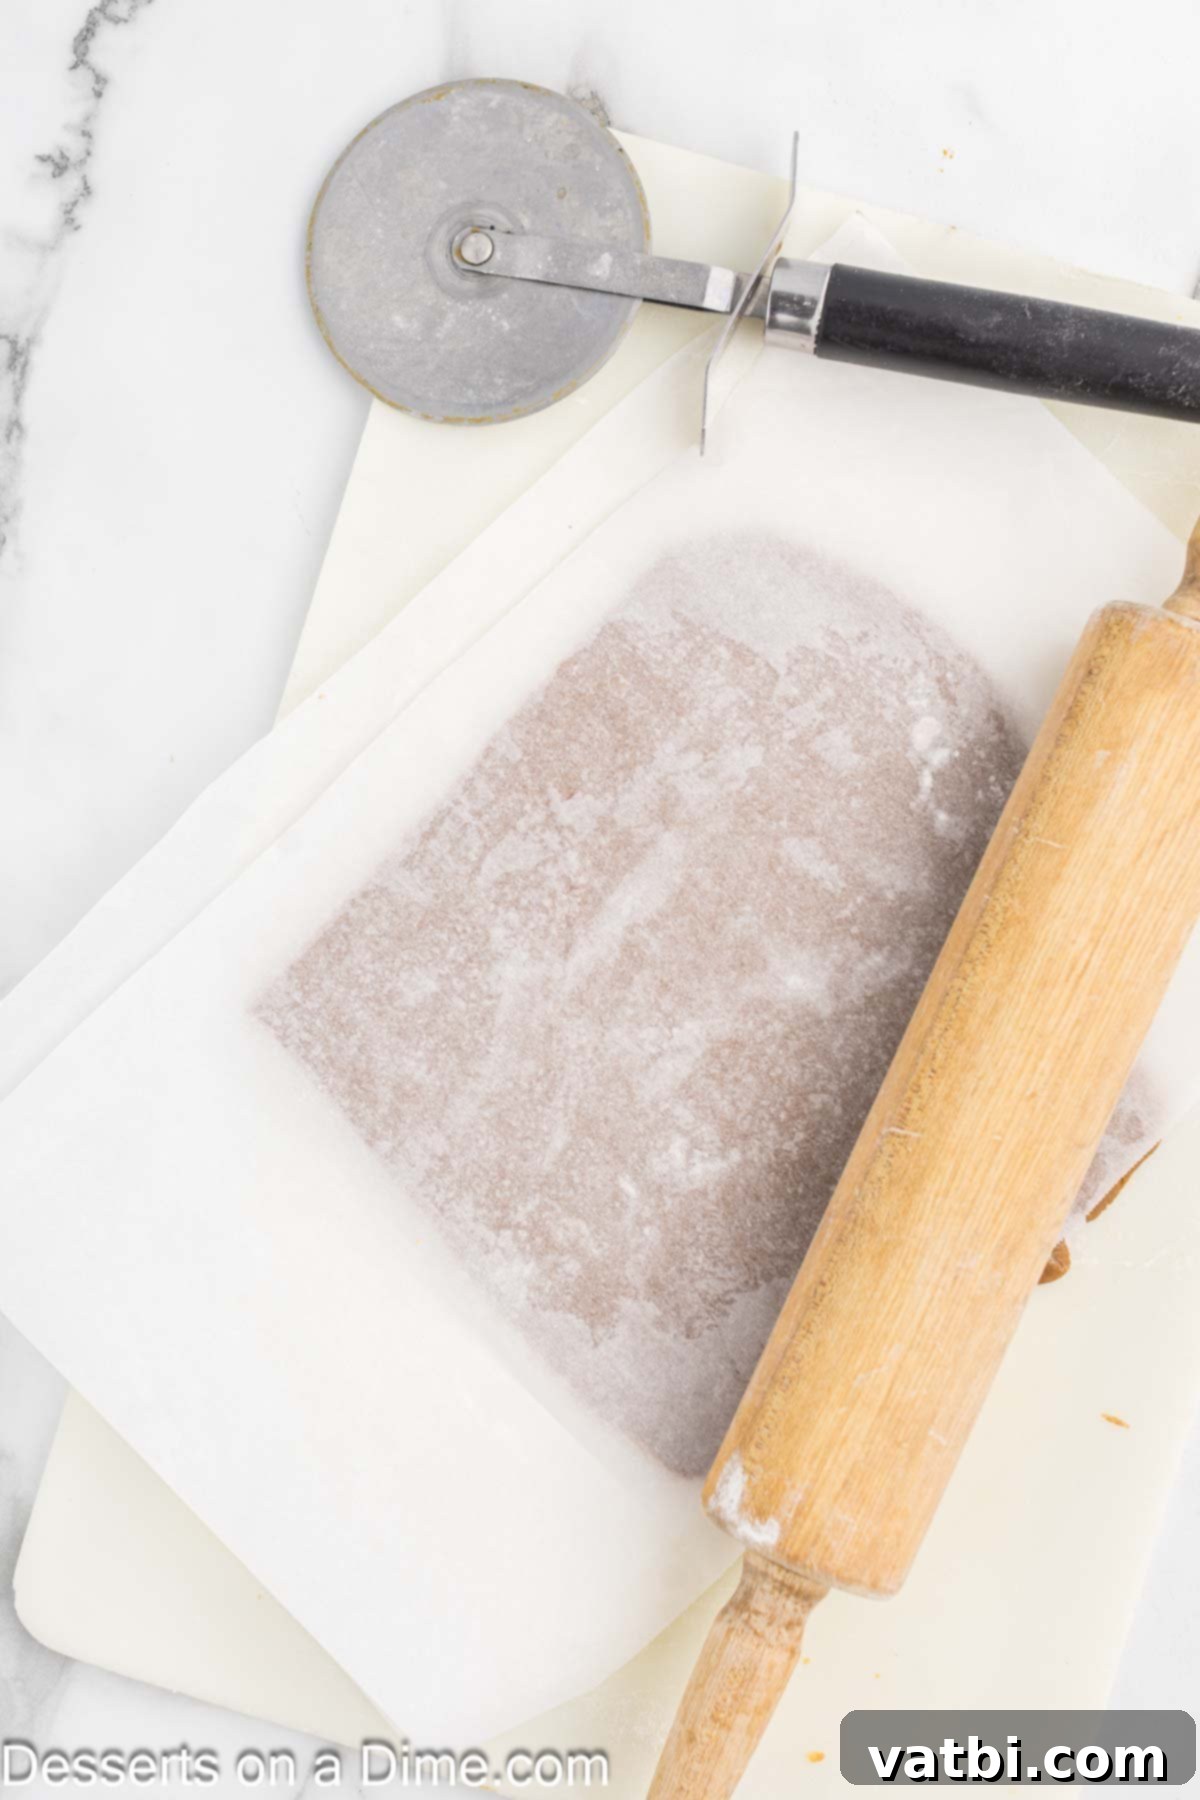
Step 5: Roll Out the Dough. Lightly flour your work surface. Divide the gingerbread dough into four equal discs. Take one disc and place it between two pieces of floured parchment paper. Using a rolling pin, roll the dough evenly until it’s approximately ¼ inch thick. Rolling between parchment paper prevents sticking and makes transferring the cut shapes much easier. Repeat with the remaining dough discs.
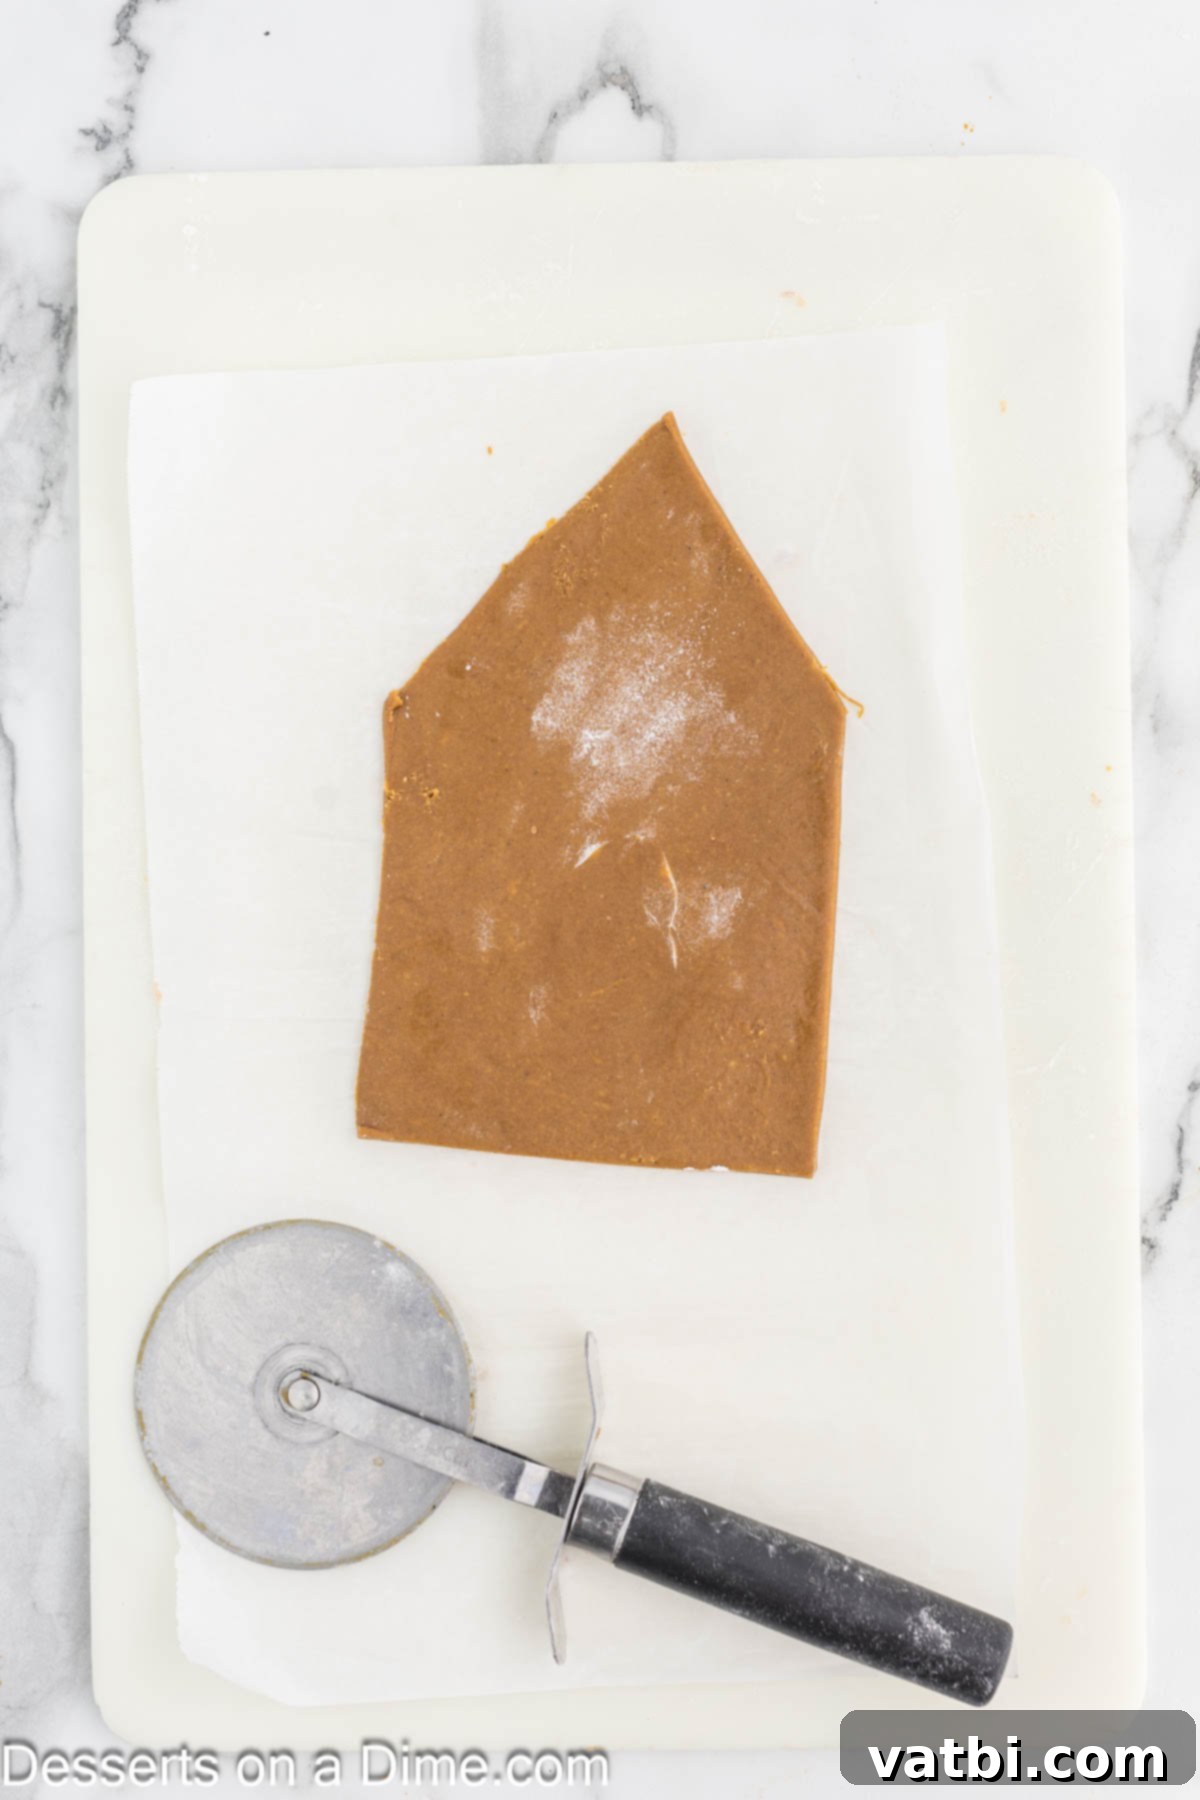
Step 6: Cut Your Gingerbread House Shapes. Now for the architectural phase! Use a pizza cutter or a sharp knife to carefully cut out the pieces for your gingerbread house. You’ll need two identical pieces for the front and back walls, two for the side walls, and two rectangular pieces for the roof. Ensure your cuts are clean and precise for a sturdy house. You can find free templates online or design your own! Don’t forget to cut out a door or window if you wish!
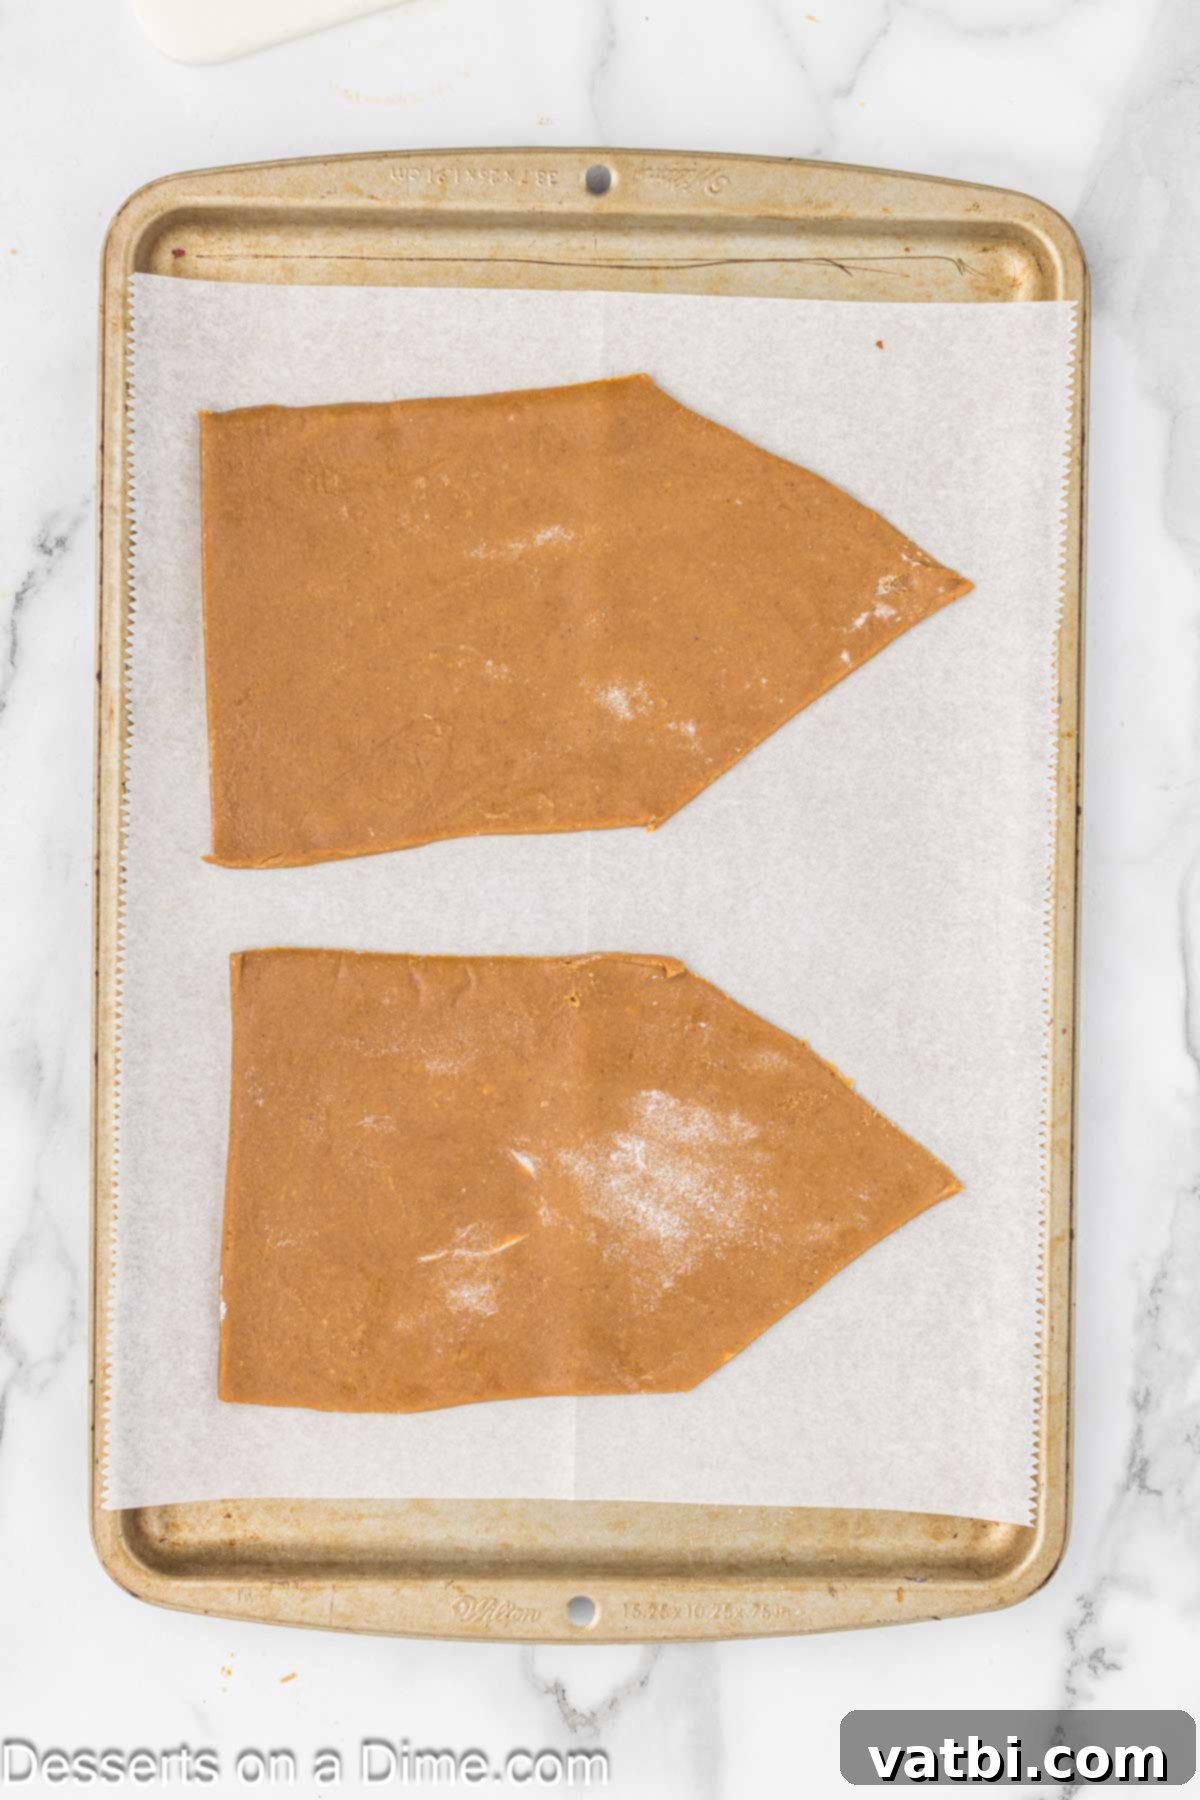
Step 7: Arrange on Baking Sheets. Carefully transfer your cut gingerbread shapes onto the prepared baking sheets lined with parchment paper. Using a thin, wide spatula is the easiest way to do this without distorting the shapes. Leave a little space between each piece to allow for slight spreading.
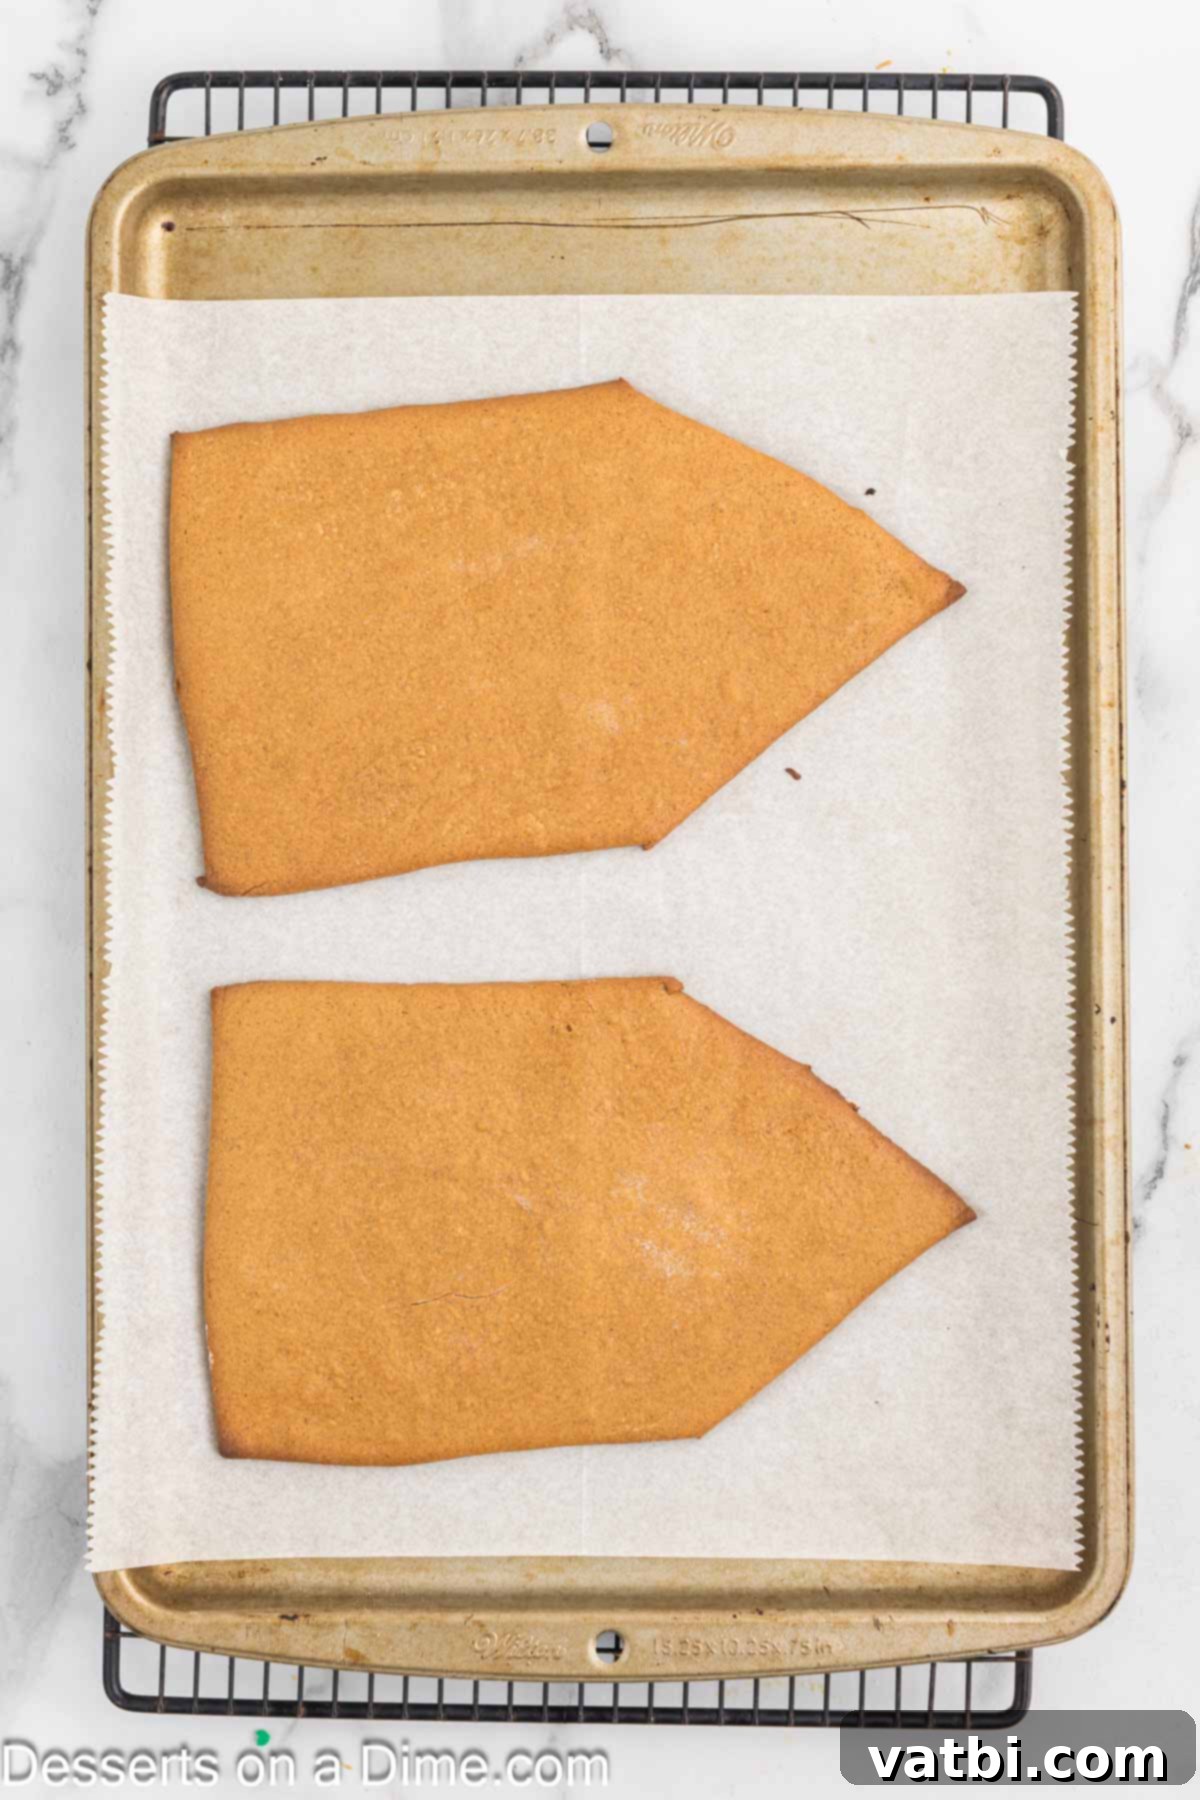
Step 8: Bake and Cool Completely. Bake the gingerbread pieces for 13-15 minutes, or until their edges are just slightly browned and firm. Don’t worry if the center still feels a bit soft; they will firm up considerably as they cool. This step is crucial: allow the gingerbread pieces to cool completely, preferably overnight, at room temperature on the baking sheets. This lengthy cooling period is vital to ensure the pieces are fully hardened and strong enough to withstand assembly without breaking.
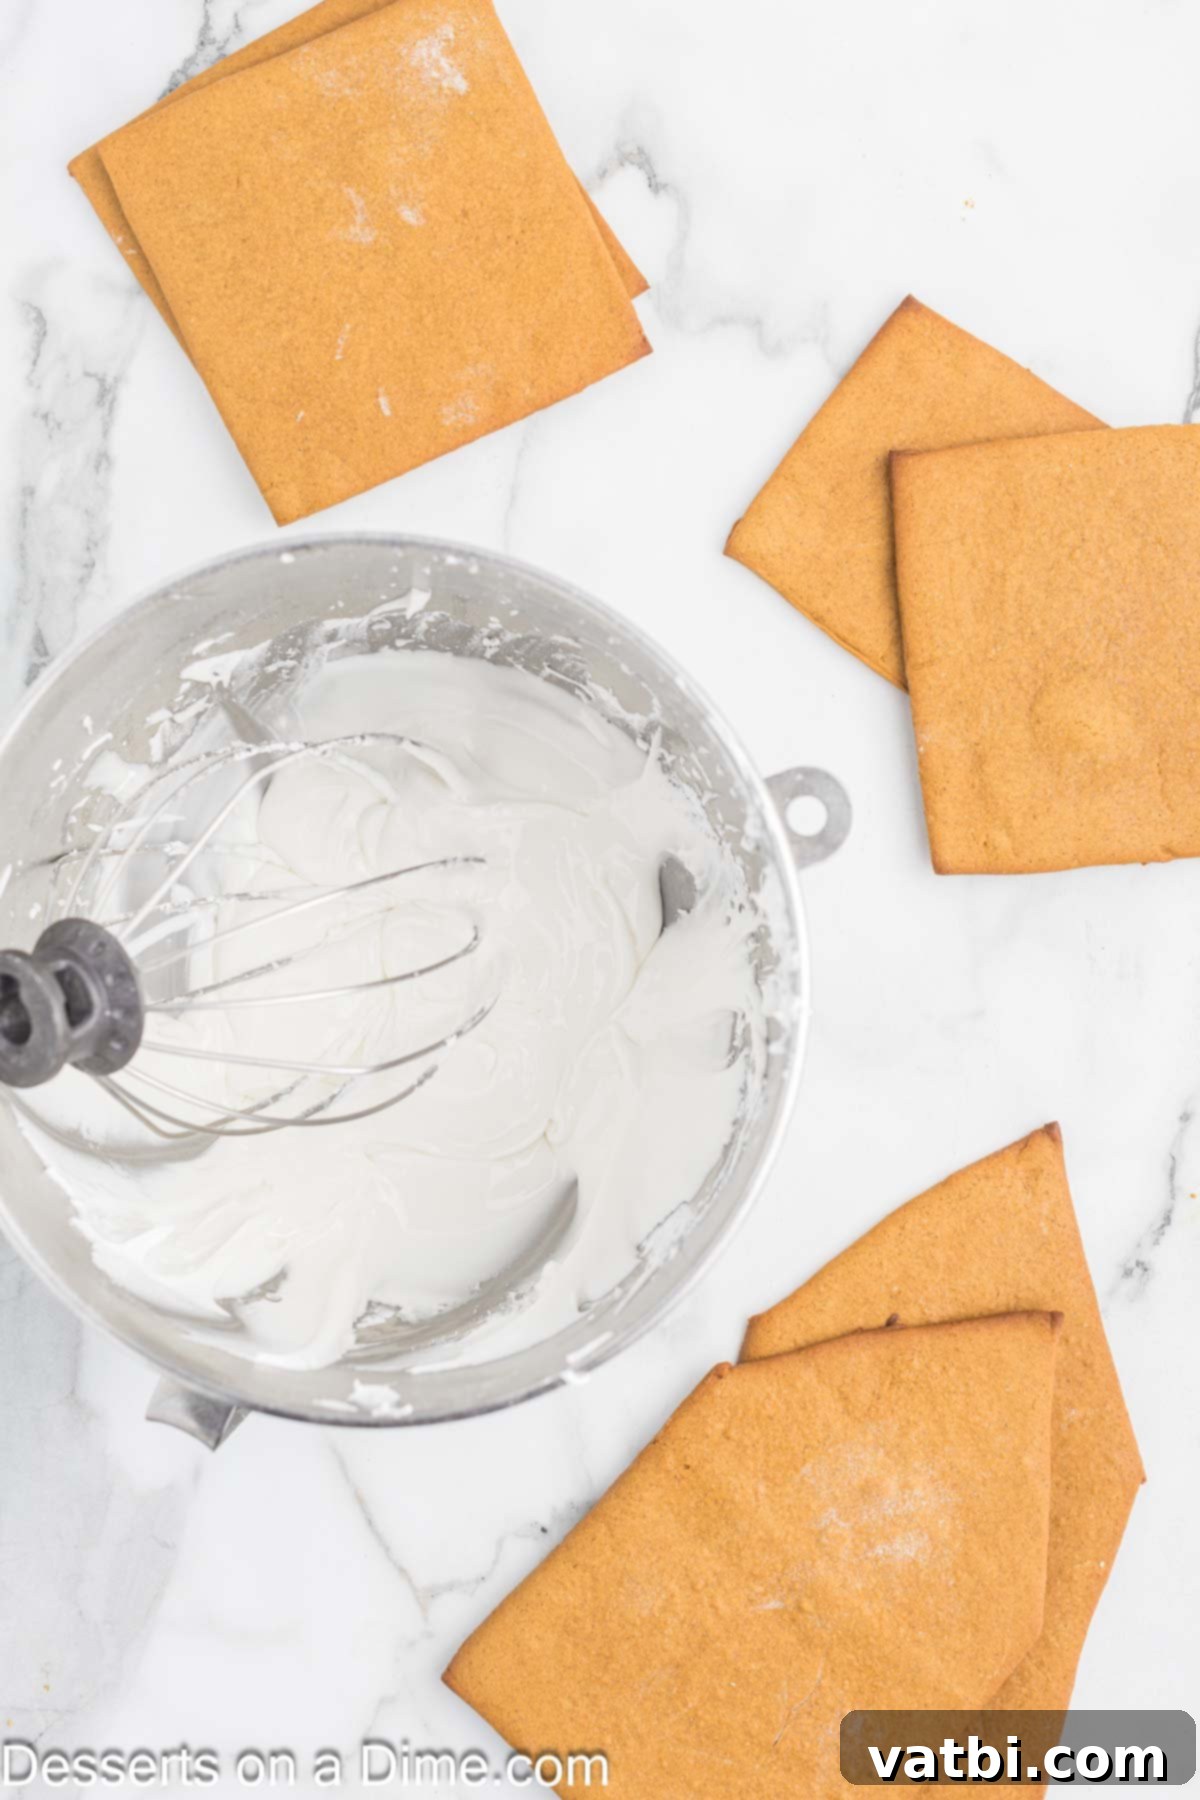
Step 9: Prepare the Royal Icing. Once your gingerbread pieces are thoroughly cooled and hardened, it’s time to make your “construction glue.” In the bowl of a stand mixer fitted with a whisk attachment, add all the royal icing ingredients: powdered sugar, egg whites, and cream of tartar. Beat them together on medium speed until stiff peaks form. This means when you lift the whisk, the icing should hold its shape firmly. This sturdy consistency is essential for holding your gingerbread house together.
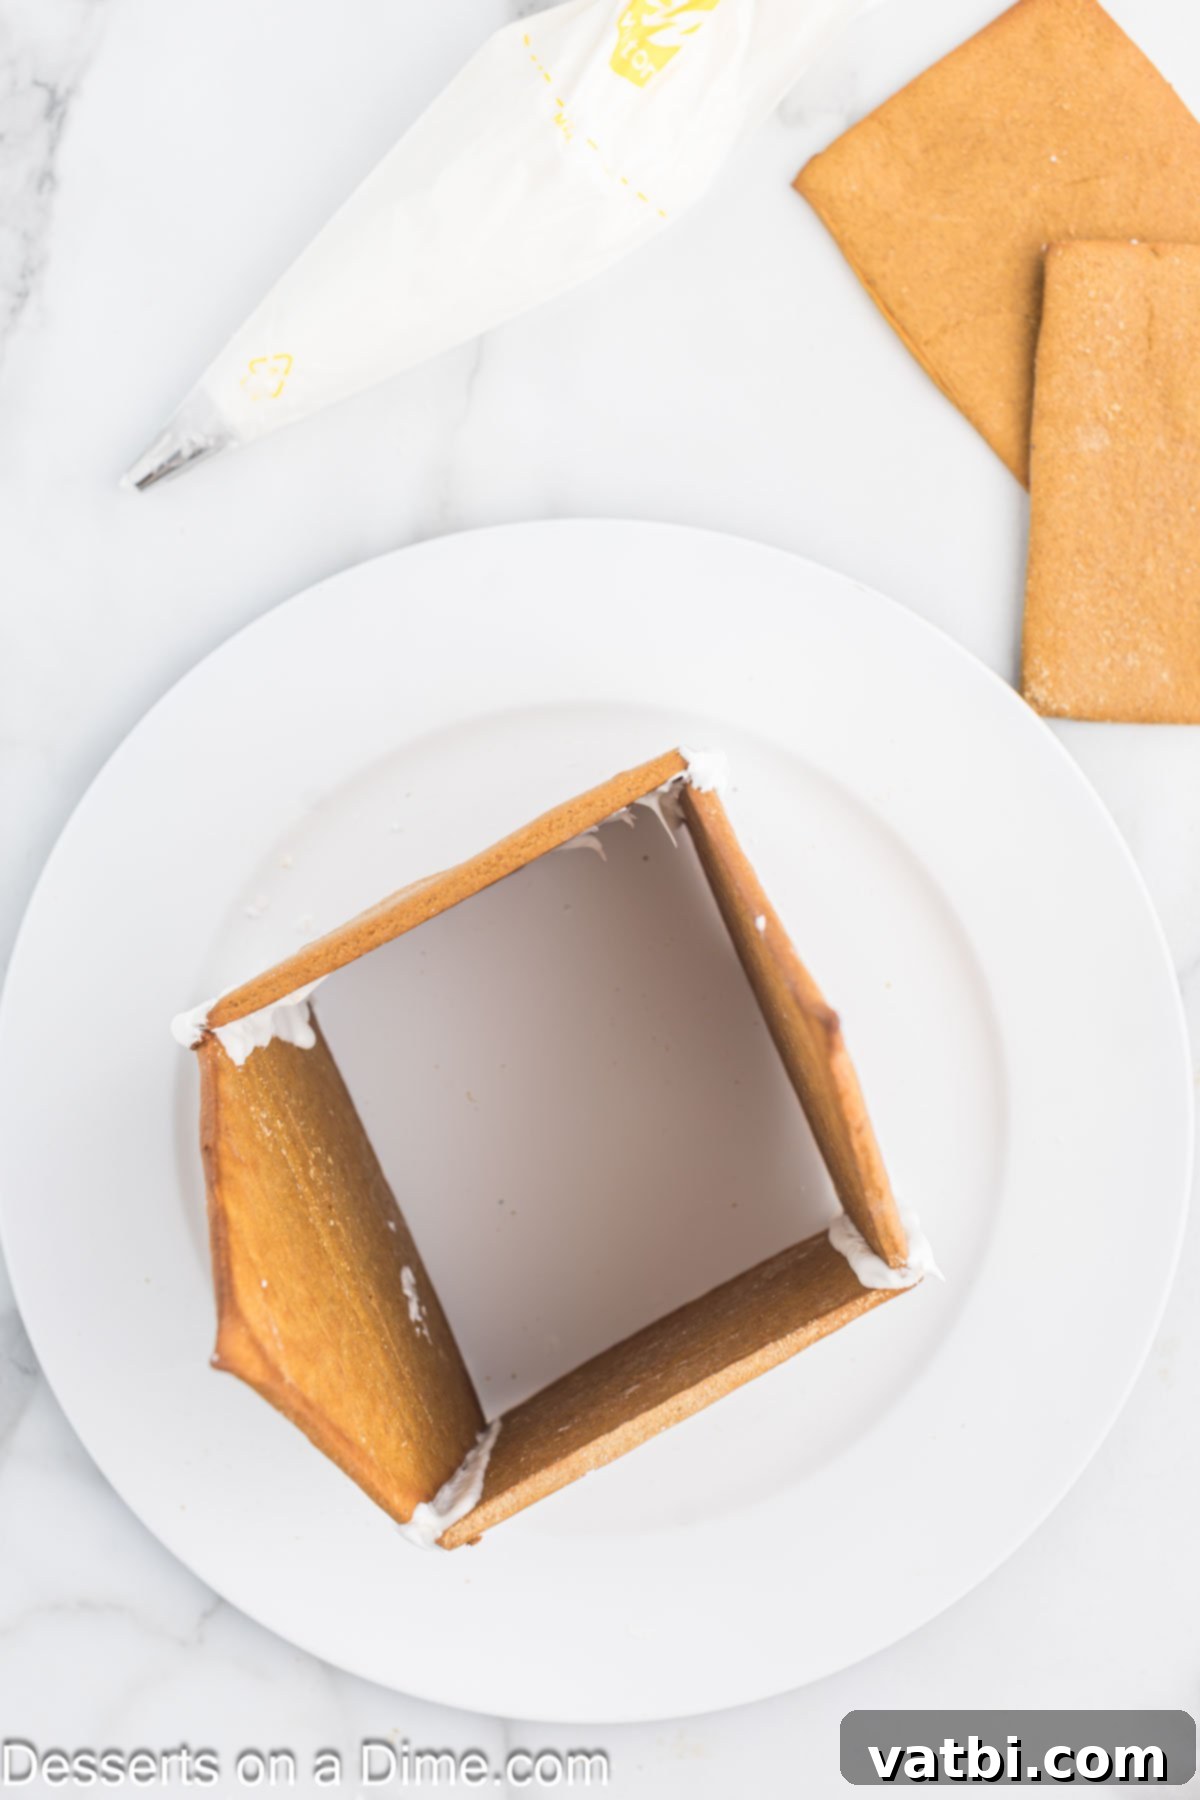
Step 10: Begin Assembling the House. Transfer the royal icing into a piping bag fitted with a round tip (a medium-sized tip, around Wilton 5 or 7, works well). Choose a sturdy cake platter or serving platter as the base for your gingerbread house. Pipe a generous line of icing along the bottom edge of one of your side walls, then press it firmly onto the platter. Immediately pipe icing along the edge where it will connect to the front wall, attach the front wall, and hold both pieces in place for a few minutes until the icing starts to set. Work quickly but carefully, ensuring each piece is upright and securely attached.
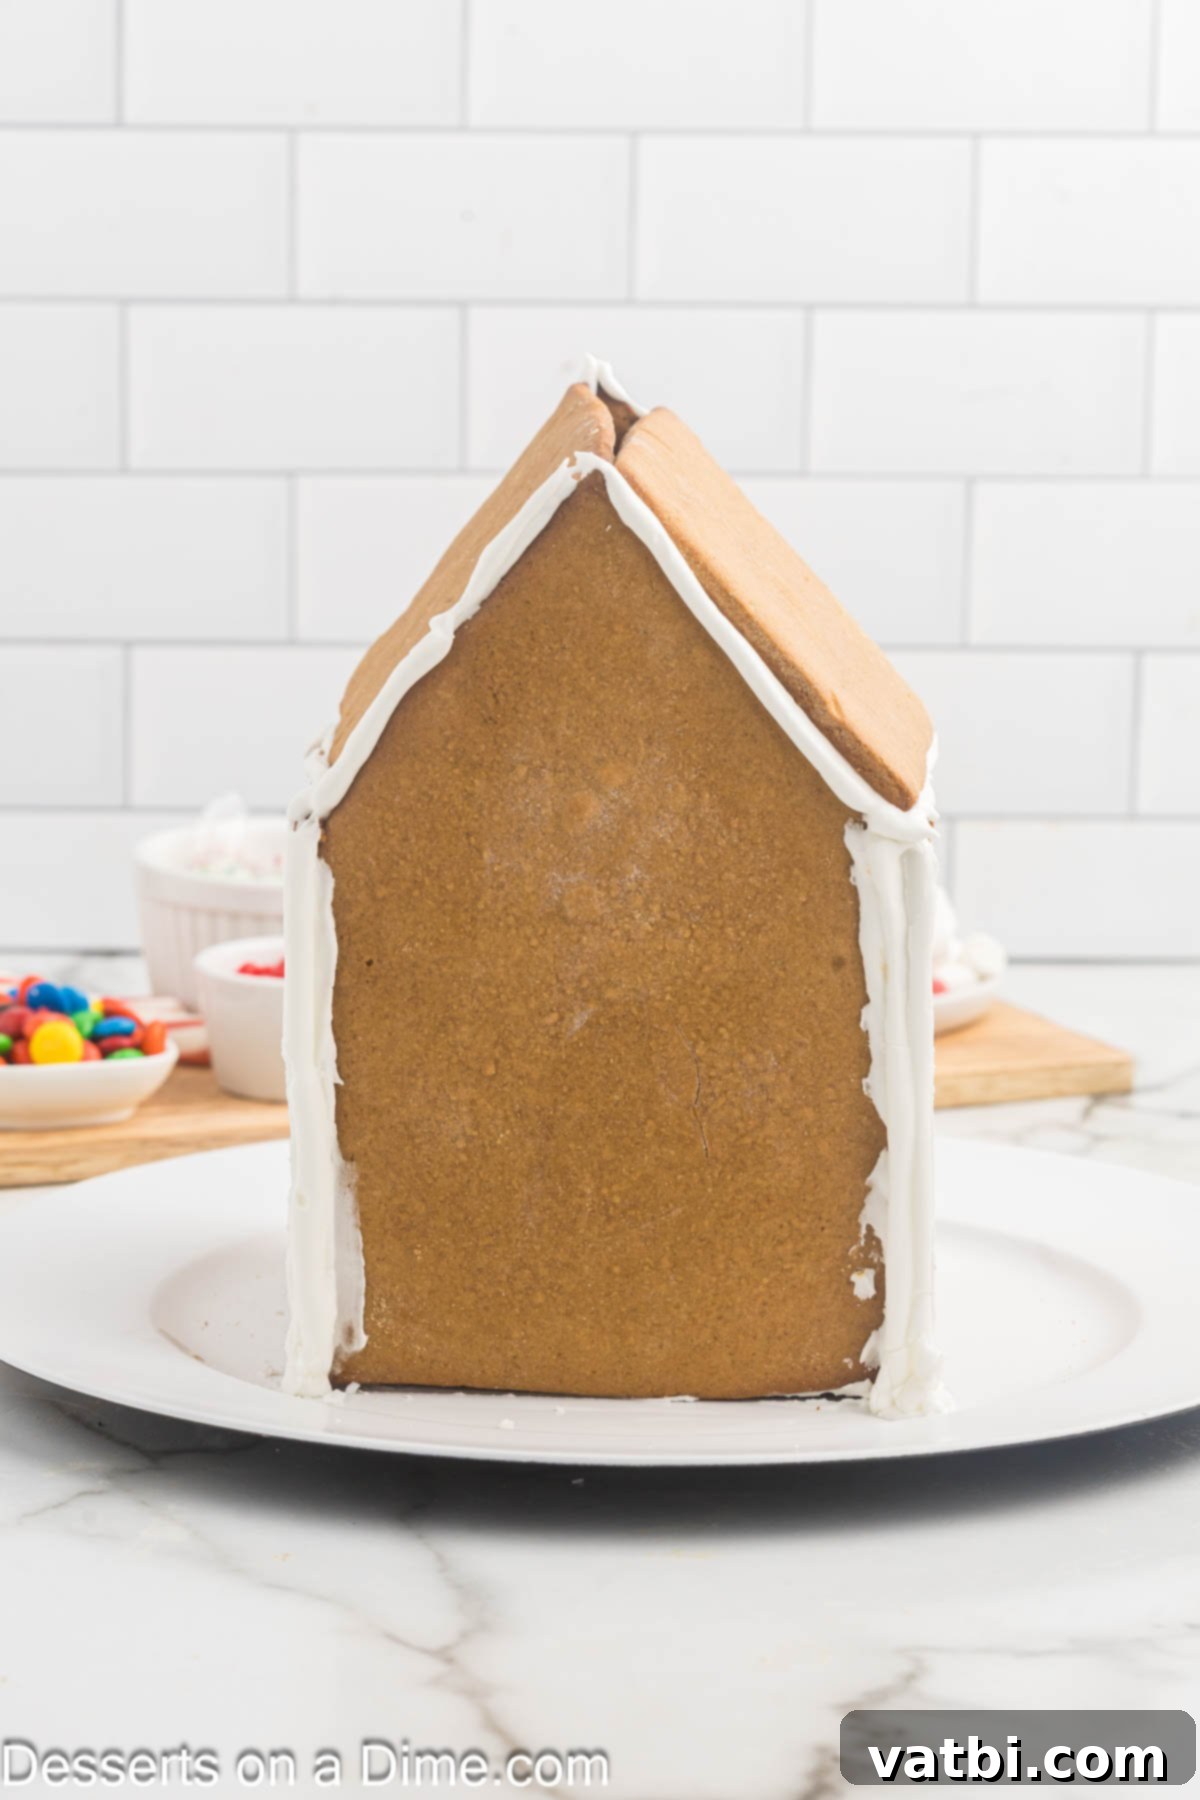
Step 11: Secure the Structure and Let it Dry. Continue piping icing along the connecting edges of all your wall pieces, holding them firmly in place until they can stand on their own. It’s also highly recommended to use icing to “glue” the base of all your gingerbread pieces directly to the cake platter. This creates a much sturdier foundation. Once all the walls are up and secured, carefully attach the roof pieces, piping icing along the top edges of the walls and the meeting point of the two roof sections. Now comes the hard part: let the entire structure dry completely! This usually takes several hours, or ideally, overnight, to ensure the royal icing is rock-hard and your house won’t collapse during decoration.
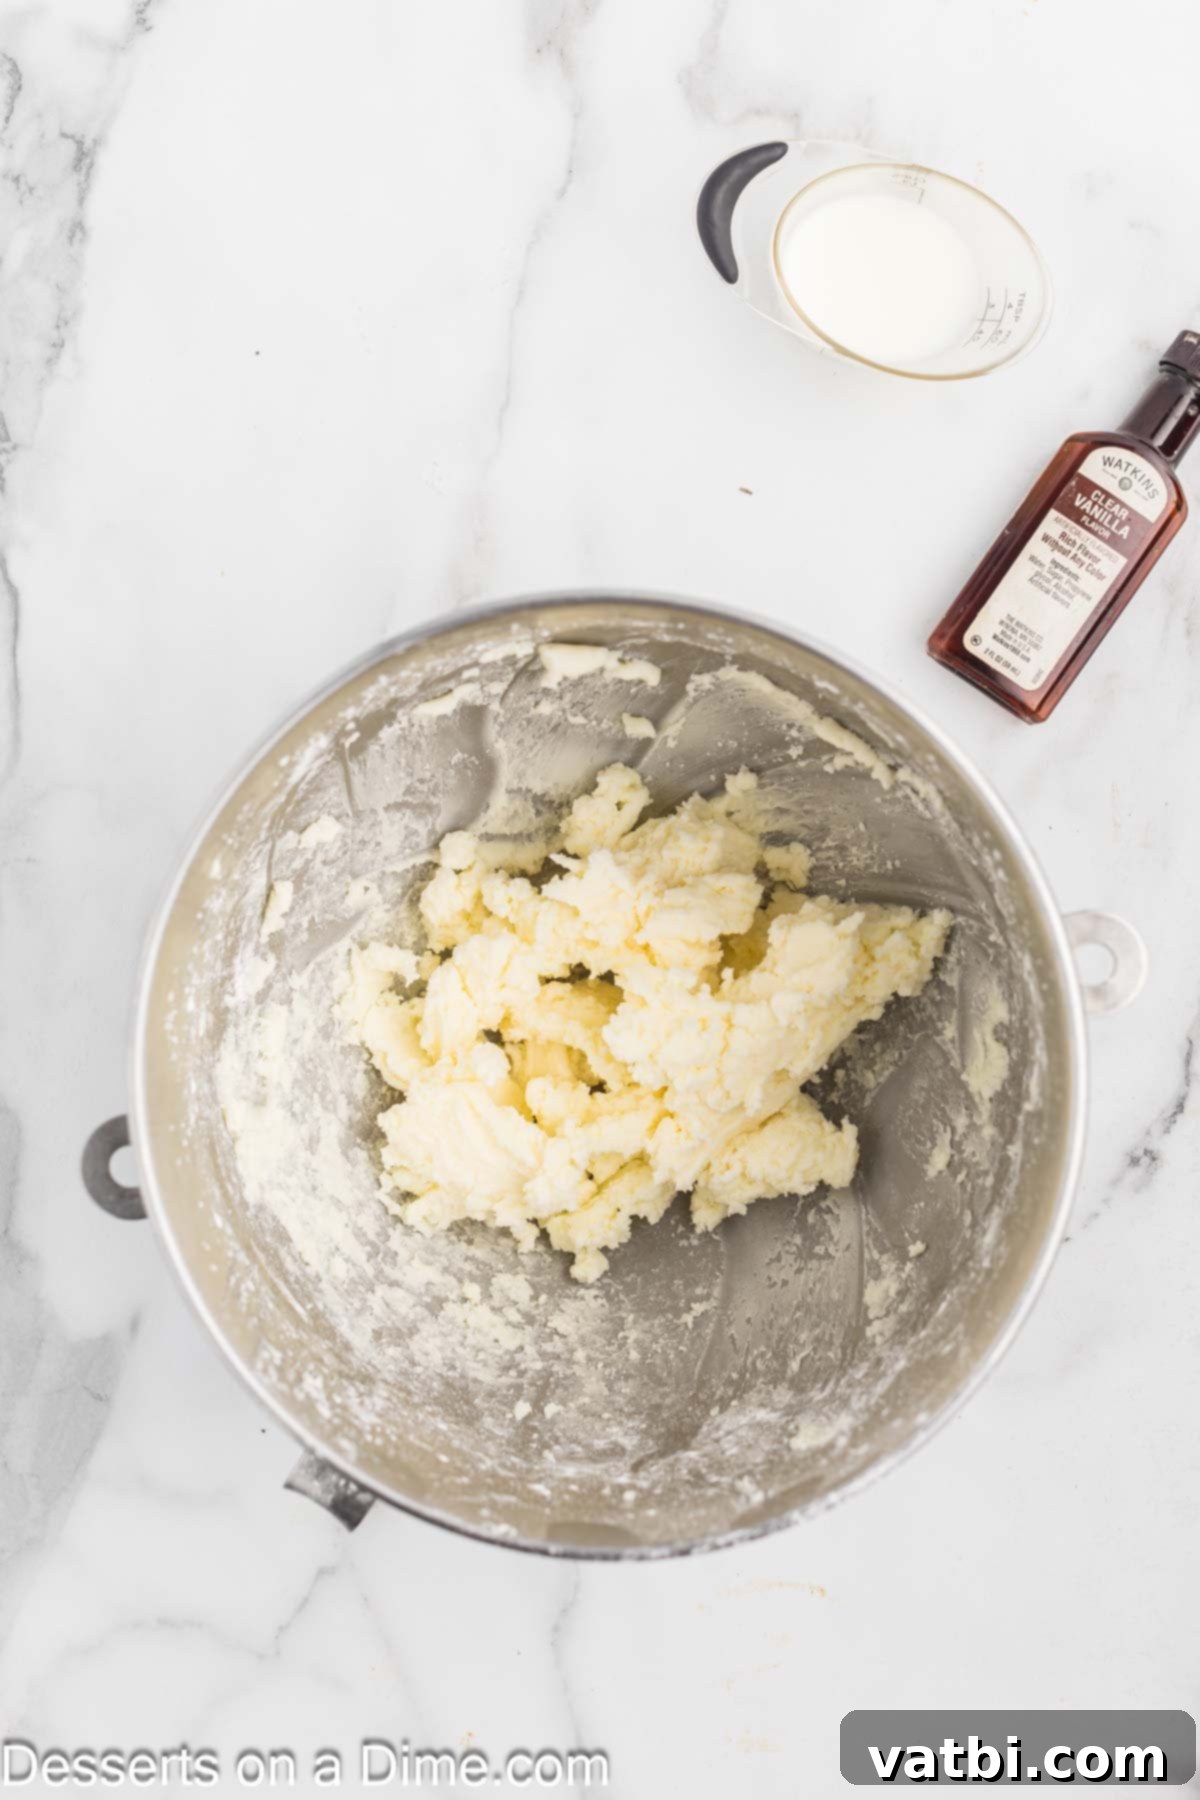
Step 12: Prepare the Buttercream Frosting for Decorating. Once your gingerbread house is fully assembled and the royal icing is dry, it’s time to get ready for decorating! In a clean mixing bowl, cream the softened unsalted butter on high speed with a hand-held mixer or stand mixer until it is light and fluffy, about 3-4 minutes. Gradually add the powdered sugar on low speed until it’s fully incorporated and smooth. Then, stir in the clear vanilla extract and milk. Beat the mixture again on medium-high speed until it reaches a wonderfully fluffy consistency. Transfer this creamy frosting into a piping bag fitted with a star tip or any decorative tip you prefer. If you’re not using it immediately, cover the bowl with plastic wrap to prevent it from drying out.
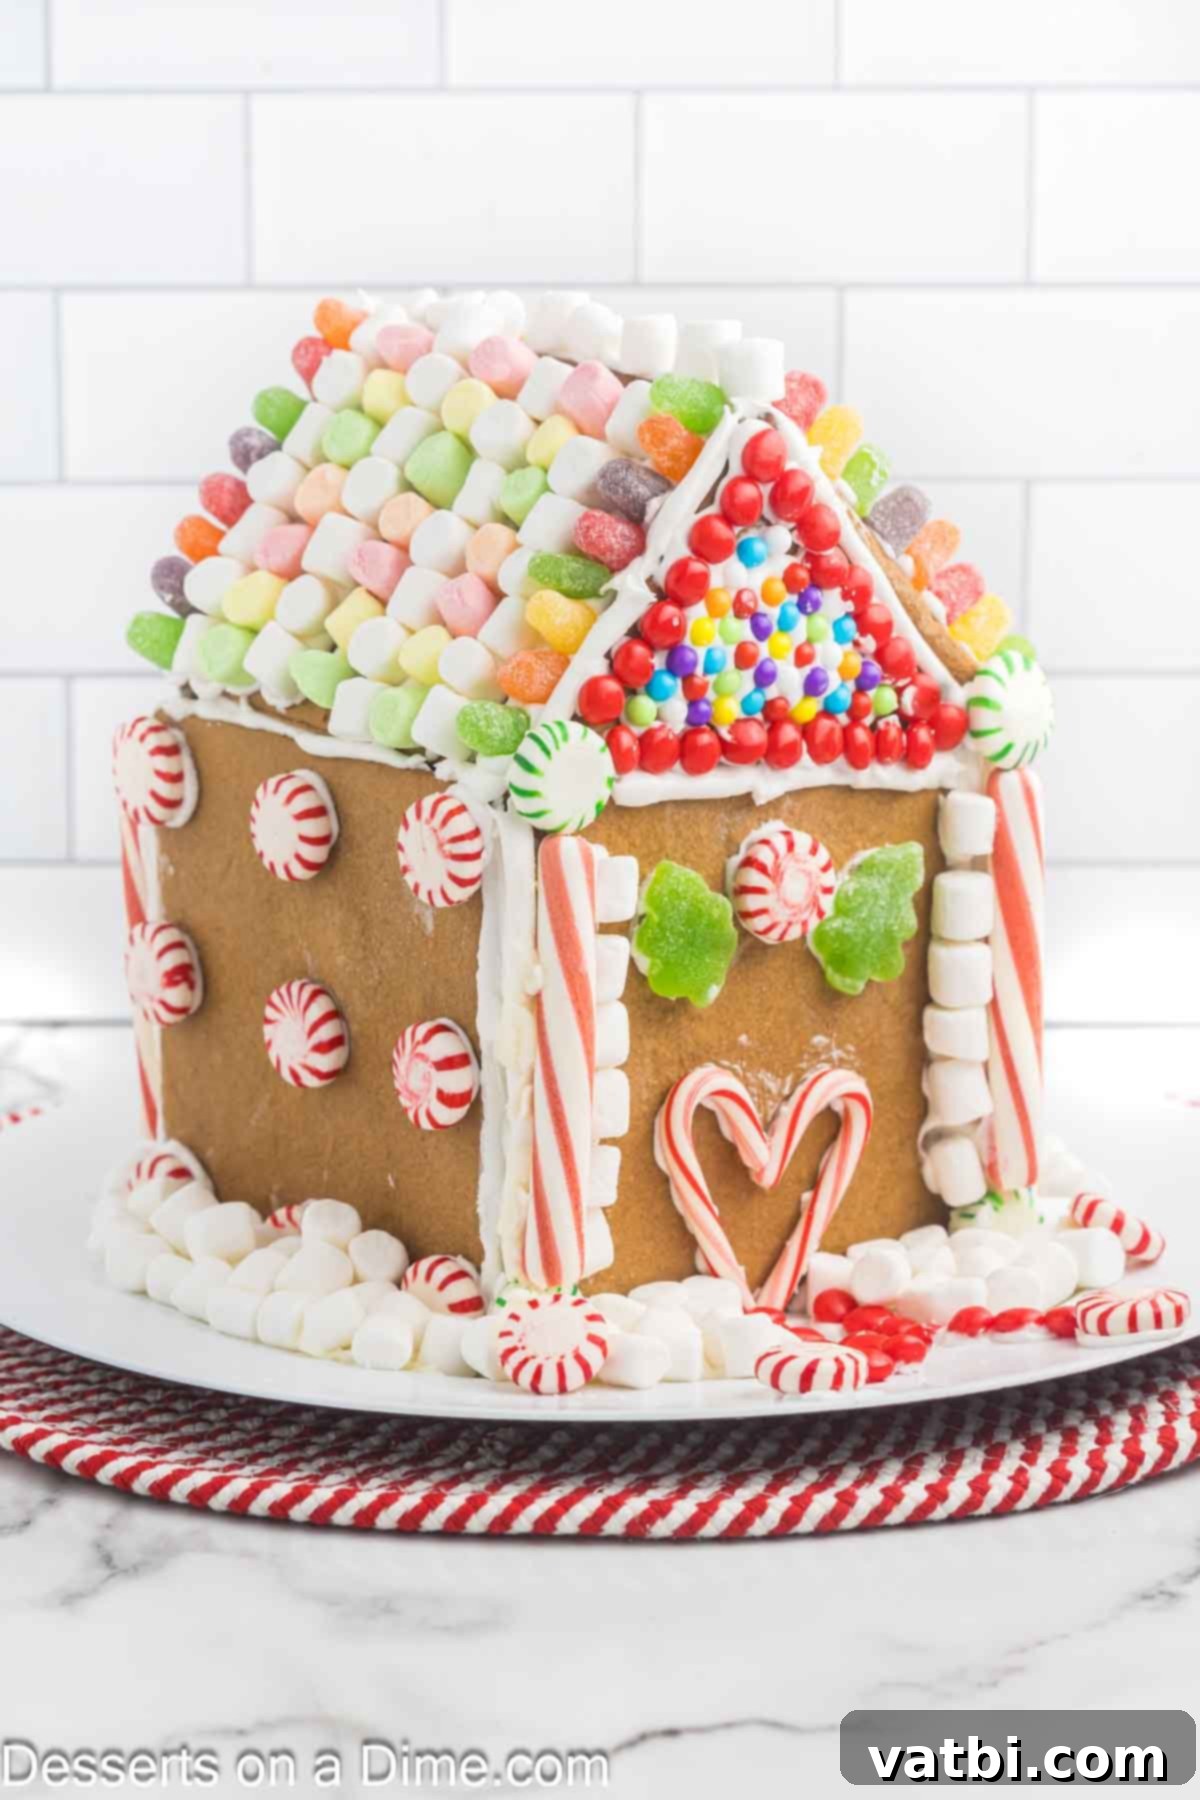
Step 13: Time to Decorate! With your buttercream frosting and an assortment of candies at the ready, it’s finally time for the most exciting part – decorating your gingerbread house! This is where your family’s creativity truly shines. Pipe “snow” along the roof edges, window frames, and door outlines. Create intricate patterns or simple designs. Use the buttercream as an adhesive to attach your chosen candies.
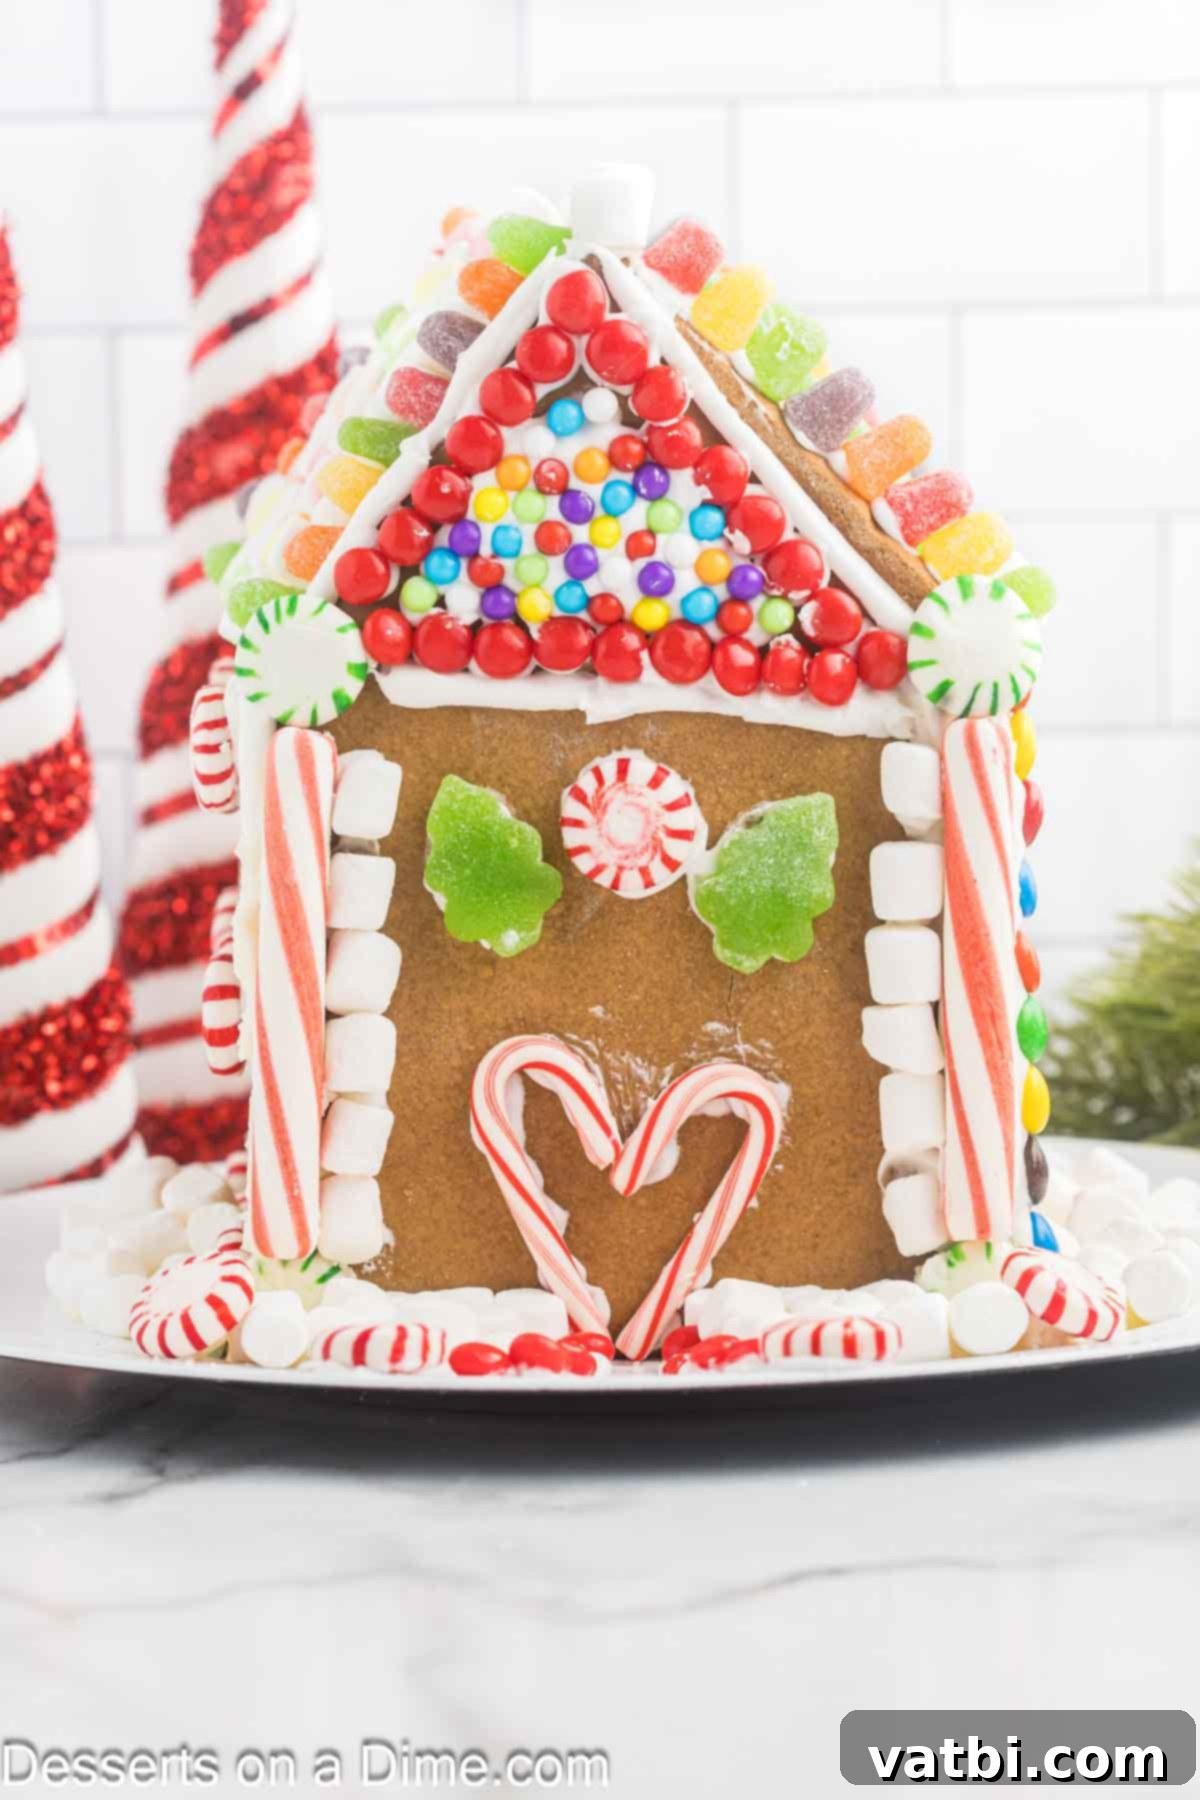
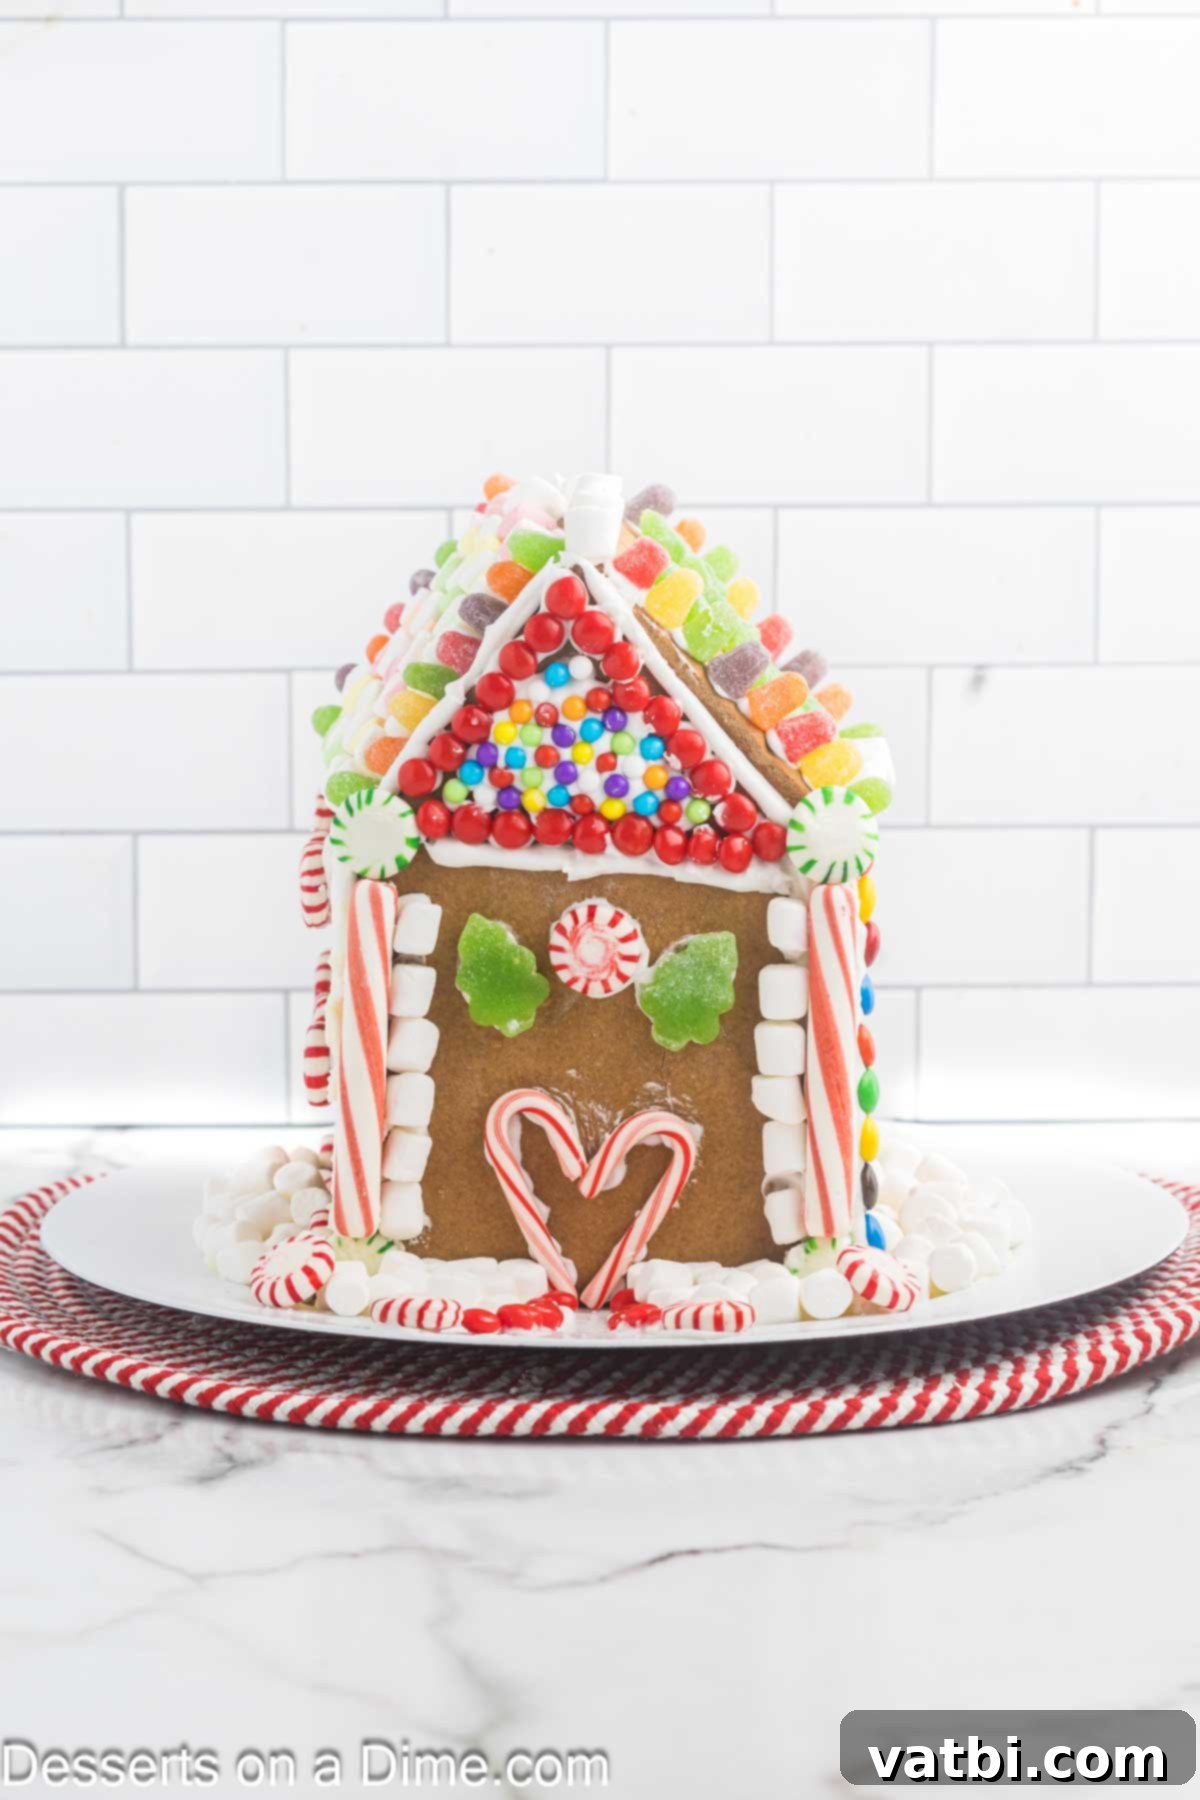
Step 14: Get Creative with Candies and Finishing Touches. Let your imagination run wild! Create a candy cane forest, a gumdrop garden, or a sprinkle path. Use peppermints for windows or chocolate candies for stepping stones. Ensure you cover the sides and roof pieces with plenty of candy, as these surfaces provide a large canvas for your edible artistry. You can even add shredded coconut around the base for a snowy landscape effect. The possibilities are endless when building your dream gingerbread house!
Pro Tips for Gingerbread House Success
Achieving a perfectly sturdy and beautifully decorated gingerbread house can be simple with a few insider tricks. Here are our top professional tips to ensure your homemade gingerbread house is a smashing success:
- Secure the Gingerbread House to its Base: Don’t underestimate the importance of a solid foundation! After assembling the walls and roof with royal icing, generously pipe royal icing along the bottom edges of the entire house and firmly “glue” it to your serving platter or cake board. Hold it in place for several minutes until it begins to set. This crucial step will make your house incredibly sturdy and prevent any accidental collapses while decorating or displaying.
- Easily Roll the Dough with Parchment Paper: Gingerbread dough can be sticky, even when well-floured. To prevent frustration and ensure an even thickness, always roll your dough between two sheets of floured parchment paper. This method keeps your workspace clean, prevents sticking, and makes it much easier to achieve that uniform ¼-inch thickness required for strong structural pieces.
- Allow for Ample Cooling Time – Overnight is Best: This is perhaps the most critical tip for a successful gingerbread house. After baking, your gingerbread pieces will still be slightly soft. They need to cool completely and harden before assembly. Rushing this step will result in fragile pieces that are prone to breaking when you try to stand them up. Letting them cool overnight at room temperature ensures they are fully set and robust enough to build with.
- Consider Dyeing the Buttercream Frosting: While classic white buttercream looks like snow, don’t hesitate to add a splash of color! You can easily dye portions of your buttercream frosting with gel food coloring to create a vibrant array of colors for windows, doors, garlands, or other decorative elements. Remember to use gel colors, as liquid colors can alter the frosting’s consistency.
- Choose Lightweight Candies for Decoration: When selecting your candies, keep weight in mind. Heavy candies can slide off the buttercream or even pull down gingerbread pieces if not properly secured. We love using a variety of lightweight candies such as mini candy canes, gum drops, colorful sprinkles, M&M’s, peppermints, and various small chocolate pieces. For a realistic snowy effect, shredded coconut is an excellent choice.
- Use Sturdy Templates: If you’re not freehanding your shapes, use sturdy cardboard or plastic templates for cutting your gingerbread pieces. This ensures all your walls and roof pieces are perfectly uniform, making assembly much easier and resulting in a more professional-looking house.
- Store Icing Properly: Both royal icing and buttercream can dry out quickly when exposed to air. Always keep unused icing covered with a damp cloth or plastic wrap (pressed directly onto the surface for royal icing) to maintain its consistency while you work.
More Festive Christmas Recipes
All Recipes Dessert
12 Days of Christmas Cookies
Discover a delightful collection of festive cookies perfect for holiday gatherings and cookie exchanges!
Cute Christmas Desserts
Christmas Brownies
Whip up a batch of these fudgy, chocolatey brownies, decorated with a joyful holiday twist!
Cute Christmas Desserts
Ice Cream Cone Christmas Trees
These adorable and edible Christmas trees are a fun, no-bake treat that kids will love to make and eat!
We are so excited for you to try this amazing homemade gingerbread house recipe. It’s an experience filled with joy, creativity, and delicious results that everyone will love. Go ahead and embark on this wonderful holiday project, and don’t forget to come back and leave a comment and a star rating to share your magical gingerbread house creations with us!
Pin
Homemade Gingerbread House
Ingredients
For the Gingerbread:
- 3 cups all-purpose flour
- 2 teaspoons ground ginger
- 2 teaspoons ground cinnamon
- 1/2 teaspoon ground allspice
- 1/4 teaspoon salt
- 6 Tablespoons unsalted butter softened
- 1/2 cup packed light or dark brown sugar
- 1 large egg at room temperature
- 2 teaspoons Vanilla Extract
- 1/2 cup unsulphured or dark molasses
- 1 Tablespoon water
For the Royal Icing:
- 1 pound powdered sugar
- 3 egg whites
- 1/2 teaspoon cream of tartar
For the Buttercream Frosting:
- 1/2 cup Unsalted Butter softened
- 2 cups Powdered Sugar
- 1 teaspoon Clear Vanilla Extract
- 2 Tablespoons Milk
- Various Candies for decorating
Instructions
For the Gingerbread:
-
Preheat the oven to 375 degrees Fahrenheit and line 2 baking sheets with parchment paper.
-
In a mixing bowl, whisk together the flour, ginger, cinnamon, allspice and salt. Set aside.
-
In a large mixing bowl or a bowl fitted for a stand up mixer, beat together the butter and brown sugar with the paddle attachment until smooth and creamy (3-4 minutes).
-
Mix in the eggs, vanilla extract, molasses and water until combined on high speed.
-
Reduce the mixer speed to low and gradually add the dry ingredients into the wet ingredients until just combined. Be careful to not over mix. The batter will be thick.
-
Place the dough on a floured work surface and divide it into 4 even discs.
-
Use a rolling pin to roll out each disk in between 2 pieces of floured parchment paper until it’s approximately ¼ inch thick.
-
Use a pizza cutter or sharp knife to cut out shapes from the gingerbread to form into your gingerbread house. You will need 2 of each shape to make the house (2 for the front and back, 2 for the sides and 2 for the roof of the house ).
-
Use a spatula to transfer the pieces of gingerbread to the prepared baking sheets.
-
Bake for 13-15 minutes until the edges of the gingerbread are just slightly browned. The gingerbread will still be slightly soft and will firm up as they cool.
-
Let the gingerbread cool completely overnight at room temperature before assembling into the house.
For the Icing:
-
Place the icing ingredients in the bowl of a stand up mixer fitted with a whisk attachment.
-
Mix the ingredients together on medium speed until stiff peaks form in the mixture.
-
Transfer the icing to a piping bag fitted with a round tip.
-
Assemble the gingerbread house on a cake platter or serving platter. Line the edges of the house pieces with the icing and hold them together for a few minutes to allow them to dry completely. It’s also helpful to use the icing to “glue” the gingerbread pieces to the cake platter as well.
-
Make sure that the icing “glue” is completely dried before decorating the house.
For the Buttercream Frosting:
-
Cream the butter on high speed with a hand held mixer or stand up mixer until light and fluffy (approximately 3-4 minutes).
-
Gradually add in the powdered sugar until mixed and combined.
-
Stir in vanilla and milk. Beat together until thoroughly mixed and fluffy on a medium-high setting.
-
Place the frosting into a piping bag fitted with a star tip.
-
Decorate the house with the buttercream frosting and the candies.
Recipe Notes
You can dye the buttercream frosting for a variety of colors if you prefer and pick candies based on your styling preferences.
We love using peppermint candies, mini candy canes, sprinkles, M&Ms and any lightweight candy that will stay on the house with the buttercream frosting.
Nutrition Facts
Pin This Now to Remember It Later
Pin Recipe
