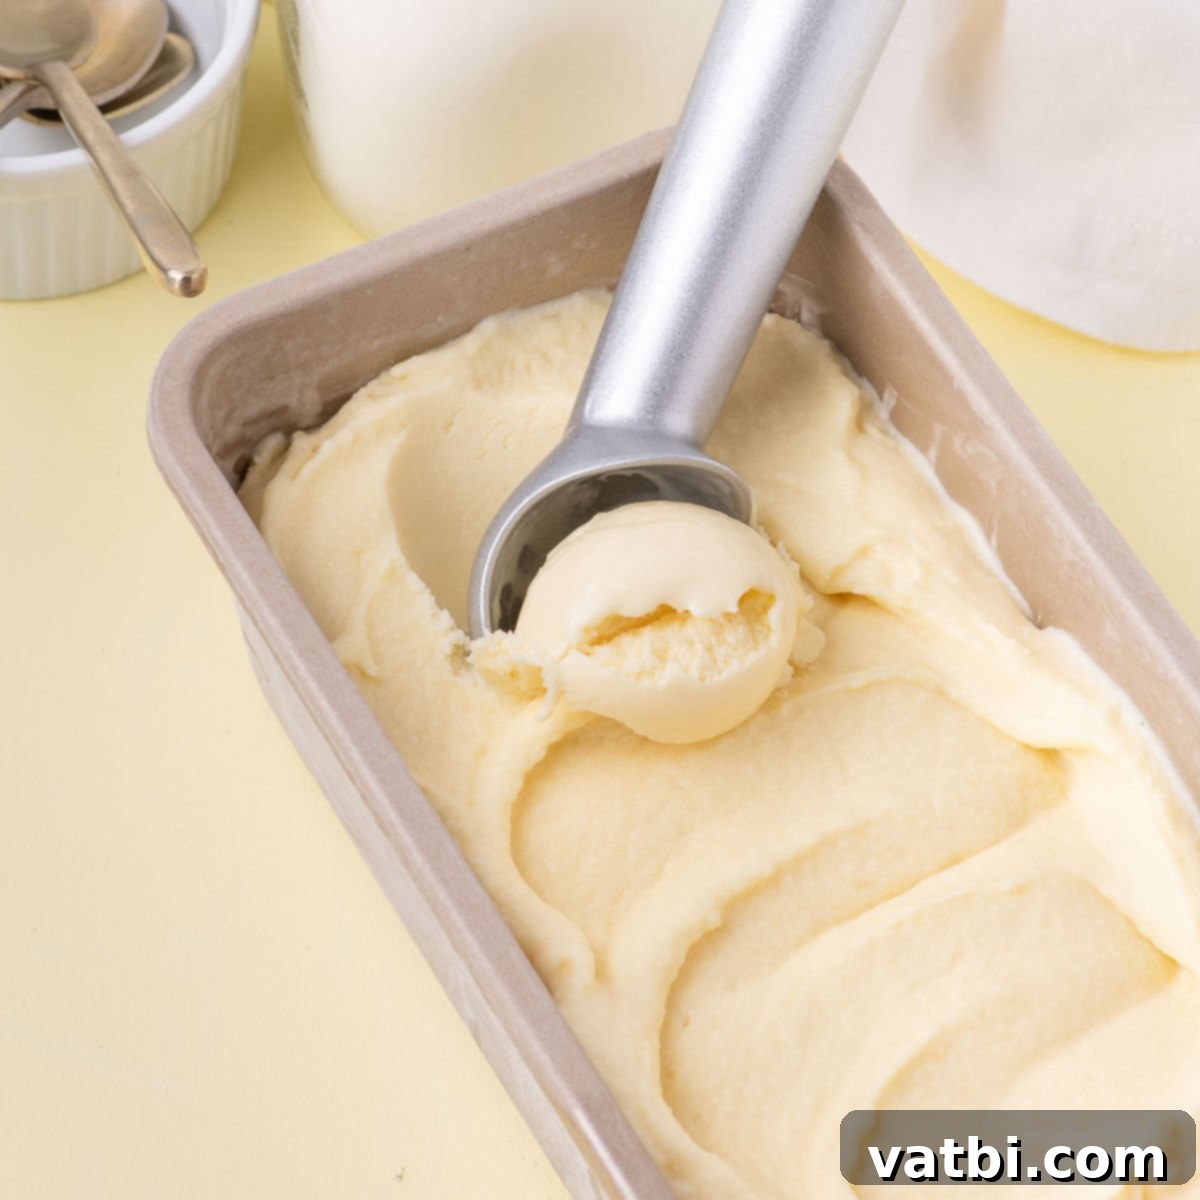
Indulge in Homemade Gelato: The Easiest No-Churn Recipe for Creamy Perfection
Dive into the luxurious world of homemade Italian gelato with this incredibly simple, no-churn recipe! Forget about expensive gelato makers or trips to the specialty store – you can now create a rich, dense, and velvety smooth gelato right in your own kitchen. Our step-by-step guide is designed to make the process effortless, ensuring a delicious frozen treat that rivals any artisan version. For years, I’ve enjoyed experimenting with various homemade frozen dessert recipes, from refreshing Raspberry Sorbet to delightful No-Churn Strawberry Ice Cream. This particular Homemade Gelato recipe stands out for its exceptional creaminess and unparalleled flavor, proving that the best frozen treats are often those made with love at home. Its beautiful texture and profound taste make it an instant family favorite. Whether you’re a seasoned dessert enthusiast or a beginner in the kitchen, this basic gelato recipe provides a perfect foundation for a truly irresistible experience.
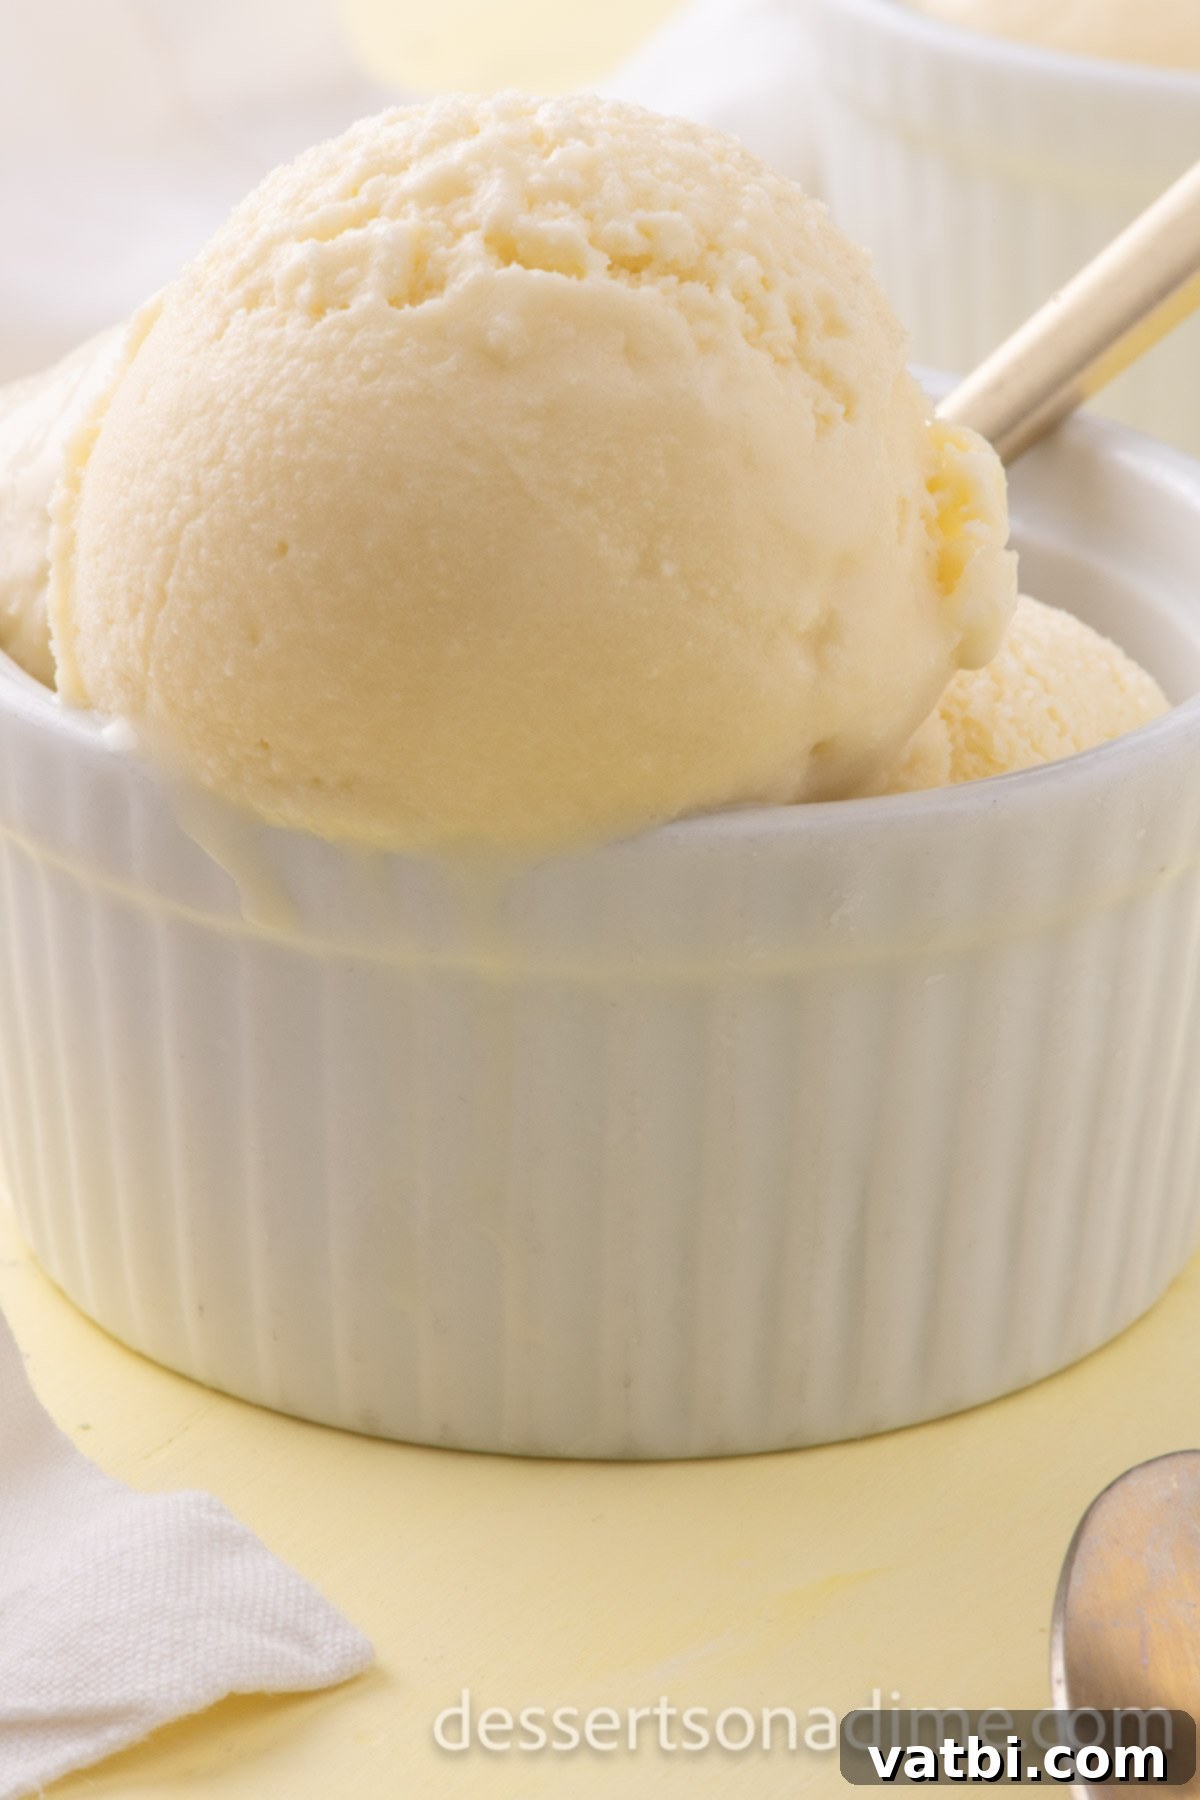
The taste and texture of this homemade gelato are so incredibly delicious, you’ll wonder why you ever bought it from a store. This recipe focuses on creating a classic, easy base gelato with a wonderfully creamy texture that’s perfect on its own or as a foundation for your favorite flavor variations.
What’s in this post: Homemade Gelato
- What is the difference between gelato and ice cream?
- Ingredients
- Variations
- Step by Step Instructions
- Frequently Asked Questions
- More Frozen Treats
- Homemade Gelato Recipe
What is the difference between gelato and ice cream?
Often confused, gelato and ice cream are distinct frozen desserts, each with unique characteristics that contribute to their specific tastes and textures. The primary differences lie in their ingredient ratios, churning process, and serving temperatures. Gelato, the Italian word for “ice cream,” typically features a higher proportion of whole milk to heavy cream, resulting in a lower fat content compared to traditional ice cream. This milk-to-cream ratio is crucial for its characteristic density and less buttery mouthfeel. Furthermore, authentic gelato is churned at a much slower speed than ice cream. This slower churning process incorporates less air, making gelato denser and more intense in flavor. While ice cream can be up to 50% air, gelato usually contains only 20-30% air, contributing to its rich, velvety consistency.
The reduced air content means a spoonful of gelato offers a more concentrated burst of flavor. Lastly, gelato is traditionally served at a slightly warmer temperature than ice cream. This warmer temperature allows the flavors to be more vibrant and the texture to be incredibly soft and pliable, melting delightfully on your tongue. Understanding these subtle but significant differences will truly elevate your appreciation for this classic Italian indulgence, ensuring that every bite of your homemade creation is a true experience of authentic Italian taste.
Ingredients
Crafting the perfect Homemade Gelato starts with a few high-quality, simple ingredients. Each component plays a vital role in achieving that signature creamy texture and rich flavor. While the list is short, the quality of what you choose will make a noticeable difference in the final product. Here’s what you’ll need to create this delectable dessert:
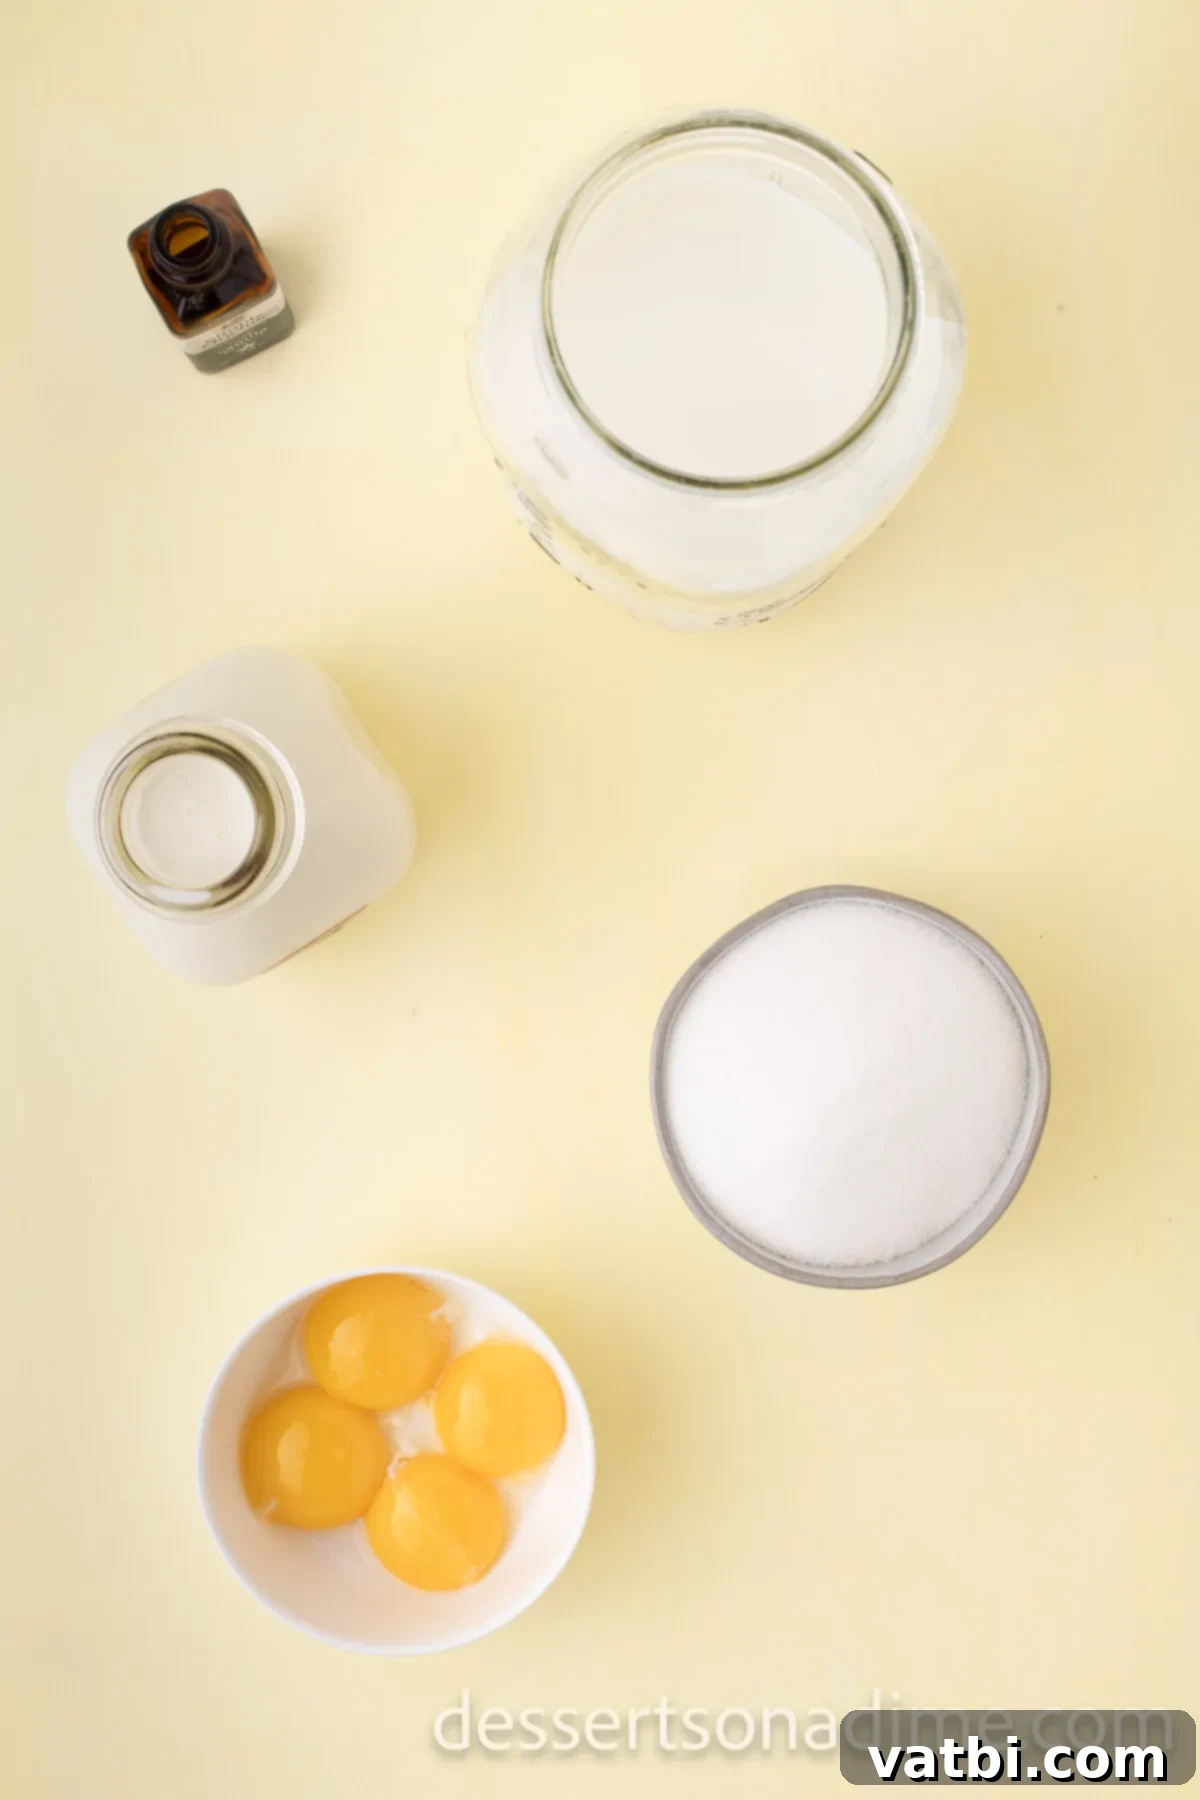
- Whole Milk: The base of our gelato, providing the liquid and a significant portion of its creamy body. Using whole milk is essential for the desired richness and texture, as it contributes to the lower fat content that differentiates gelato from ice cream.
- Heavy Cream: A smaller amount of heavy cream adds a touch of luxuriousness without making the gelato overly fatty, maintaining that distinct gelato mouthfeel.
- Large Egg Yolks: These are the key to a custard base, providing incredible richness, a beautiful golden color, and acting as a natural emulsifier, resulting in an exceptionally smooth and stable gelato.
- Granulated Sugar: Sweetens the gelato and also plays a critical role in its texture, preventing excessive ice crystal formation and keeping it soft and scoopable.
- Vanilla Extract: A classic flavor enhancer that brightens and complements the dairy and egg notes, creating a universally loved base flavor. For the best taste, opt for pure vanilla extract.
Variations
This basic vanilla-flavored Homemade Gelato recipe serves as an excellent canvas for countless flavor variations. Once you’ve mastered the foundational technique, feel free to unleash your creativity and experiment with different additions to customize your frozen treat.
- Fruit Varieties: Elevate your gelato with fresh fruit! Instead of just strawberry, consider pureeing ripe raspberries, blueberries, peaches, or mangoes. Fold fruit purées into the chilled custard before freezing for vibrant, natural flavors. For an extra pop, you can even swirl in small pieces of fruit during the final stages of whipping.
- Decadent Chocolate Gelato: For chocolate lovers, there are several ways to infuse rich cocoa flavor. You can melt high-quality dark chocolate into the warm milk mixture, ensuring it’s fully incorporated before adding to the egg yolks. Alternatively, whisk unsweetened cocoa powder into the milk mixture for a deeper, more robust chocolate profile. Swirl in chocolate chips or chopped chocolate bars for added texture.
- Nutty Indulgences: Transform your gelato with roasted nuts. Finely ground pistachios, hazelnuts, or almonds can be added to the base mixture or stirred in as a textural element. For an even more intense flavor, consider making a hazelnut paste (like gianduja) or a pistachio cream to swirl through.
- Coffee Lover’s Dream: Dissolve instant espresso powder or strong brewed coffee into the warm milk mixture for a sophisticated coffee-flavored gelato. A sprinkle of chocolate-covered espresso beans can be a delightful addition.
- Mint Chocolate Chip: Add peppermint extract to the base and fold in finely chopped dark chocolate or mini chocolate chips for a refreshing and classic combination.
- Caramel Swirl: Swirl homemade or store-bought caramel sauce into the gelato during the final whipping stages for ribbons of sweet, buttery goodness. A pinch of sea salt can further enhance this.
- Spiced Gelato: For a unique twist, infuse the milk with spices like cinnamon sticks, star anise, or cardamom pods before heating. Strain the milk before proceeding with the recipe.
The possibilities are truly endless, allowing you to create a personalized gelato experience every time!
Step by Step Instructions
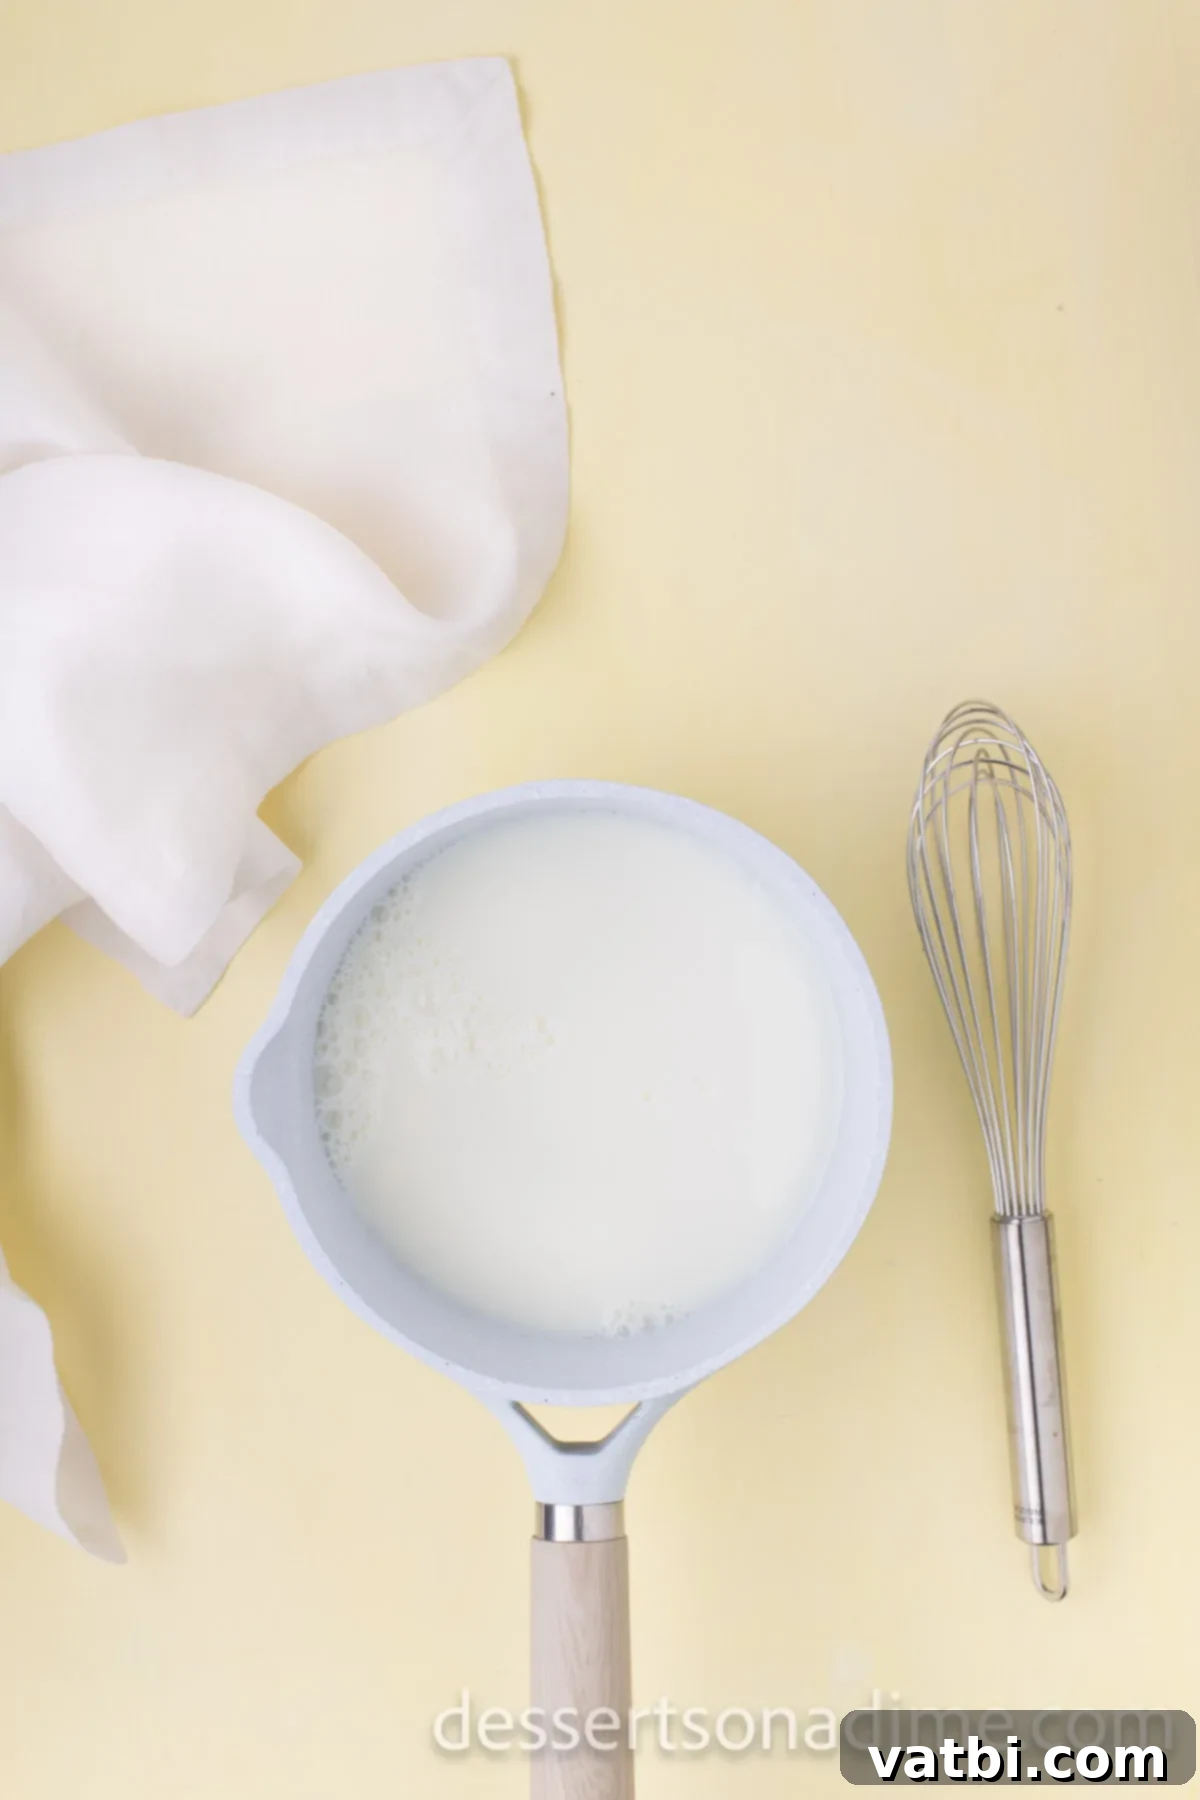
Step 1. Pour the whole milk into a medium-sized saucepan. Place it over low heat and gently warm it until it begins to simmer around the edges. Be careful not to let it boil, as overheating the milk can scorch it. This gentle heating helps to dissolve the sugar later and prepares the milk for tempering the egg yolks.
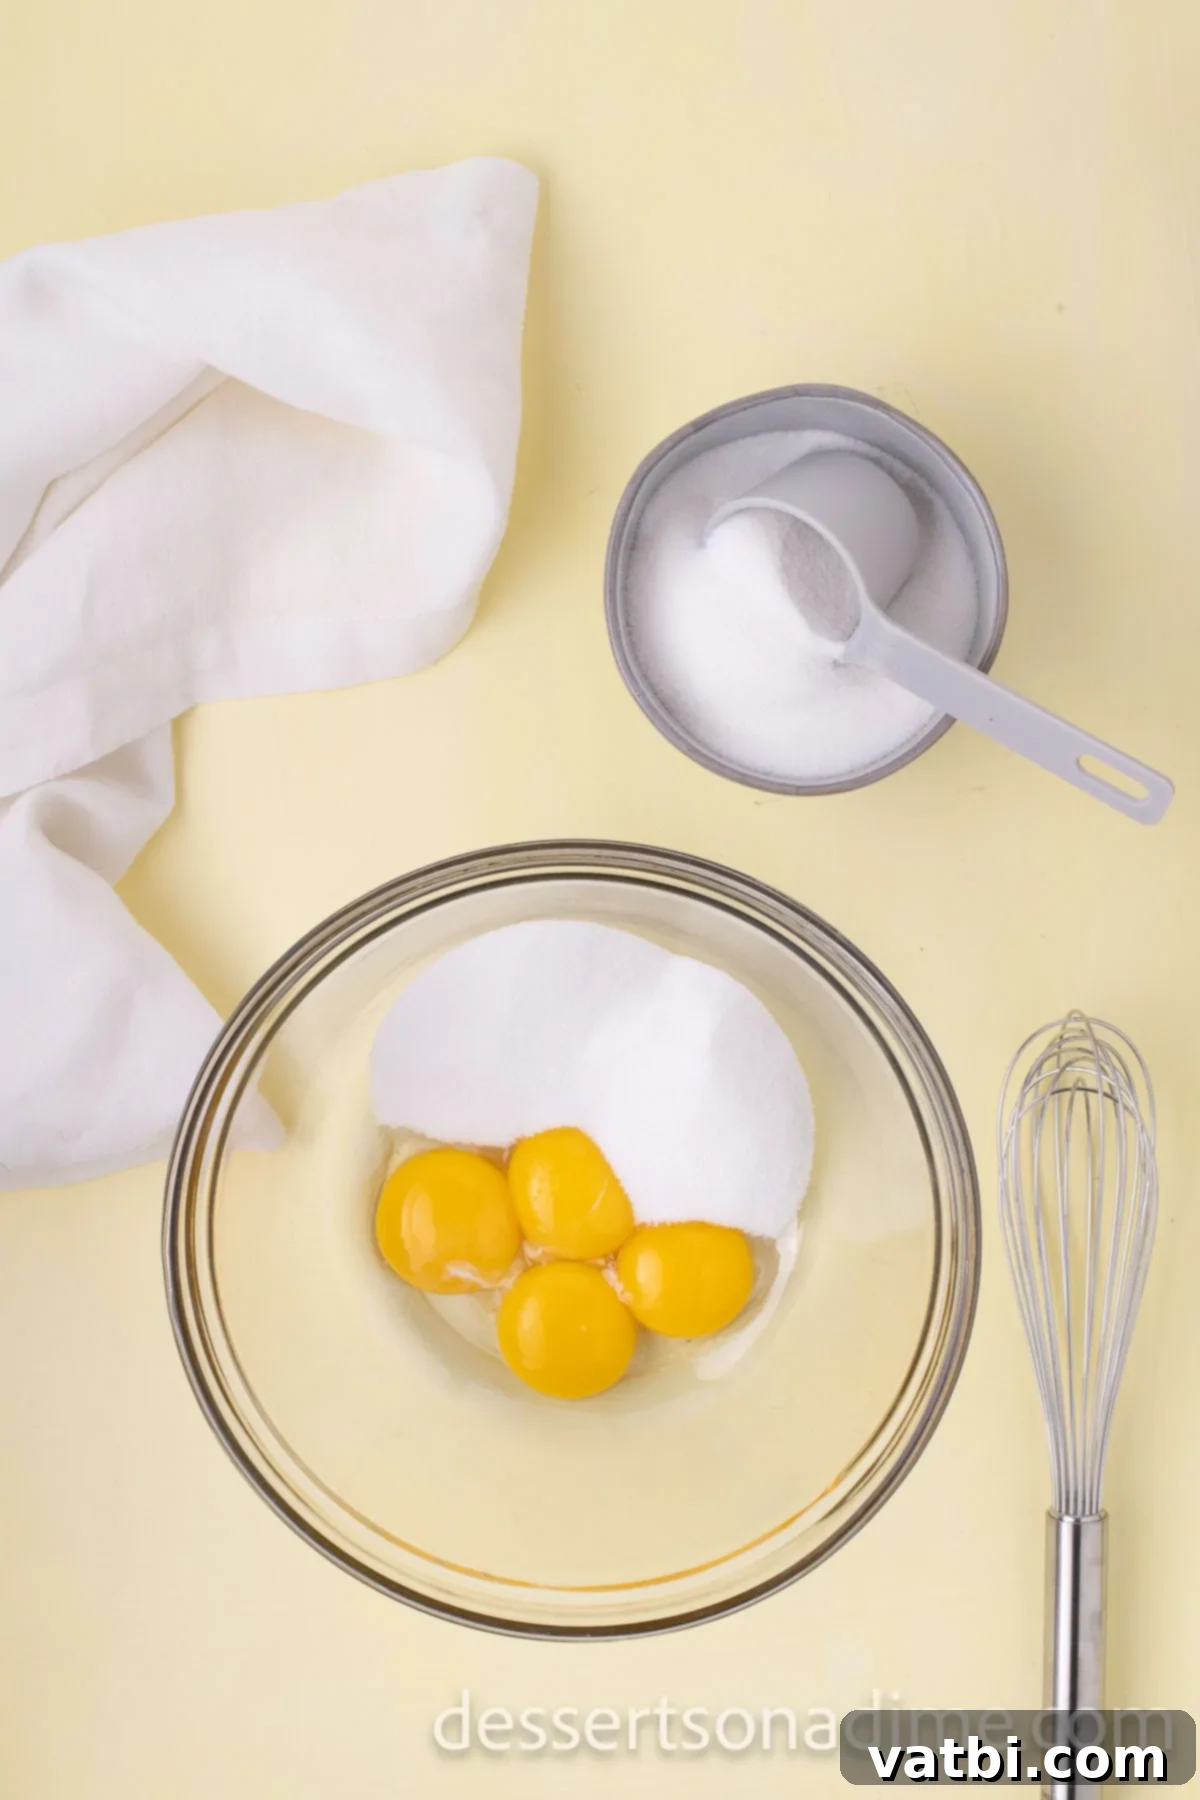
Step 2. While the milk is warming, retrieve a separate heat-proof mixing bowl. In this bowl, combine the large egg yolks and granulated sugar. Whisk them vigorously until the mixture becomes pale yellow and slightly thickened, almost like a ribbon when lifted. This process is crucial for a smooth custard base.
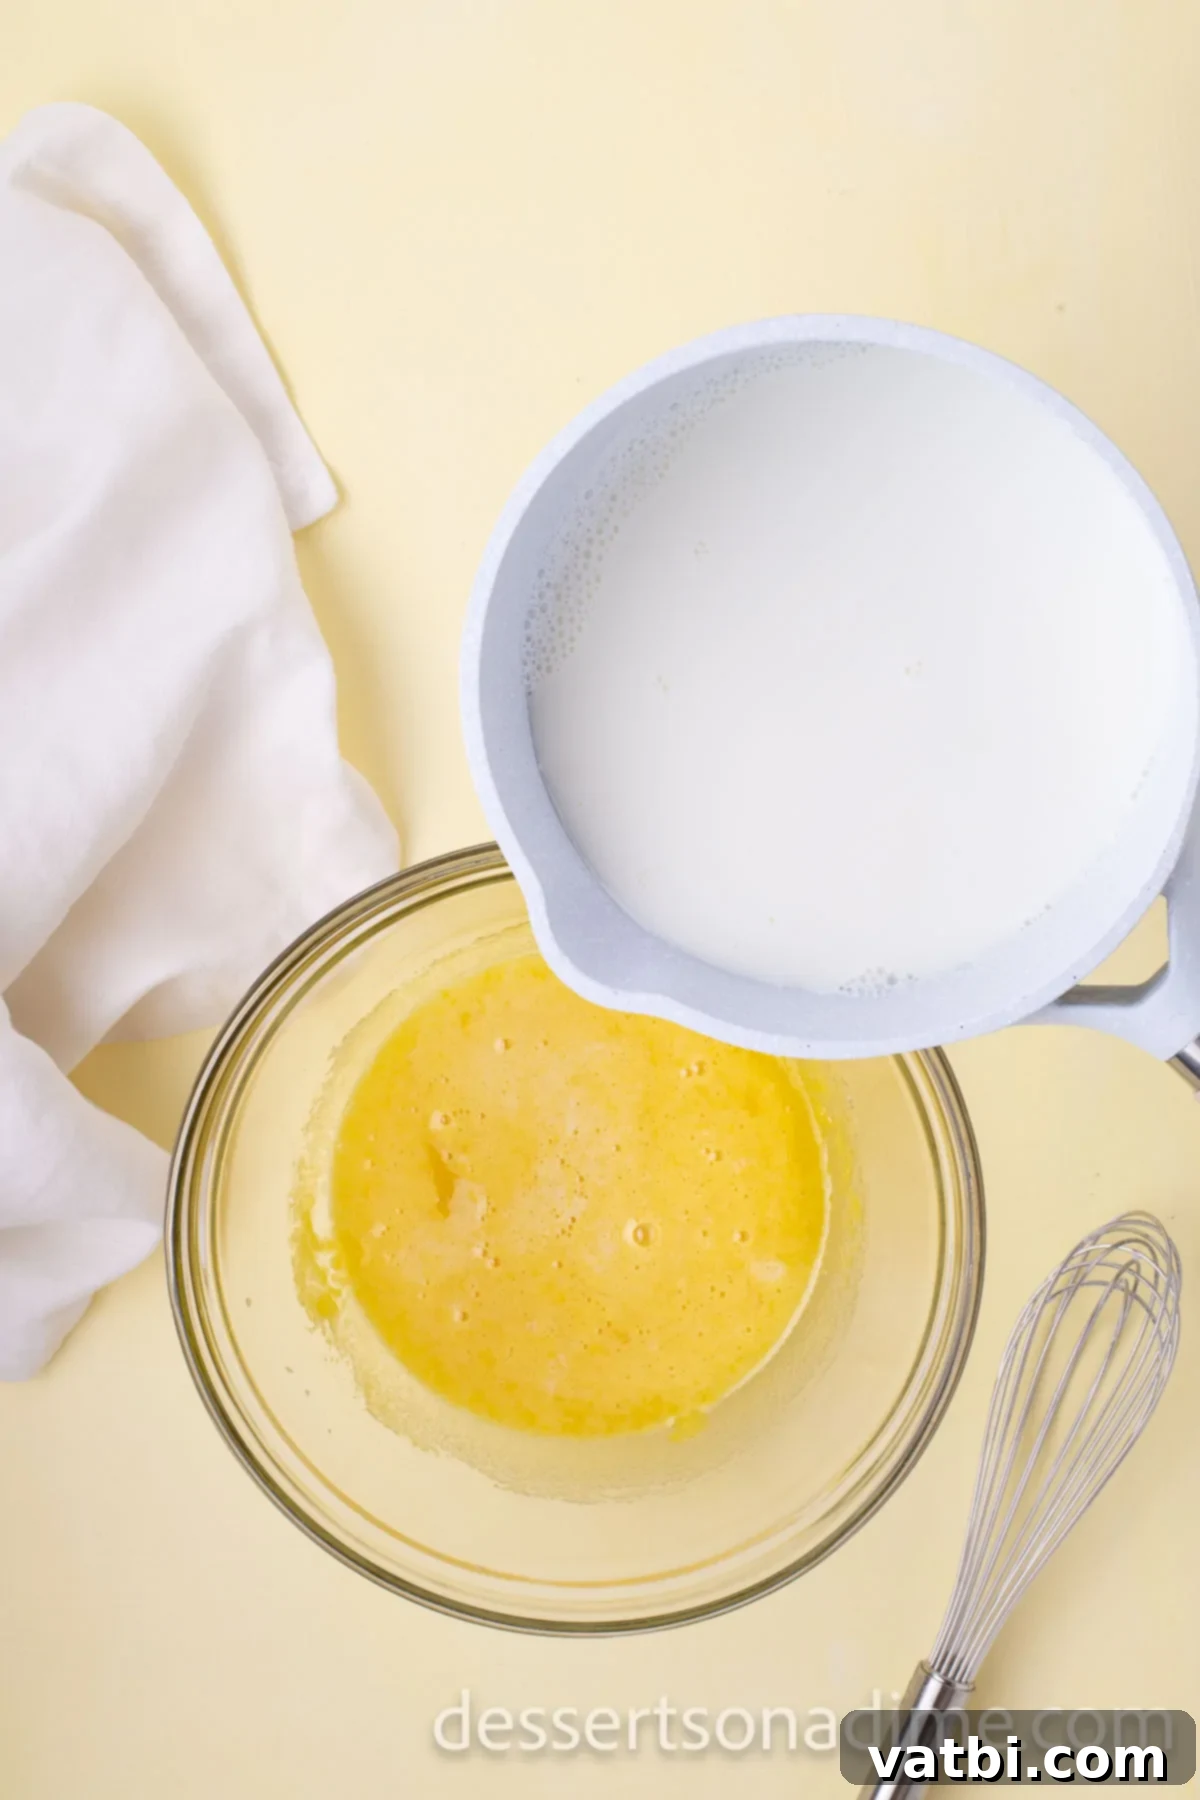
Step 3. Once the milk is simmering, slowly and carefully temper the egg mixture. This involves gradually pouring about half of the warm milk into the egg yolk and sugar mixture while whisking constantly. This slow addition and continuous whisking prevent the eggs from scrambling, gently raising their temperature. Once combined, pour this tempered egg mixture back into the saucepan with the remaining milk.
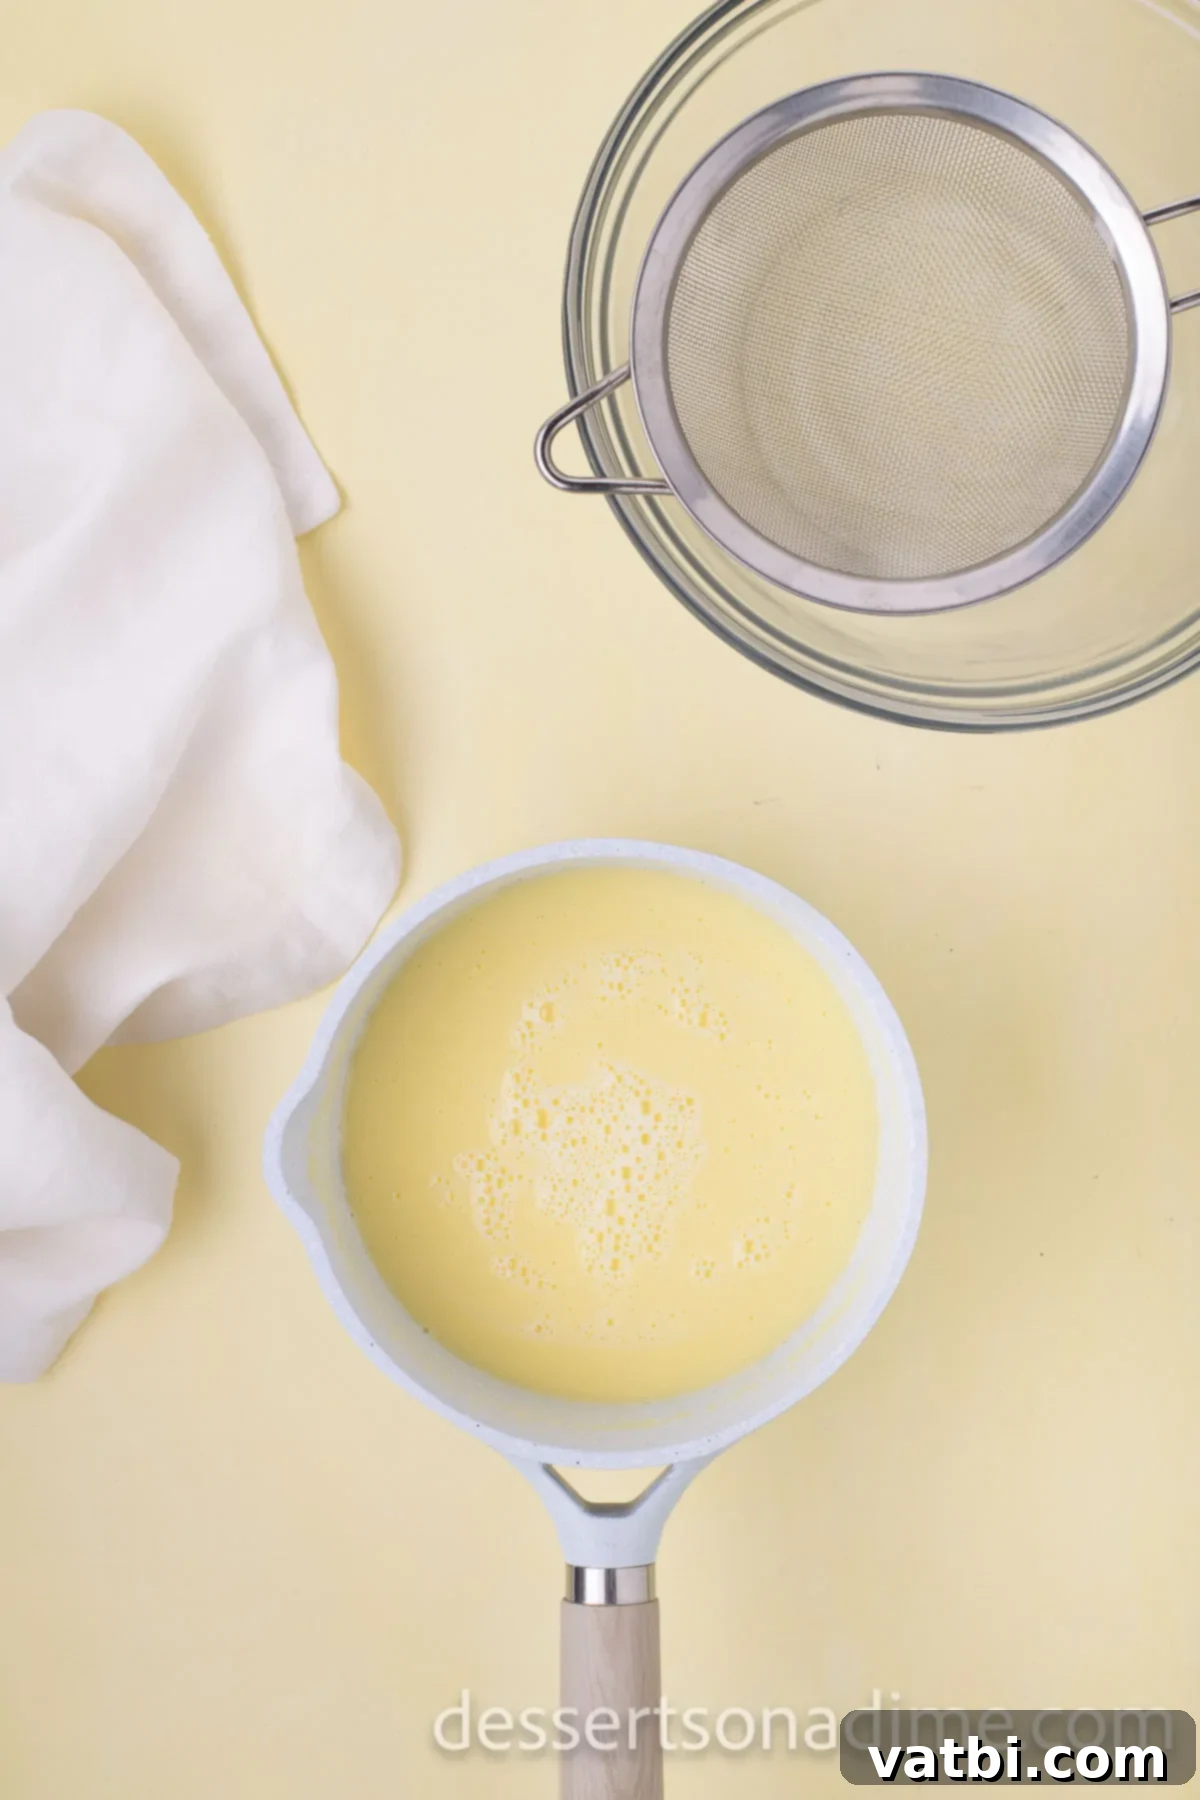
Step 4. Place the saucepan back over low heat. Continue to cook the mixture, stirring constantly with a wooden spoon or spatula, for 6-8 minutes, or until it has thickened enough to coat the back of the spoon. Again, it is vital not to let the mixture come to a boil, as this will curdle the eggs. Maintain a gentle simmer and constant stirring to achieve a smooth, creamy custard. The target temperature is typically around 170-175°F (77-79°C).
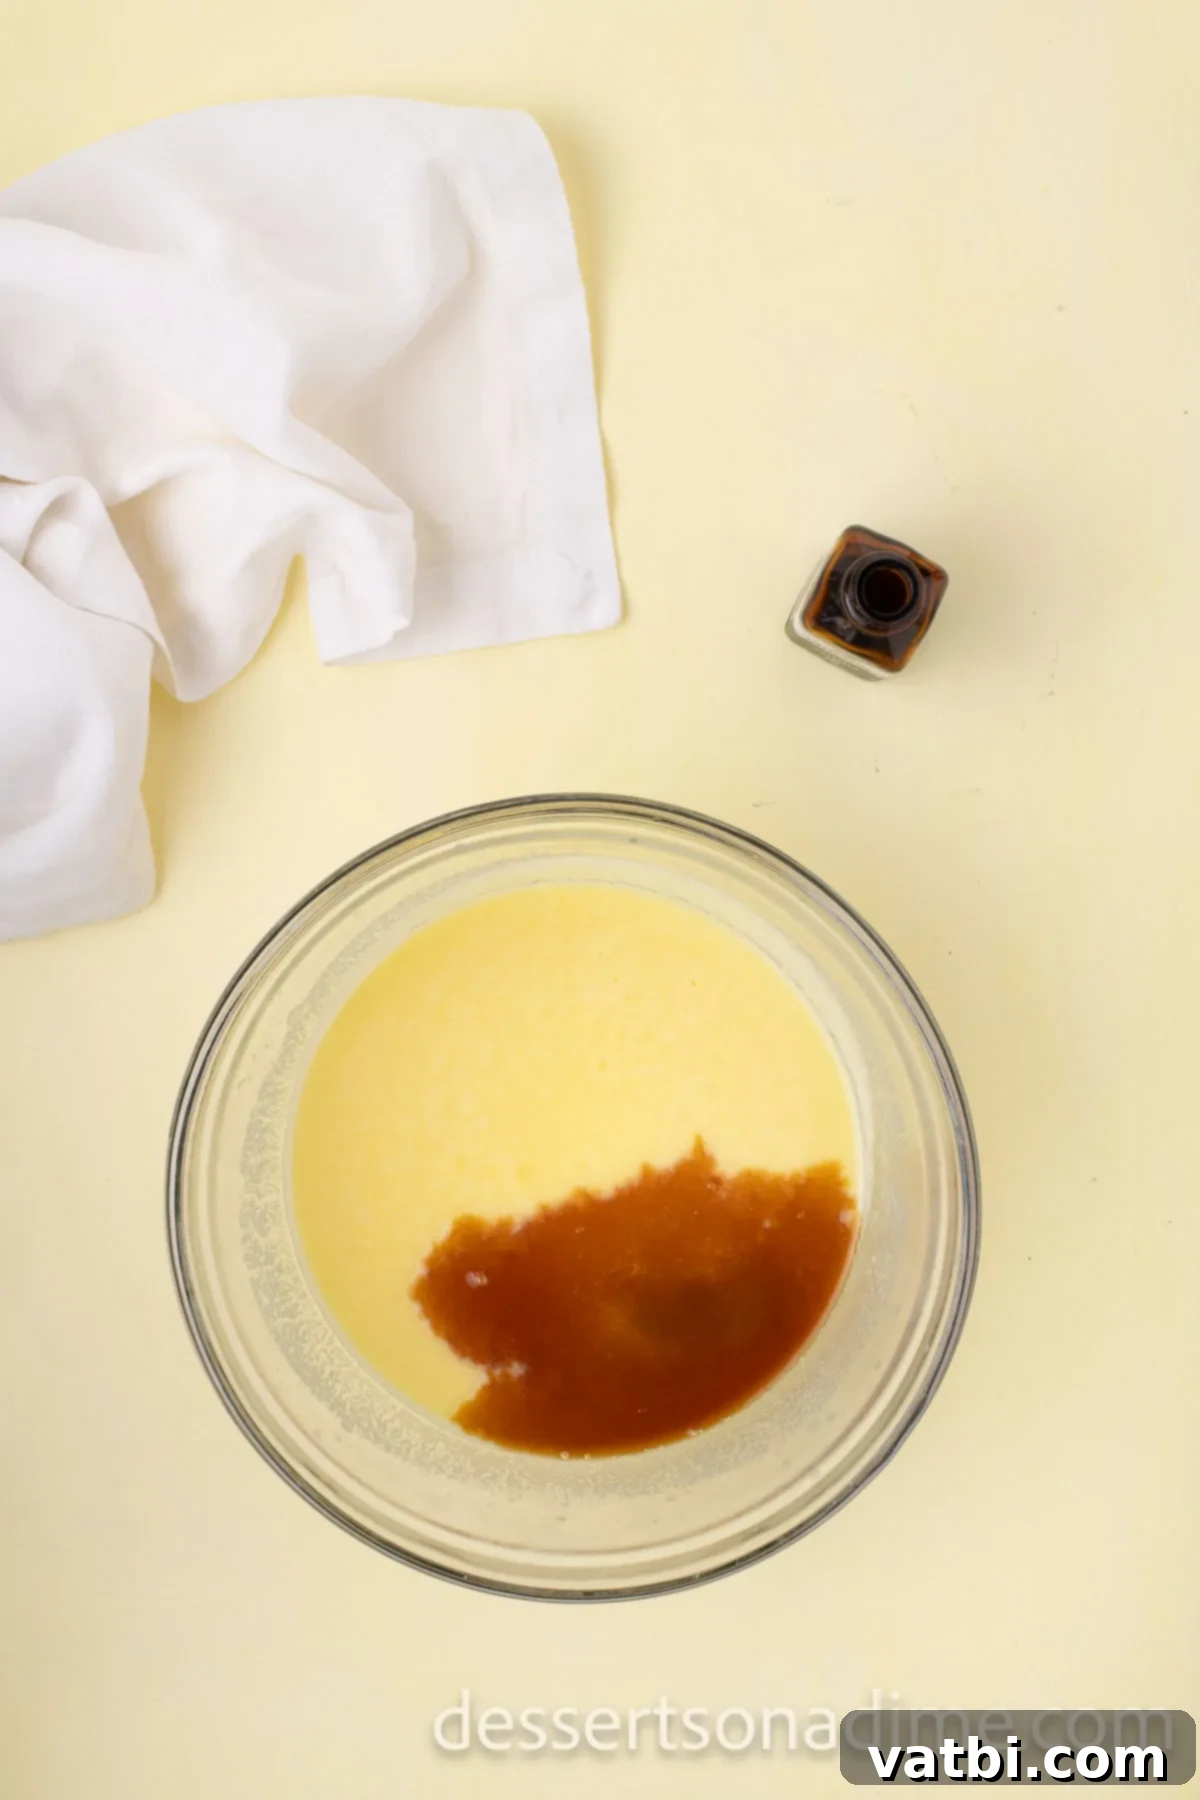
Step 5. Immediately pour the warm custard mixture through a fine-mesh sieve or strainer into a clean, separate bowl. This step removes any small cooked egg bits and ensures an ultra-smooth gelato. Let the custard cool completely to room temperature. Once cool, stir in the vanilla extract until fully incorporated. Cover the bowl tightly with plastic wrap, pressing it directly onto the surface of the custard to prevent a skin from forming. Place the bowl in the refrigerator and chill for at least 4 hours, or preferably overnight. Thorough chilling is essential for the best gelato texture.
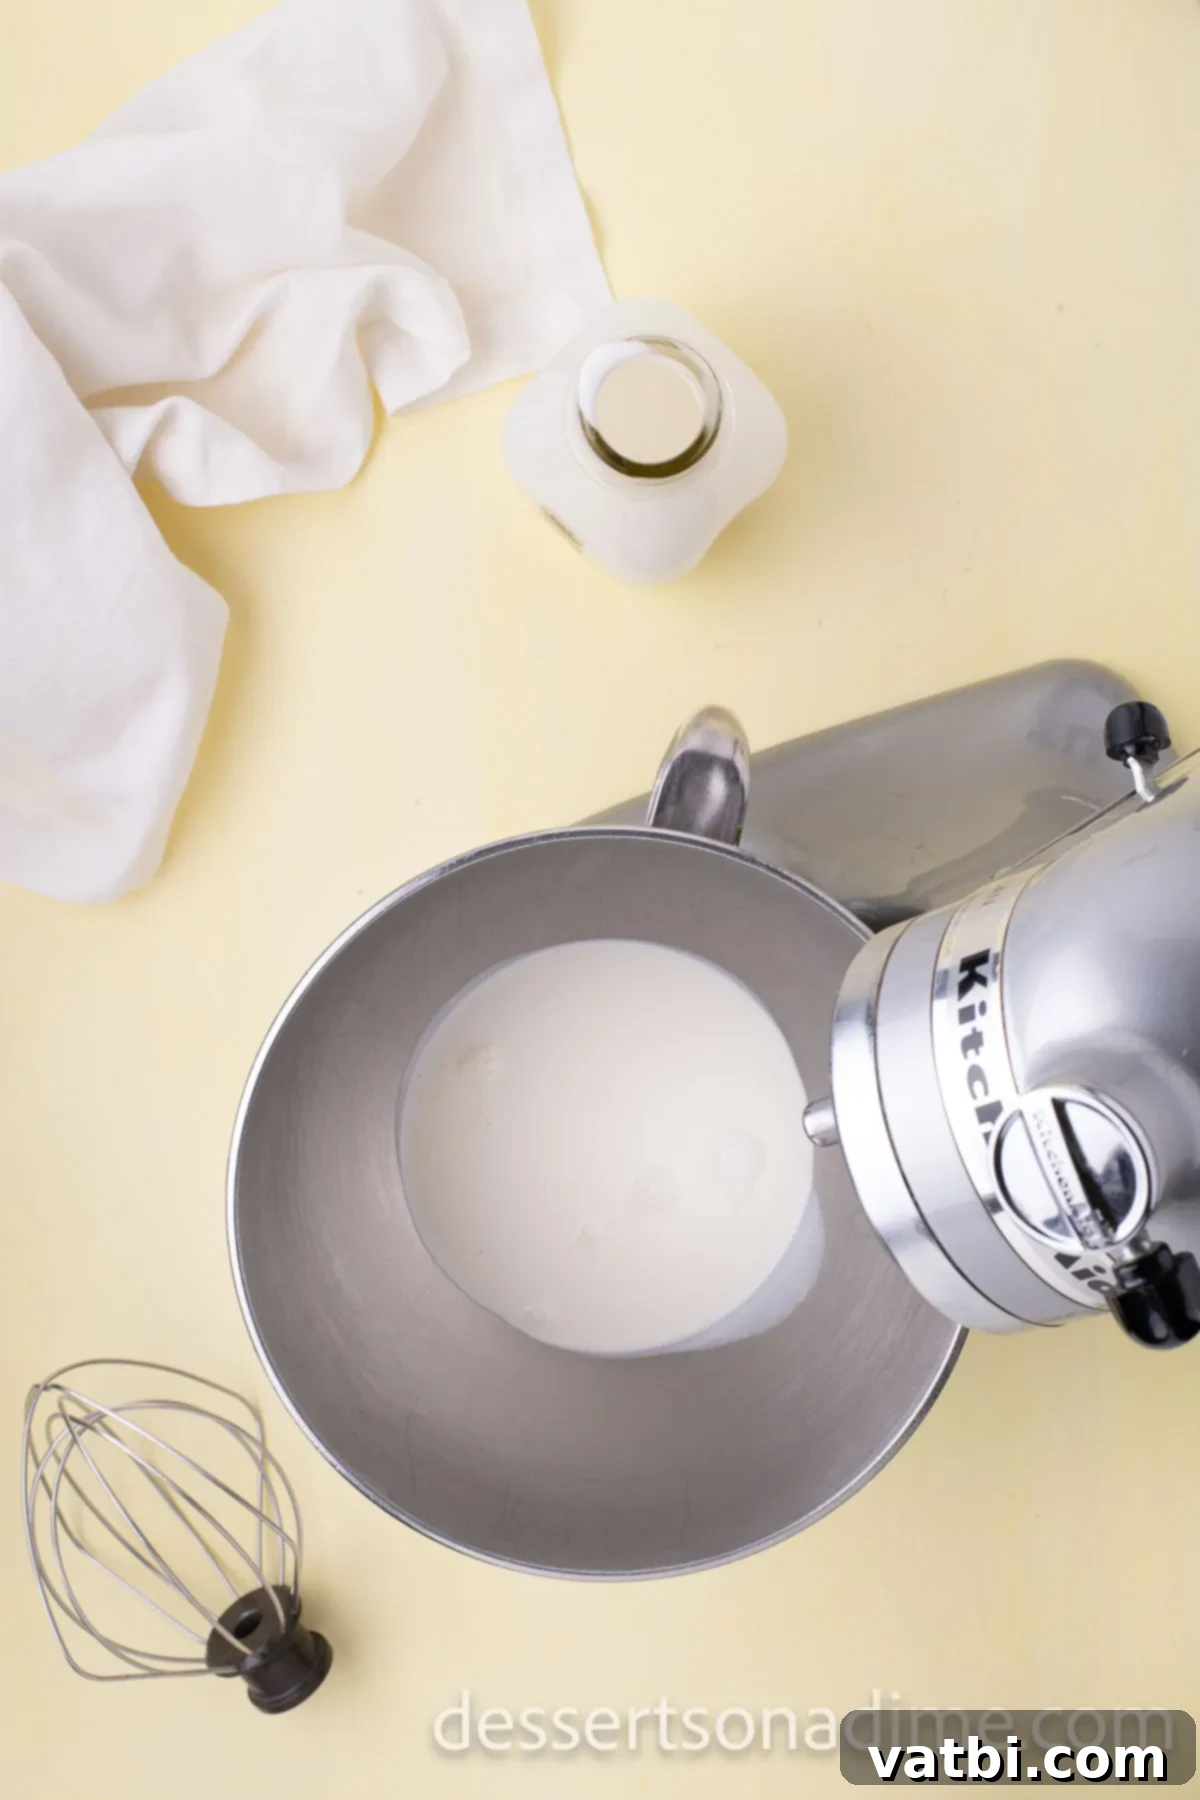
Step 6. Once the custard is thoroughly chilled, use a stand mixer fitted with a whisk attachment or an electric hand mixer to whip the cold heavy whipping cream in a clean bowl. Whip on medium-high speed until stiff peaks form. This means when you lift the whisk, the cream should hold its shape firmly. Be careful not to over-whip, which can result in a grainy texture.
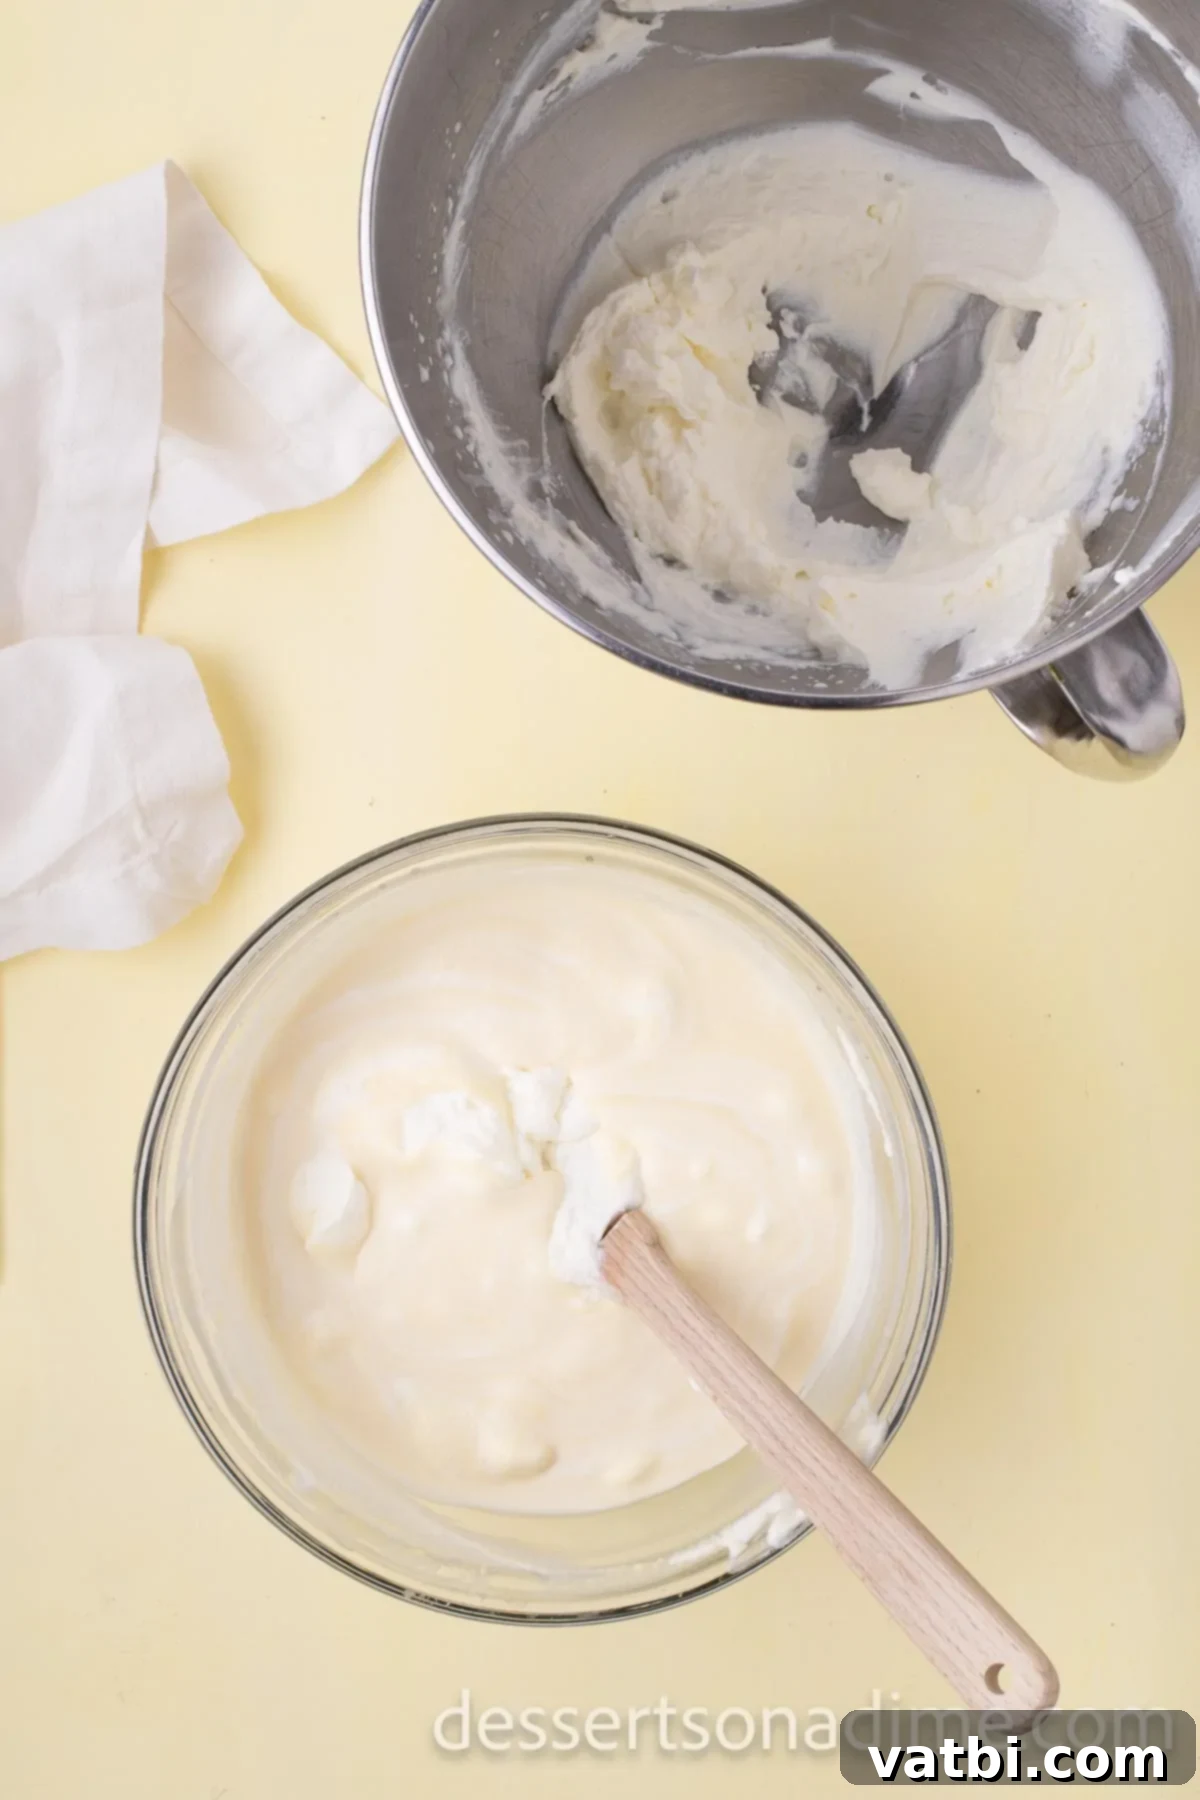
Step 7. Gently fold the chilled custard mixture into the whipped cream using a spatula. Use a light hand and a folding motion to combine them until smooth, being careful not to deflate the air from the whipped cream. The goal is to retain as much volume as possible for a light, yet creamy gelato.
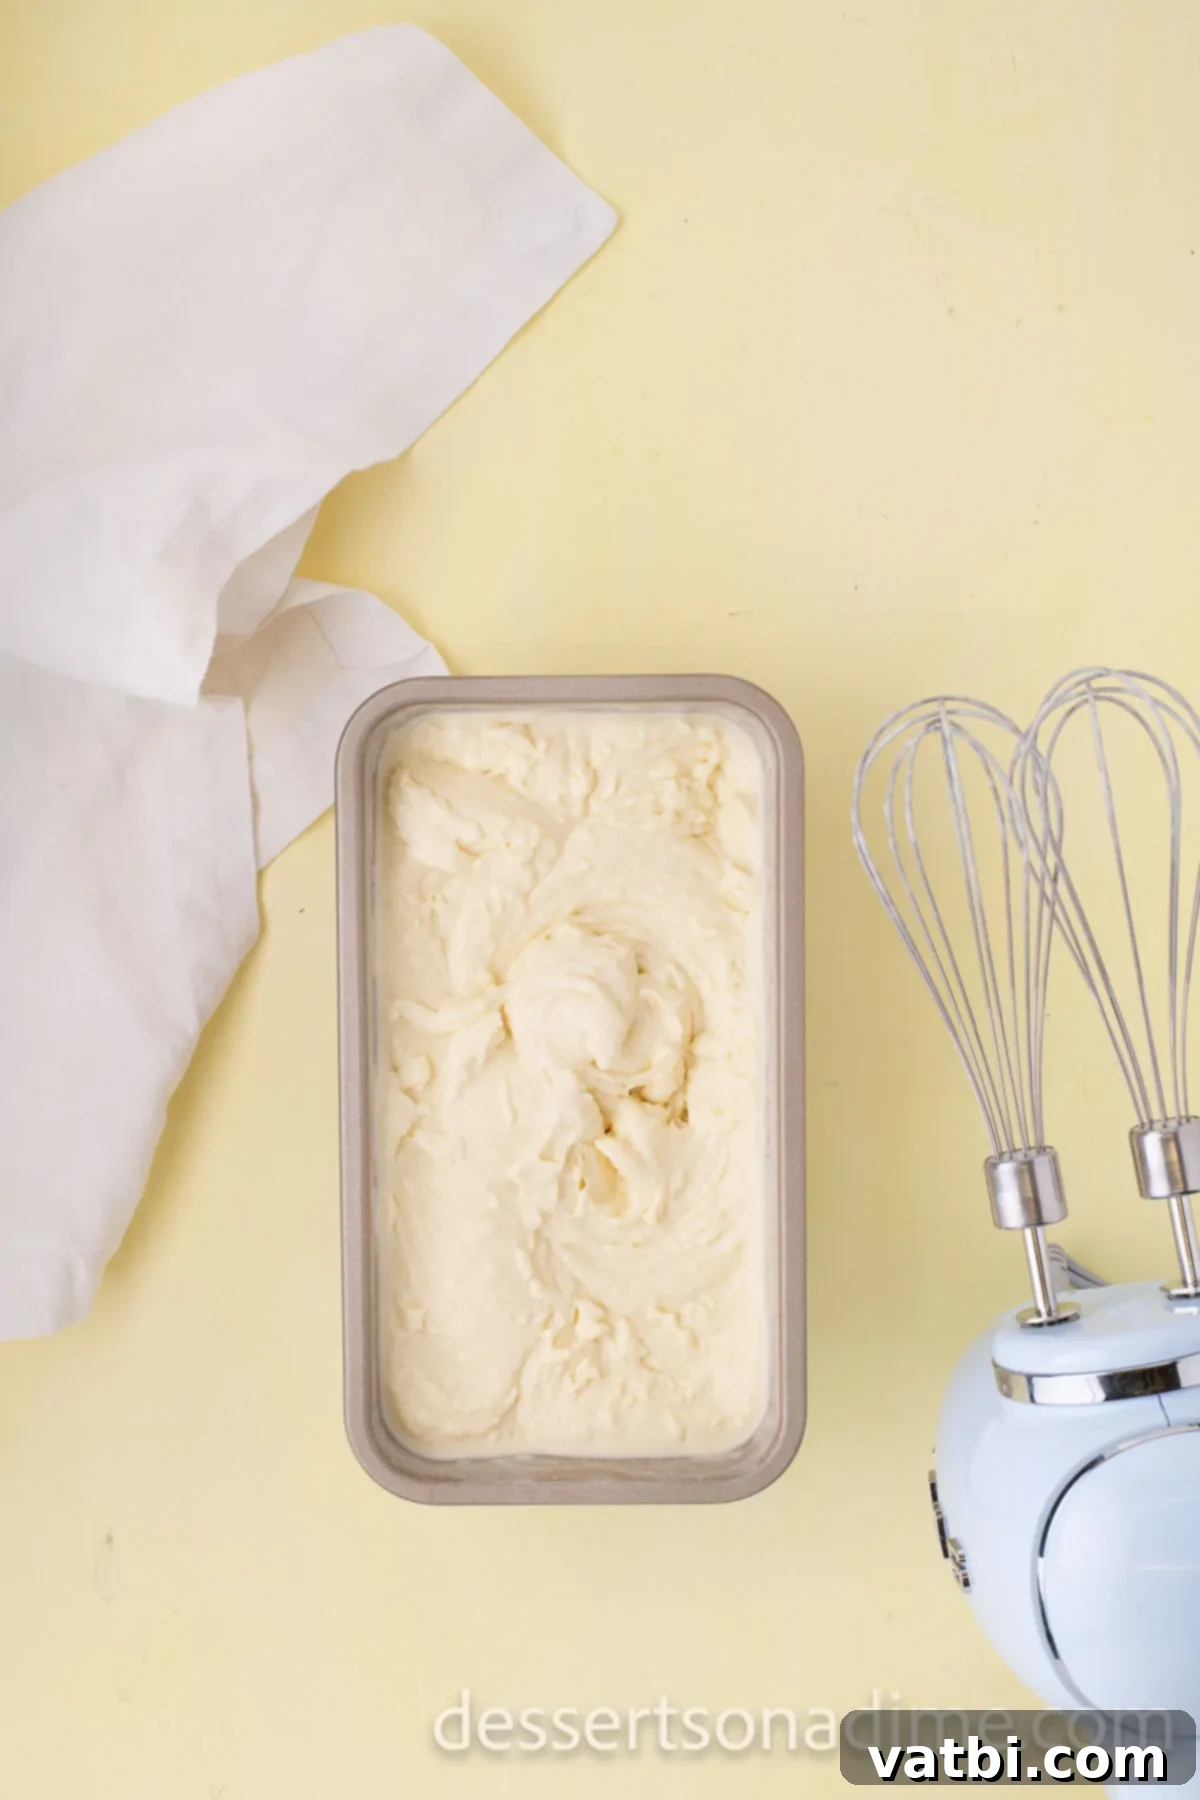
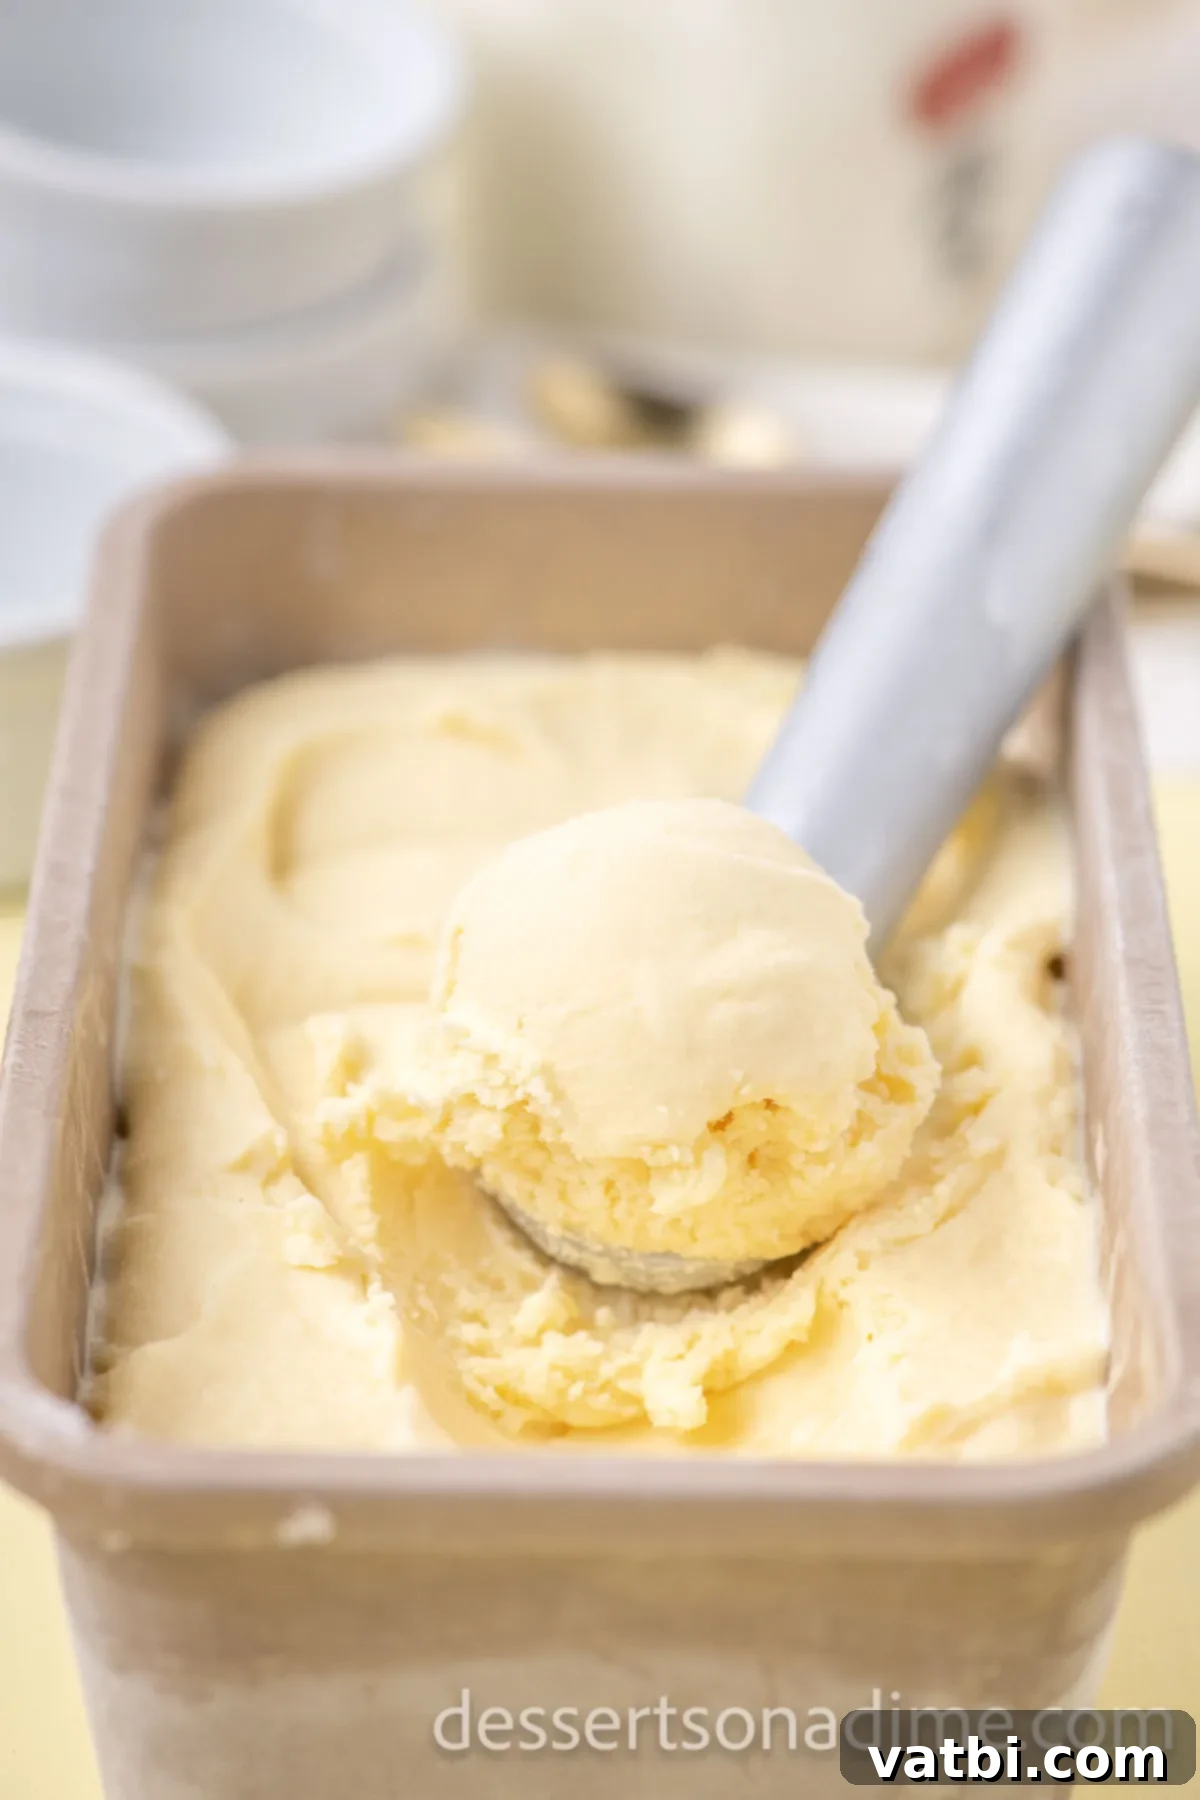
Step 8. Carefully spread the combined gelato mixture into a clean loaf pan or a shallow freezer-safe container using a spatula. Place the pan in the freezer. To achieve the signature creamy, dense texture of no-churn gelato, you’ll need to periodically break up the ice crystals. Every hour for the first 3-4 hours, remove the pan from the freezer, vigorously stir or whip the gelato mixture with a fork or hand mixer, then return it to the freezer. This process prevents large ice crystals from forming, ensuring a smooth result.
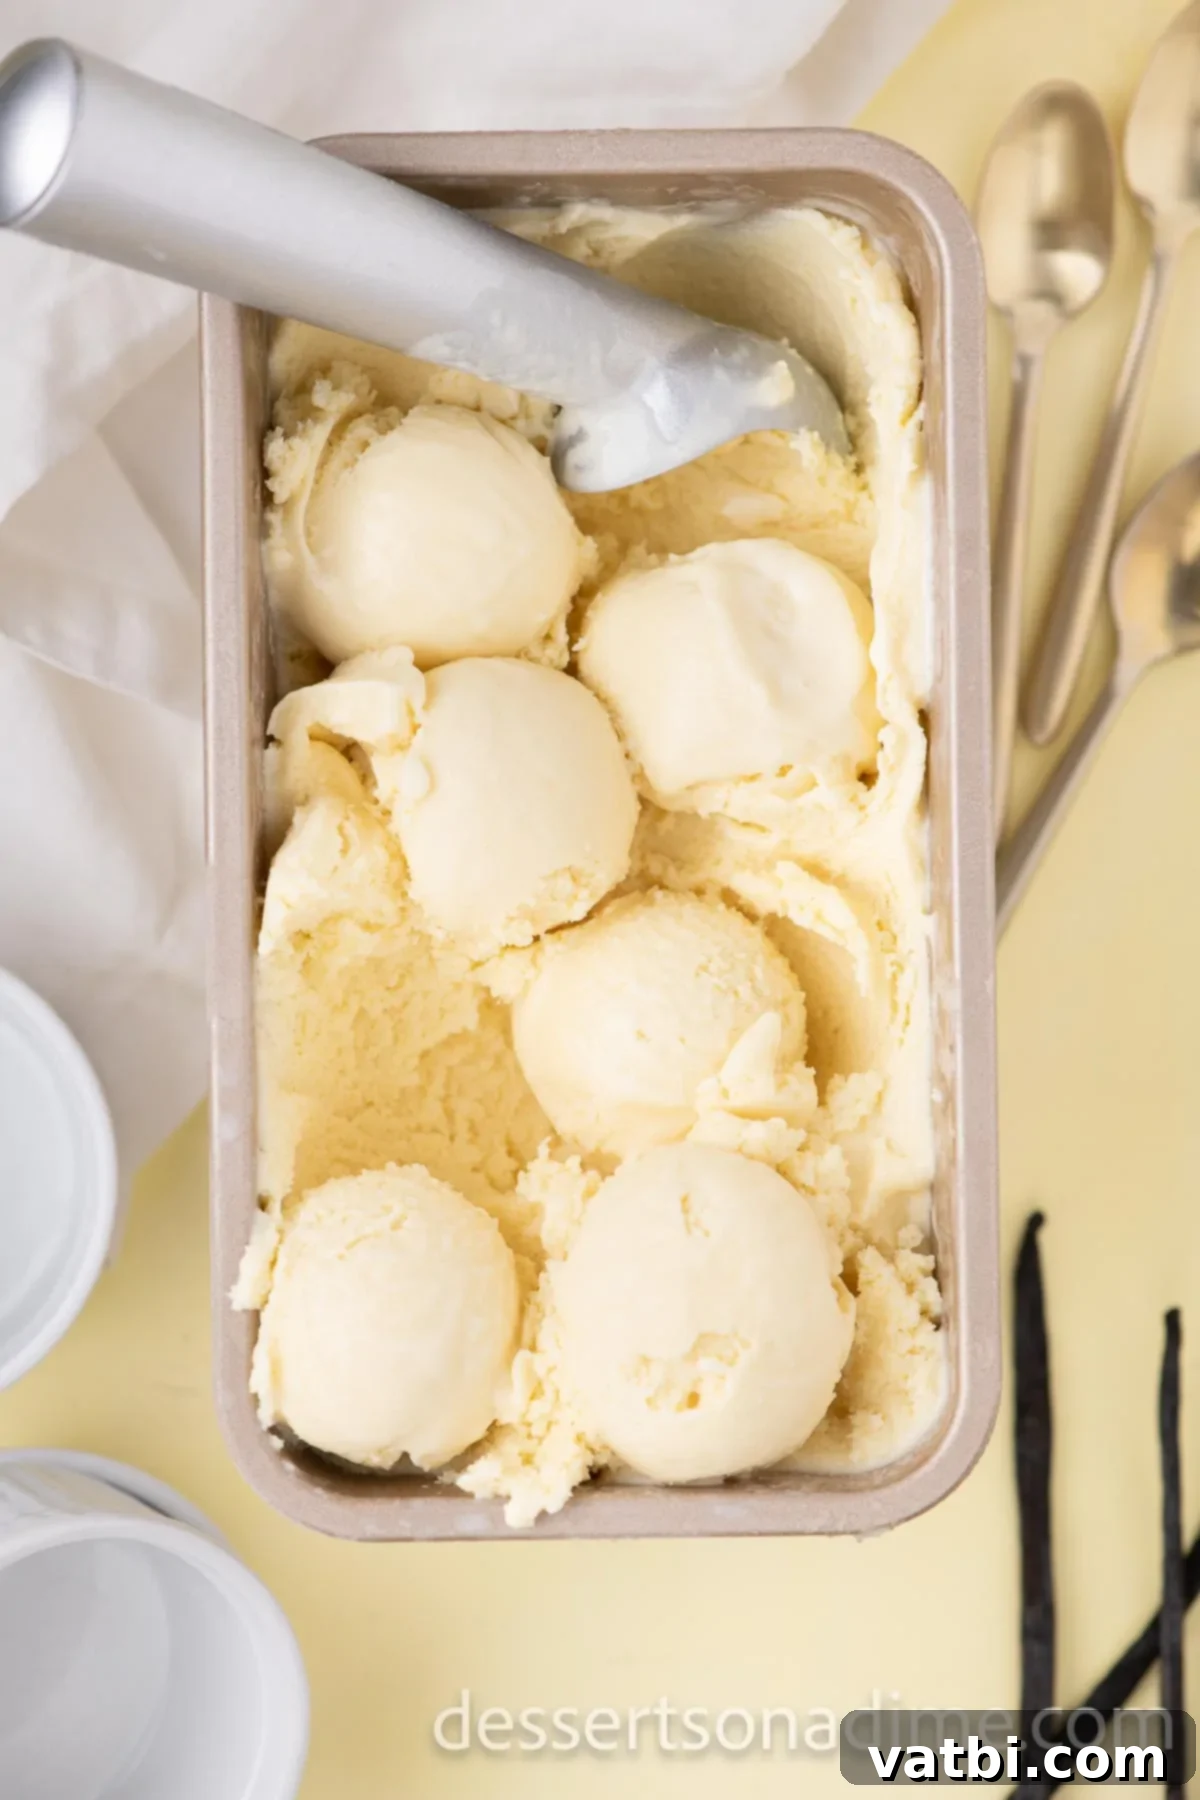
Step 9. After the initial 3-4 hours of whipping, cover the loaf pan tightly with plastic wrap or a lid and freeze for an additional 4-5 hours, or until the gelato is firm but still scoopable. The total freezing time will be approximately 7-9 hours (including initial chilling and intermittent whipping).
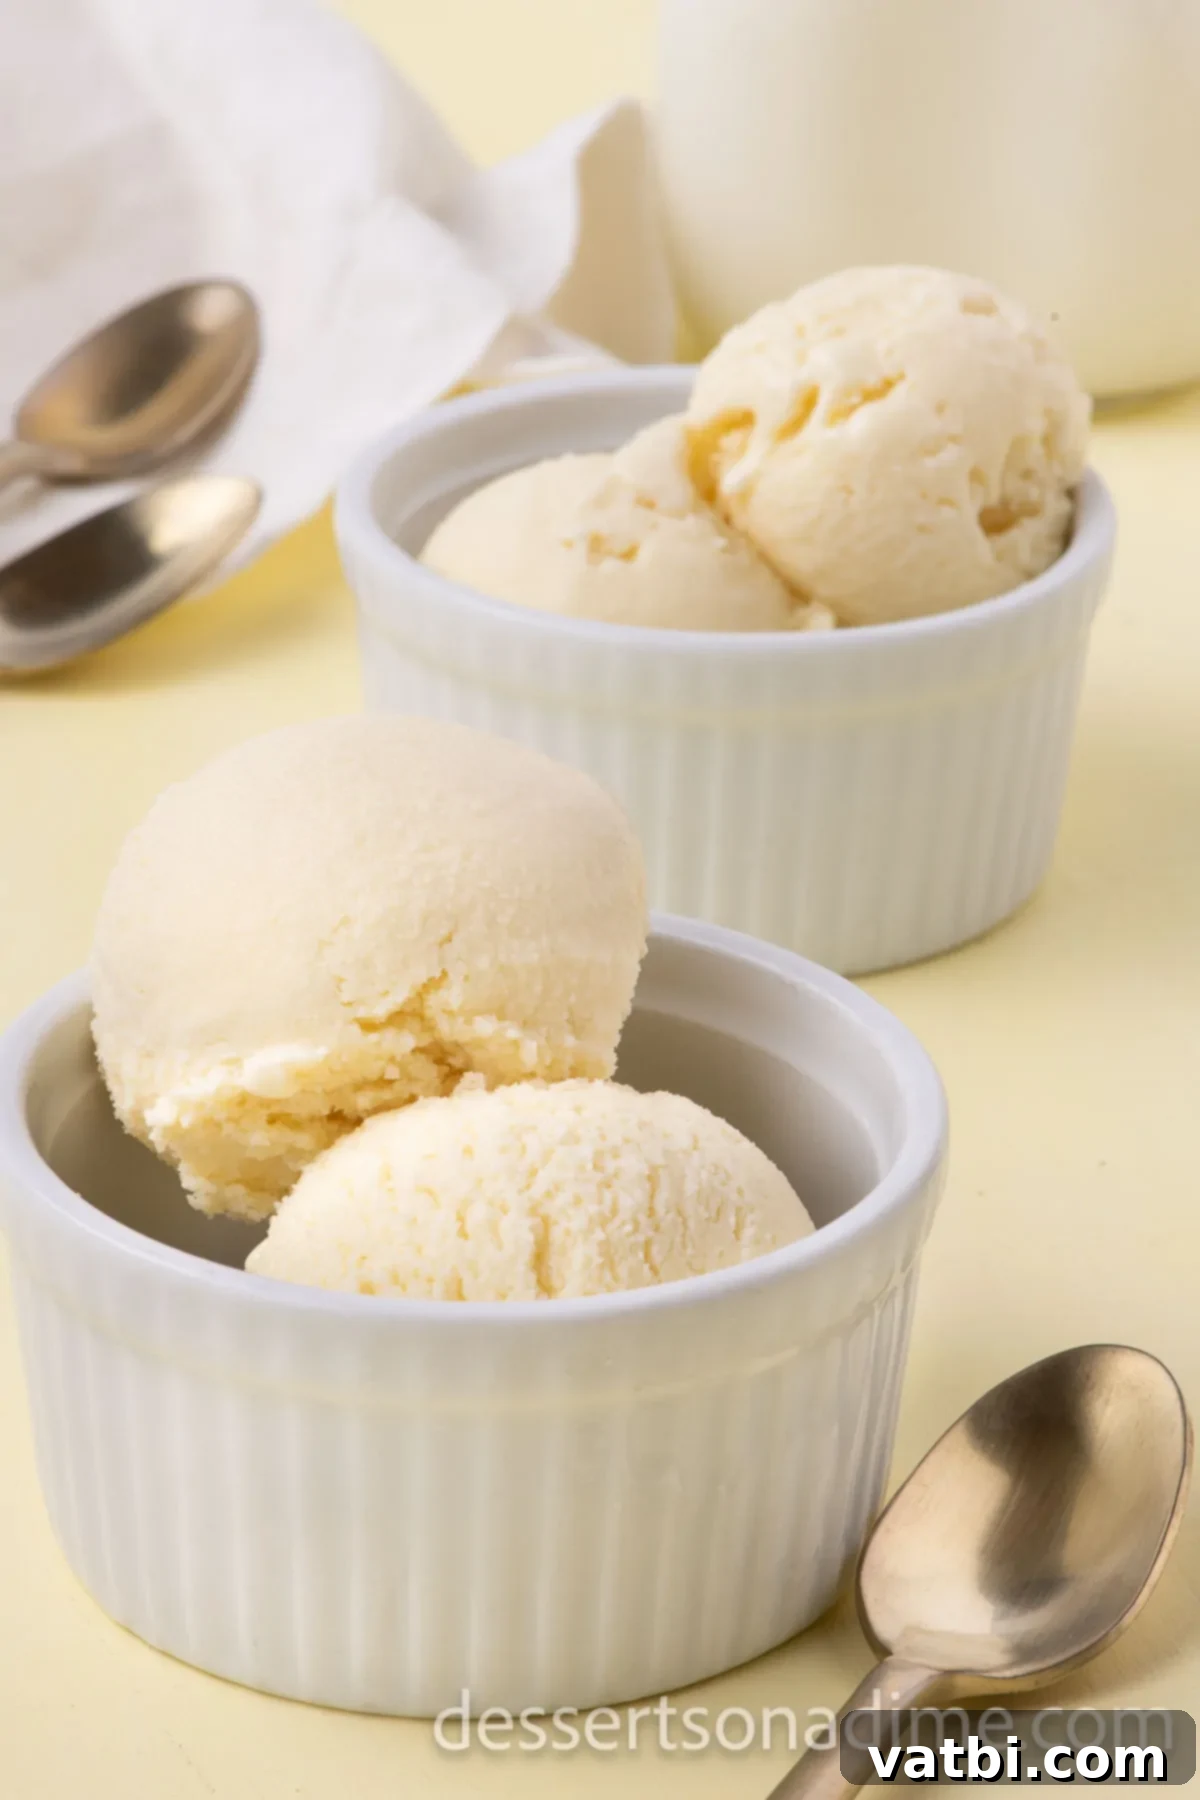
Step 10. Once frozen to the desired consistency, allow the gelato to sit at room temperature for 5-10 minutes before scooping, making it easier to serve. Serve in bowls or cones and savor the rich, creamy delight of your homemade creation. Enjoy!
Frequently Asked Questions
Absolutely! This recipe is specifically designed to make delicious, creamy Homemade Gelato without any special equipment like an ice cream maker. The key lies in the periodic whipping during the freezing process. Simply freeze the mixture in a loaf pan and, every 30-60 minutes during the first few hours, take it out and vigorously break up the ice crystals with a fork or an electric hand mixer until your desired creamy texture is achieved. This manual churning mimics the effect of an ice cream machine, preventing large ice crystals and resulting in a smooth, dense consistency.
While it’s technically possible to substitute reduced-fat milk, I strongly advise against it for this Homemade Gelato recipe. The richness and creaminess that whole milk provides are crucial for achieving the authentic gelato texture and flavor. Reduced-fat milk will result in a less creamy, potentially icier, and thinner gelato, significantly compromising the quality of your homemade treat. Stick to whole milk for the best results.
To maintain its optimal creamy texture, store leftover Homemade Gelato in an airtight container in the freezer for up to 6 weeks. Beyond this period, the texture may begin to degrade, becoming more icy due to larger ice crystals forming. To enjoy it at its best, allow it to soften at room temperature for about 5-10 minutes before serving.
The total time for making Homemade Gelato can be broken down into a few stages. The active prep time is quite short, about 15-20 minutes. However, the mixture requires a significant chilling period of at least 4 hours (or preferably overnight) for the custard base, followed by 4-5 hours of freezing with intermittent whipping every hour for the first 3-4 hours. So, while the hands-on time is minimal, plan for a total of 7-9 hours from start to finish to ensure proper chilling and freezing for that perfect creamy consistency.
Thoroughly chilling the custard base before mixing with the whipped cream and freezing is a critical step for two main reasons. First, it helps to mature the flavors, allowing them to deepen and meld together for a more complex taste. Second, and perhaps more importantly for texture, a very cold base will freeze faster and more evenly. This rapid freezing, combined with the intermittent whipping, minimizes the formation of large ice crystals, which are the enemy of creamy gelato, ensuring a smooth and dense final product.
More Frozen Treats
If you’ve fallen in love with making your own frozen desserts, you’re in for a treat! The world of homemade frozen delights extends far beyond gelato. Explore these other fantastic recipes from our collection to keep your freezer stocked with deliciousness:
- Hot Chocolate Ice Cream: Indulge in the comforting flavors of a warm hot chocolate, but in a cold, creamy ice cream form. Perfect for any season!
- Blueberry Yogurt Popsicles: A lighter, refreshing, and healthy option, these popsicles are bursting with fruity flavor and creamy yogurt goodness. Ideal for a quick, guilt-free treat.
- Twix Ice Cream: Love the candy bar? You’ll adore this ice cream version, loaded with crunchy biscuit, chewy caramel, and rich chocolate, all swirled into a luscious ice cream base.
- Butterbeer Ice Cream: Step into the magical world of Harry Potter with this enchanting Butterbeer-flavored ice cream. A unique and whimsical frozen dessert that’s sure to delight fans.
Now that you have all the tips and tricks, it’s your turn to create this incredibly creamy Homemade Gelato. This recipe proves that you don’t need fancy equipment to enjoy authentic Italian flavors right in your home. The satisfaction of making your own delicious frozen treat is truly unmatched. We encourage you to give this easy, no-churn recipe a try and experience the velvety smooth texture and rich taste for yourself. Don’t forget to share your experience and any creative variations you try in the comments below – we love hearing from you! Happy churning (or rather, no-churning)!
Pin
Homemade Gelato
Ingredients
- 2 cups Whole Milk
- 1 cup Heavy Whipping Cream
- 4 Large Egg Yolks
- ½ cup Granulated Sugar
- 1 Tablespoon Vanilla Extract
Instructions
-
Pour the milk into a medium-sized saucepan and heat it over low heat until it starts to gently simmer around the edges. Ensure it does not come to a rolling boil.
-
In a separate heat-proof mixing bowl, whisk together the egg yolks and granulated sugar vigorously until the mixture is pale yellow and slightly thickened.
-
Gradually add about half of the warm milk mixture into the egg mixture while whisking constantly. This tempering step prevents the eggs from scrambling. Once combined, pour this tempered egg mixture back into the saucepan with the remaining milk.
-
Return the saucepan with the combined mixture to low heat.
-
Heat the mixture for 6-8 minutes, stirring constantly with a wooden spoon, until the custard has thickened enough to coat the back of the spoon. Watch closely and ensure it never comes to a boil to avoid curdling.
-
Immediately pour the warm custard through a fine-mesh sieve or a fine strainer into a clean, separate bowl to ensure a silky-smooth texture. Let the mixture cool completely to room temperature. Once cool, stir in the vanilla extract until well combined.
-
Cover the bowl tightly with plastic wrap, pressing it directly onto the surface of the custard to prevent a skin from forming. Refrigerate for at least 4 hours, or preferably overnight, until thoroughly chilled.
-
Once the custard is chilled, use a stand mixer or an electric hand mixer to whip the cold heavy whipping cream in a separate bowl until stiff peaks form. Be careful not to over-whip.
-
Gently fold the chilled custard mixture into the whipped cream using a spatula until smooth and fully combined. Be careful to stir gently to avoid deflating the whipped cream.
-
Pour the mixture into a loaf pan or a shallow freezer-safe container. Place it in the freezer. To achieve the creamy no-churn texture, remove the pan every hour for the first 3-4 hours and vigorously break up any ice crystals with a fork or hand mixer, then return to the freezer. This prevents large ice crystals from forming.
-
After the initial whipping stages, cover the pan tightly and freeze for an additional 4-5 hours, or until the gelato is firm but still scoopable. The homemade gelato is then ready to serve and enjoy!
Recipe Notes
Nutrition Facts
Pin This Now to Remember It Later
Pin Recipe
